Step 3
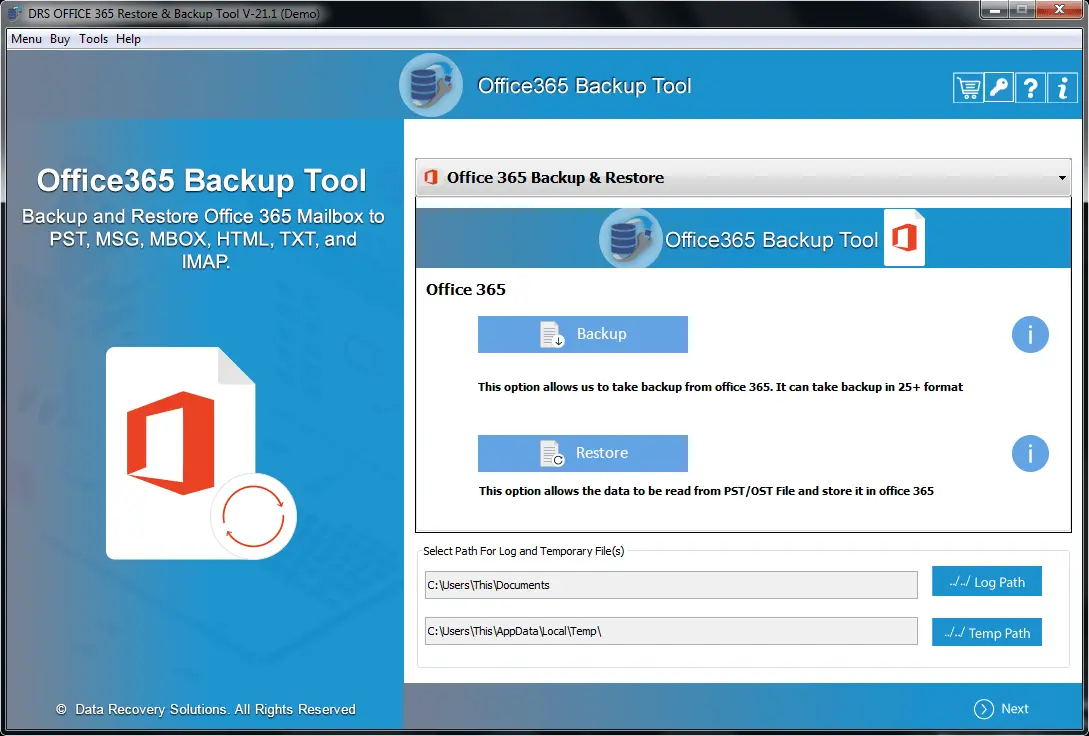
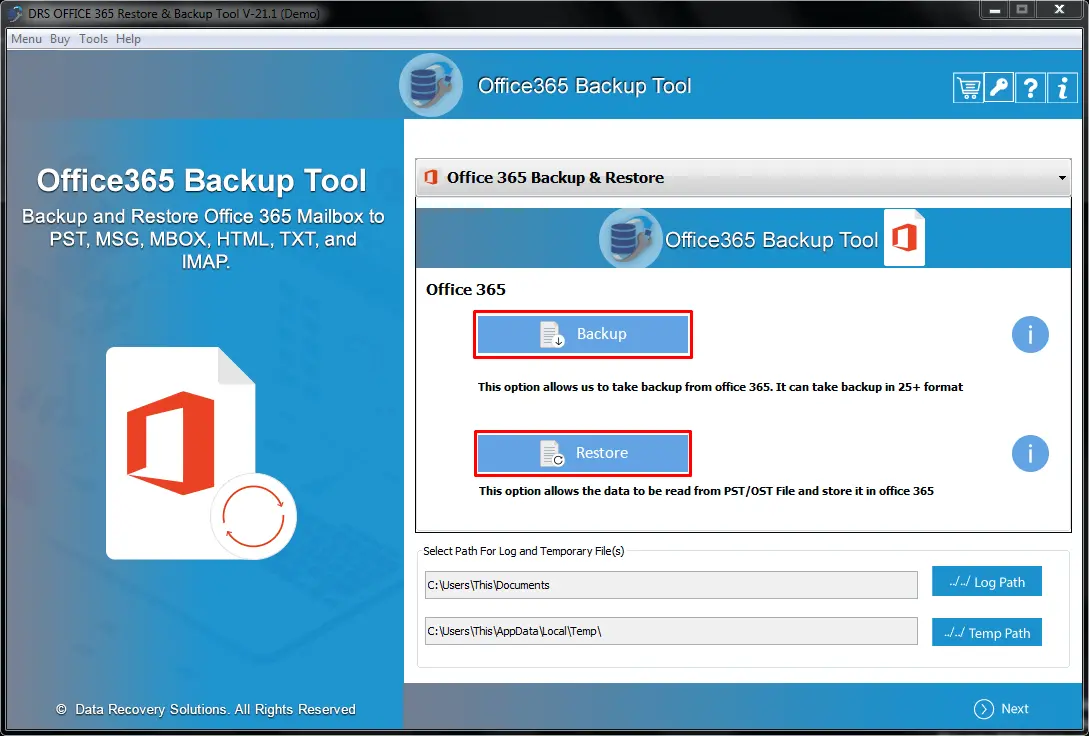
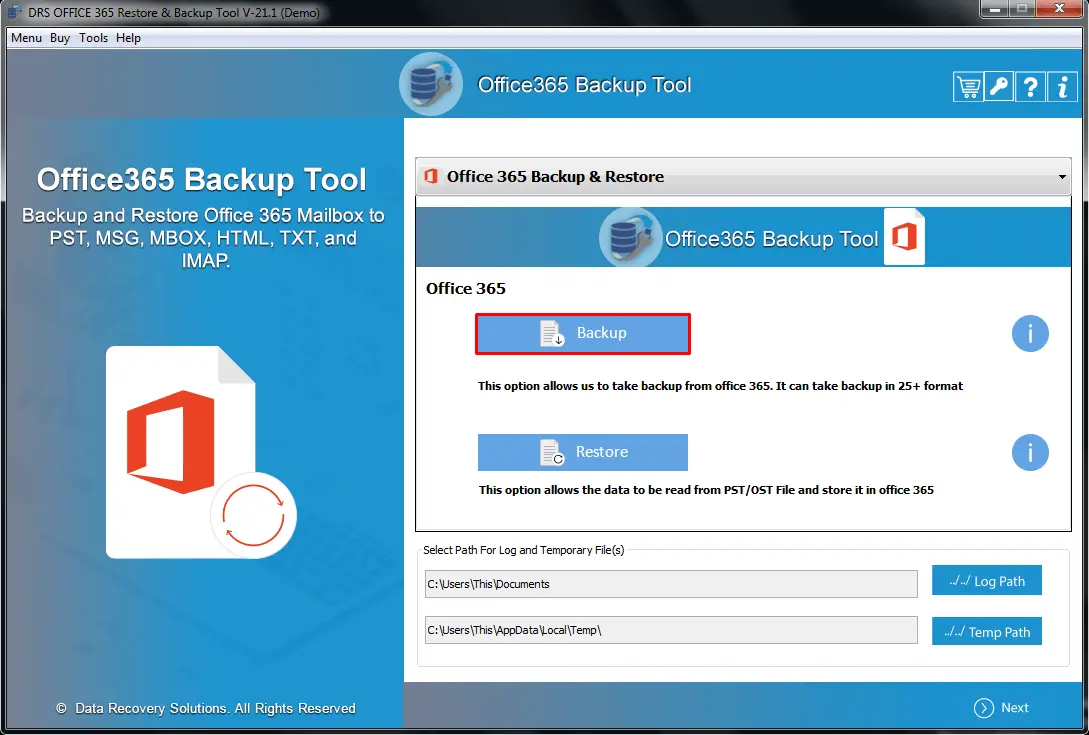
Click on the Backup button to download mailbox data from your Office 365 account.
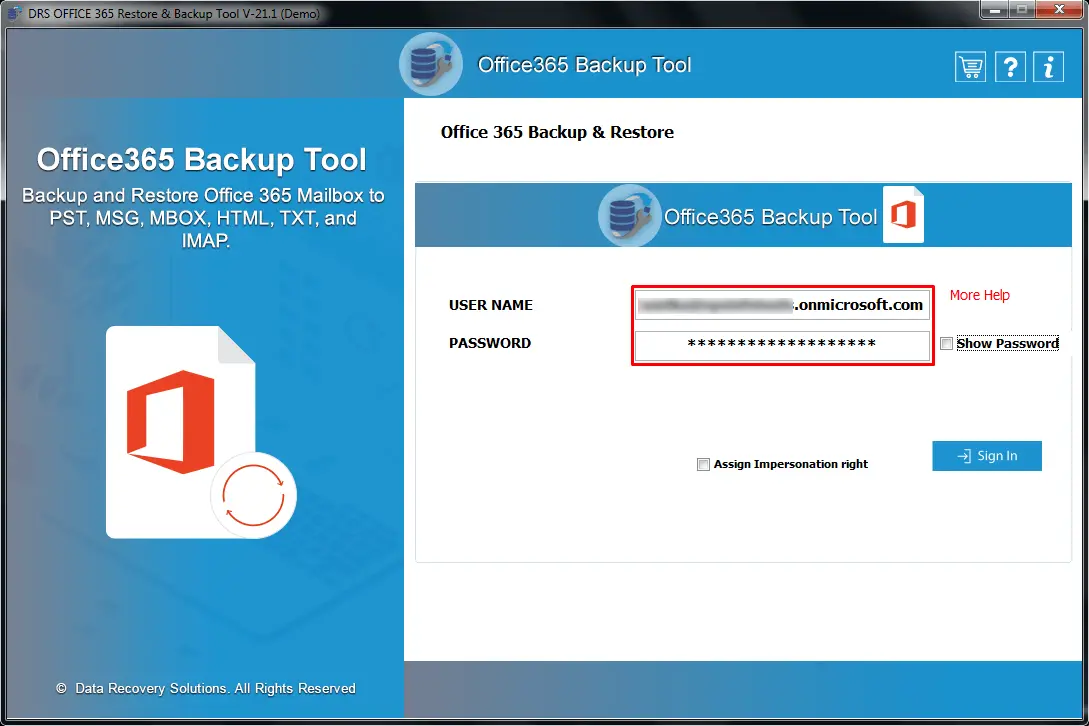
Step 4
Now, enter your Office 365 Username and Password.
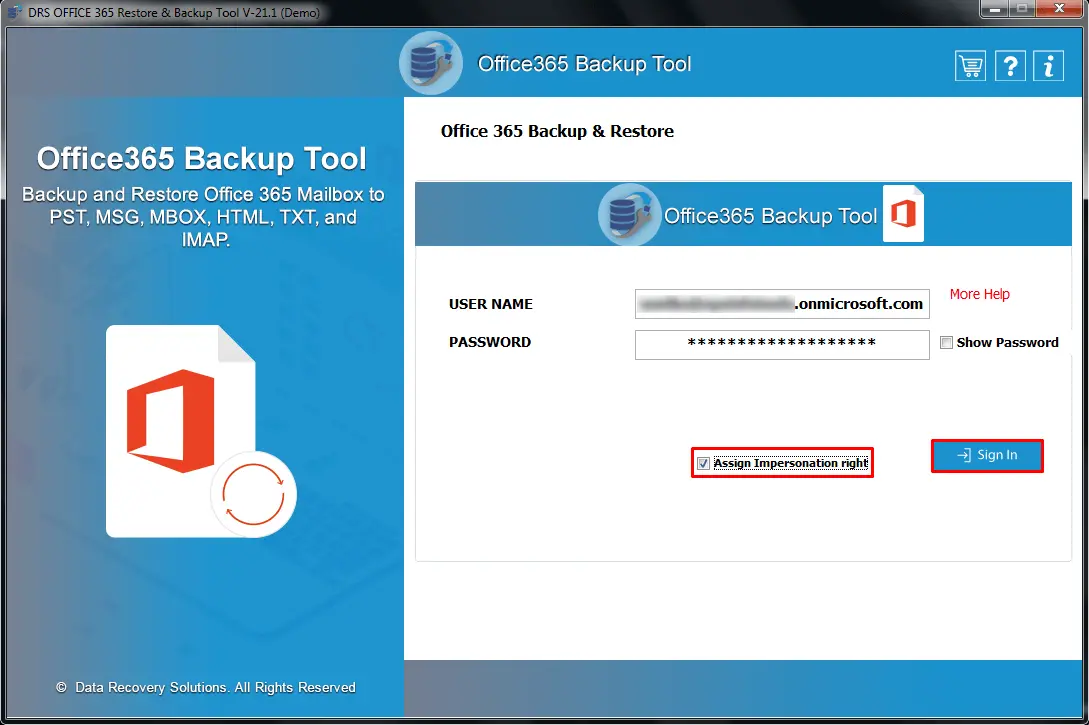
Step 5
Tick the Assign Impersonation Right option to access user mailboxes. Click on the Sign In button.
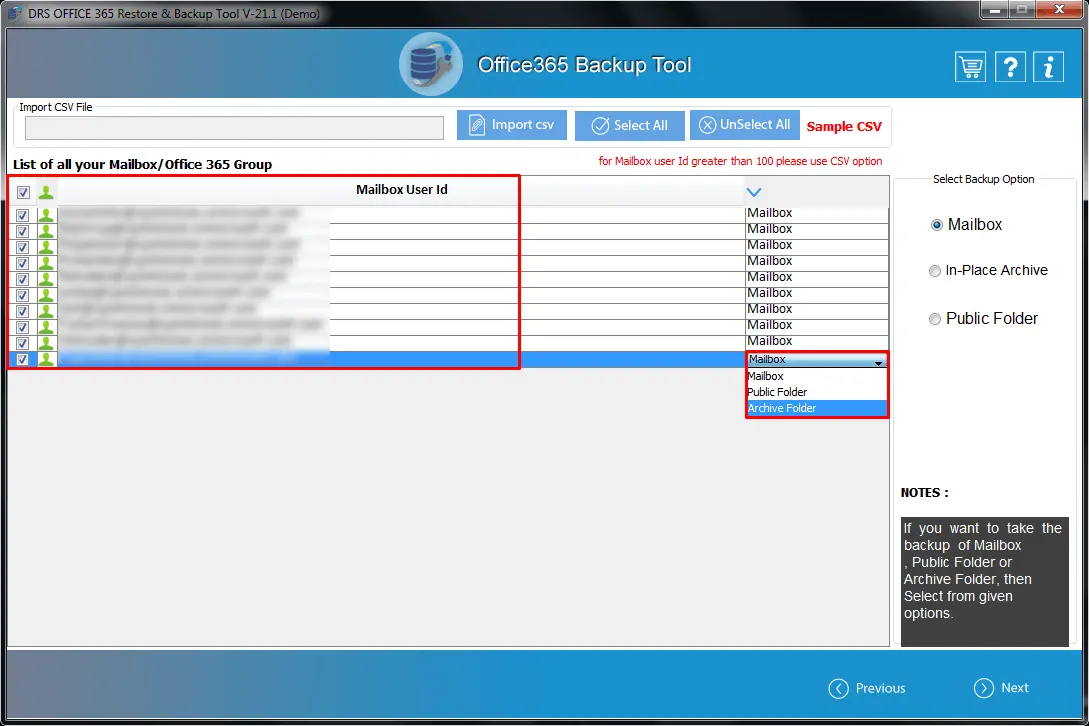
Step 6
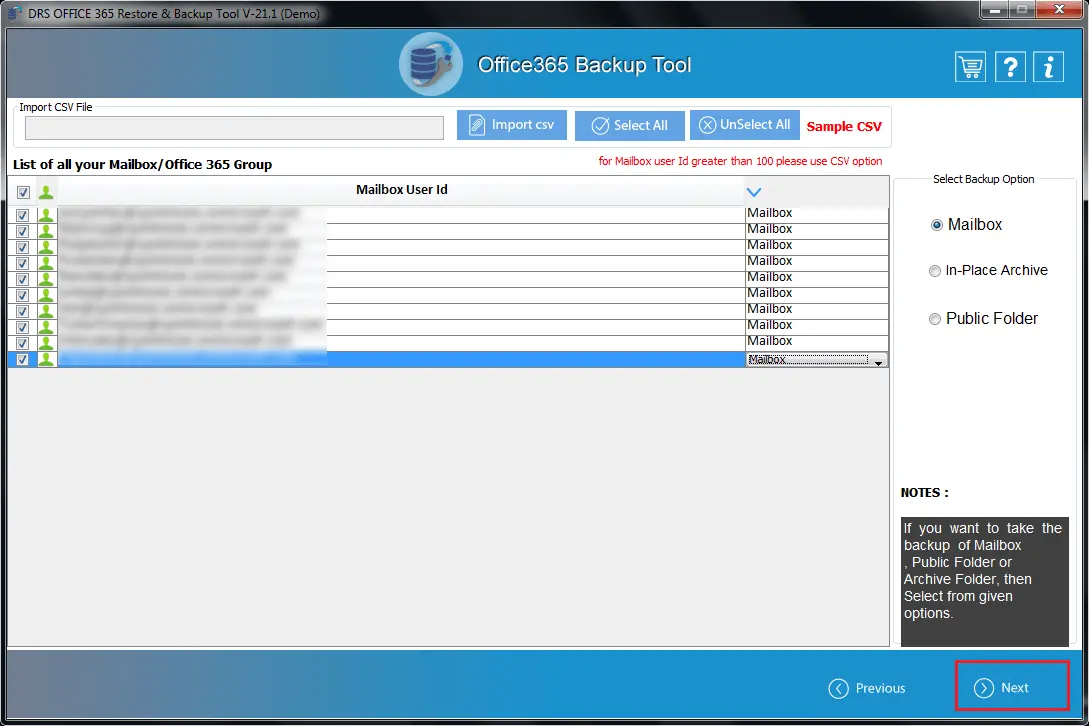
After that, select the user mailboxes that you want to backup. Also, you have to define the mailbox type for that particular user account.
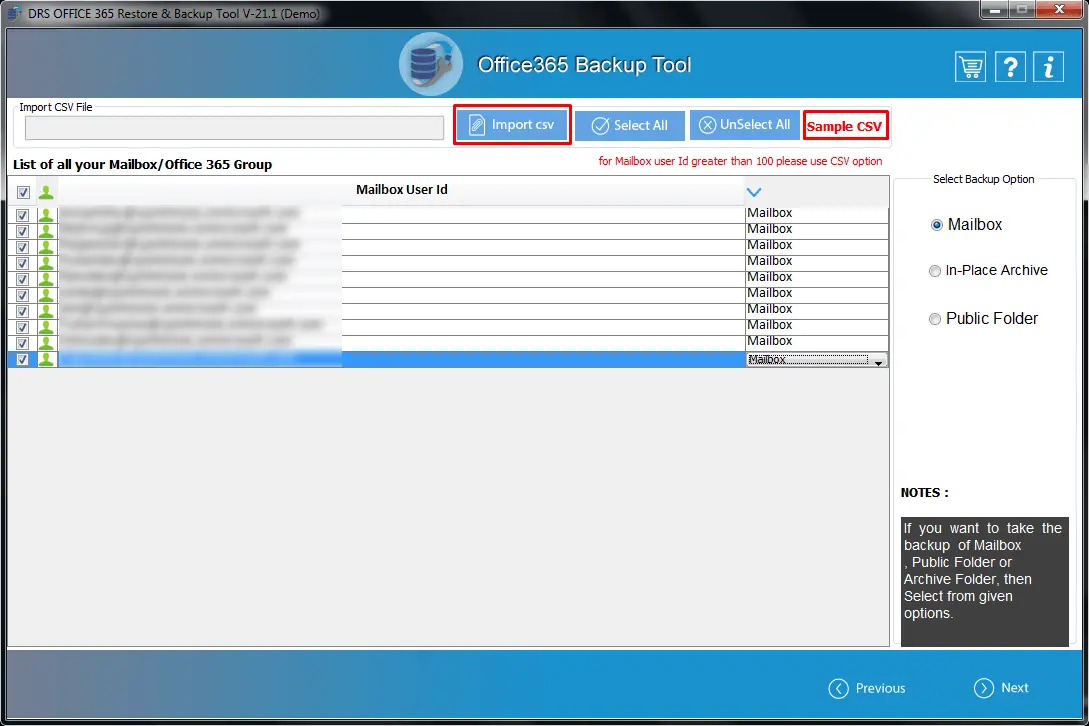
Step 7
If you have a CSV file containing all the desired user mailboxes, click on the Import CSV option. You can download a sample CSV file to check the format.
Step 8
Click on the Next button to proceed further.
Step 9
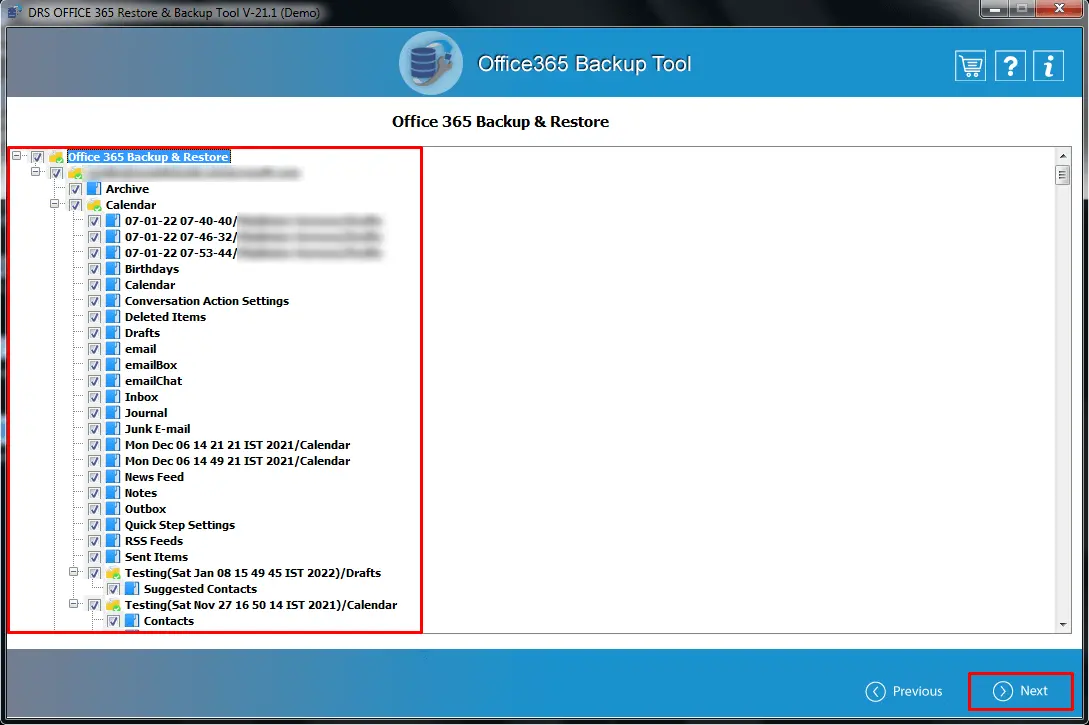
Now, you will see all the mailbox folders in a tree structure. Tick the desired items and press Next.
Step 10
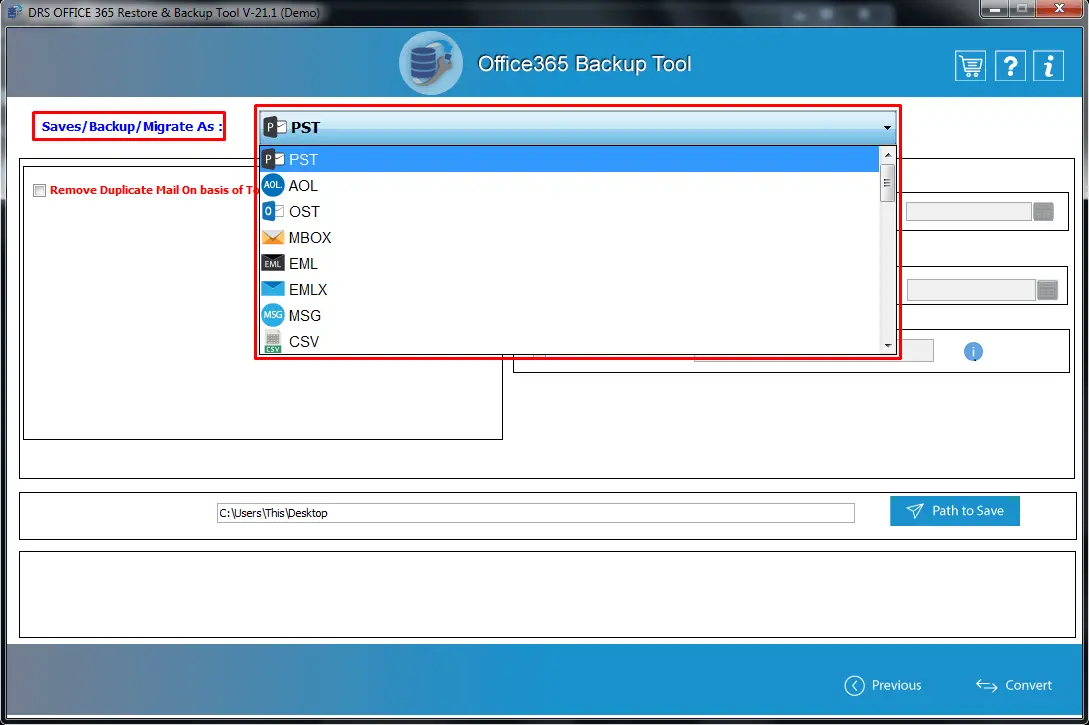
After that, click on the Save/Backup/Migrate As field to check the list of all available file formats and email clients.
Step 11
Select PST file format from the list.
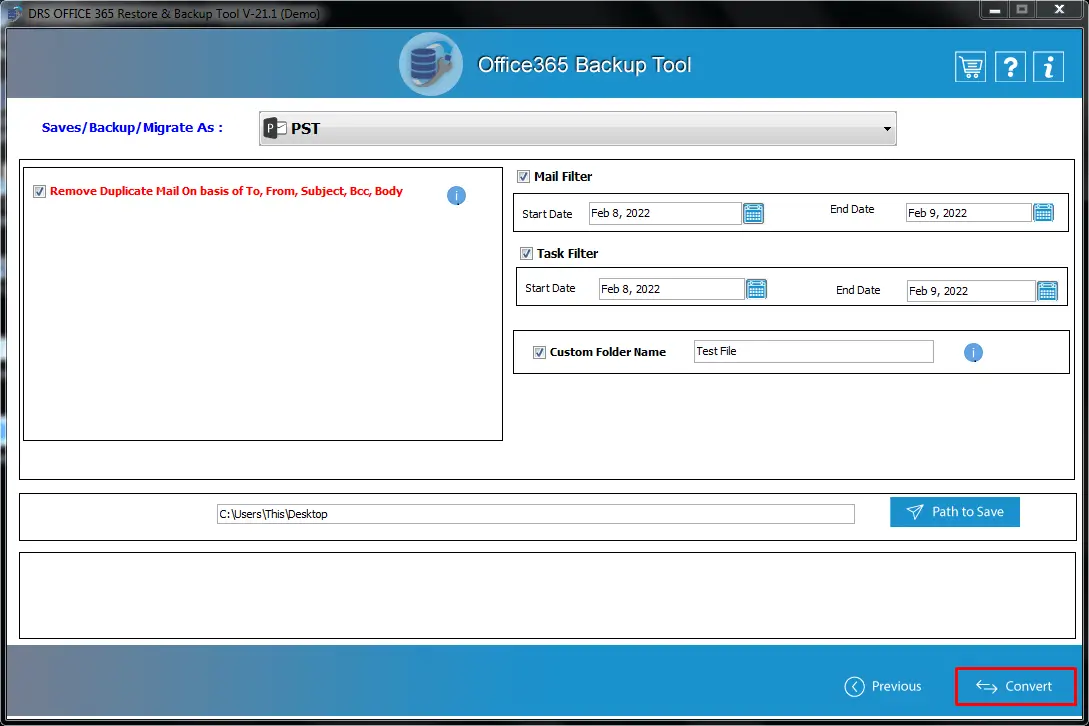
Step 12
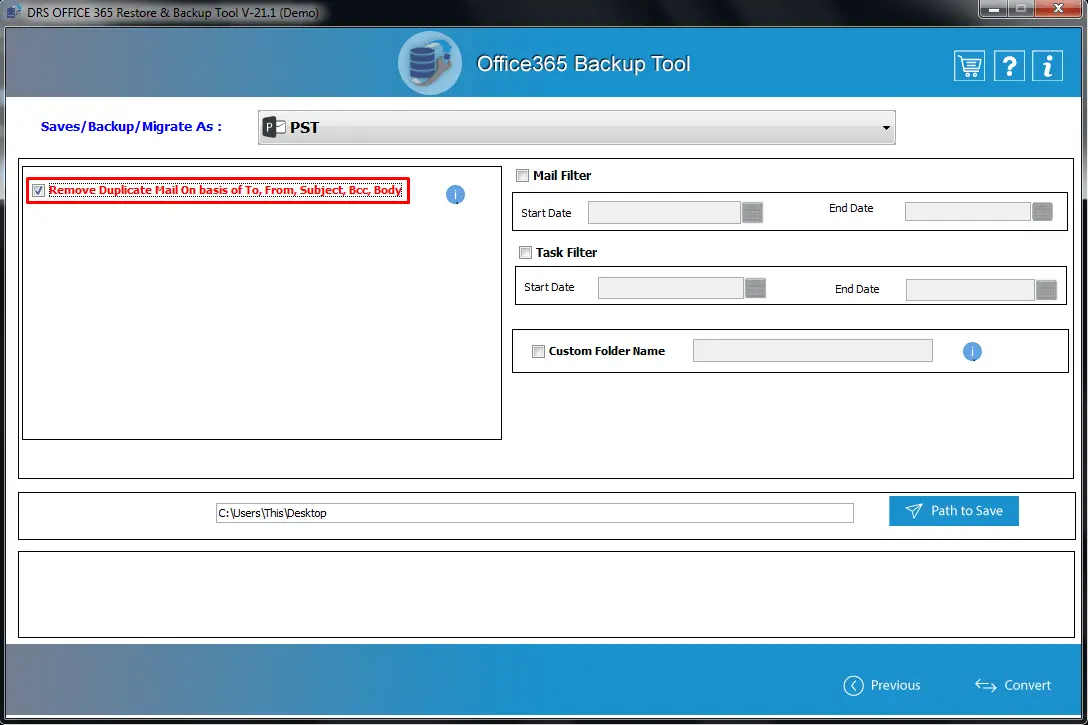
The Remove Duplicate Mail option allows you to leave all the duplicate mailbox items while creating a backup. Tick this option to download your Office 365 mailbox without unnecessary items.
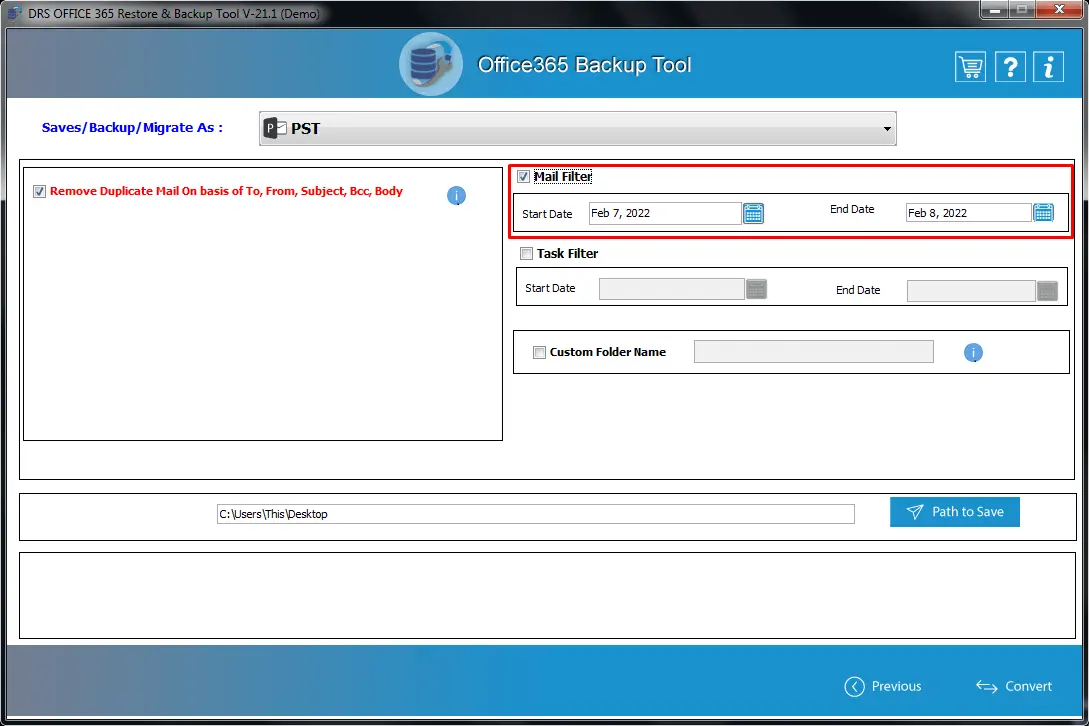
Step 13
If you want to migrate emails of a particular date range, tick the Mail Filter option and enter a specific Start Date and End Date. The Mail filter is a date range filtering feature that allows you to export emails related to the specified date range.
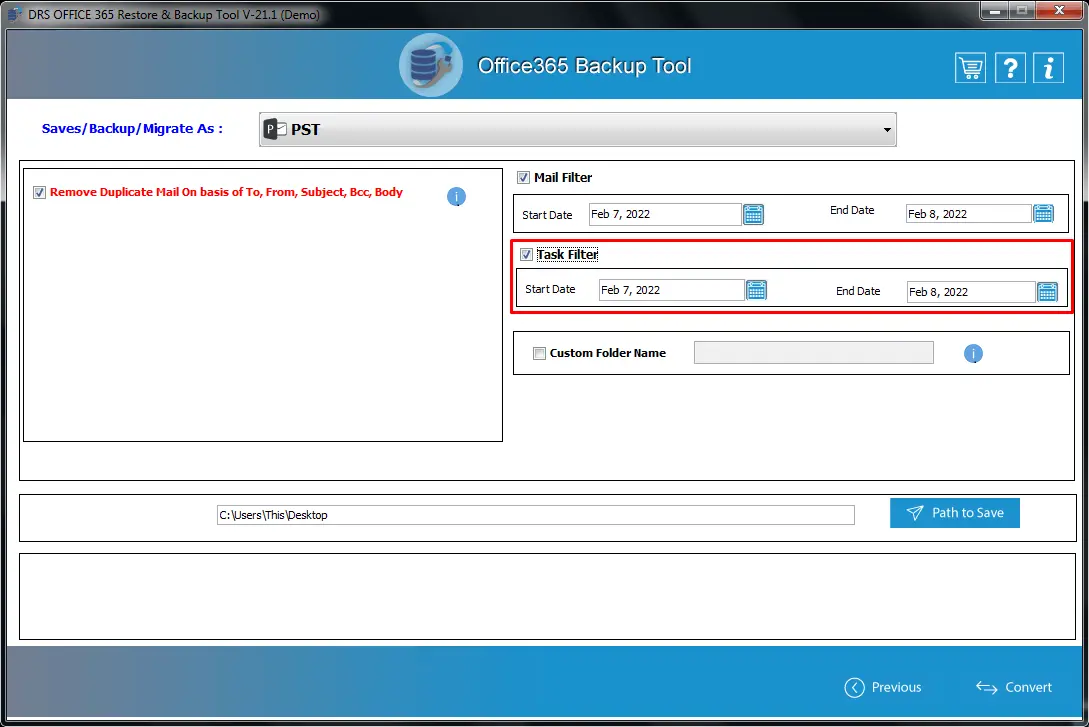
Step 14
Similarly, tick the Task Filter option and add the required Start Date and End Date.
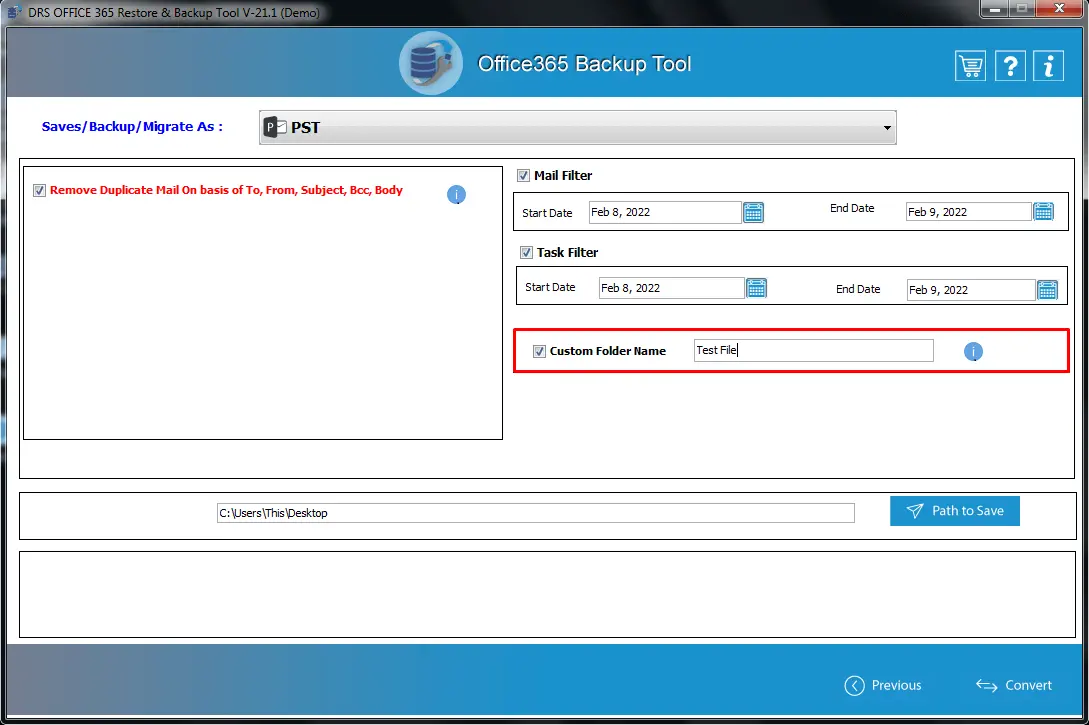
Step 15
After that, select the Custom Folder Name option and give any particular name to the folder containing the resultant file.
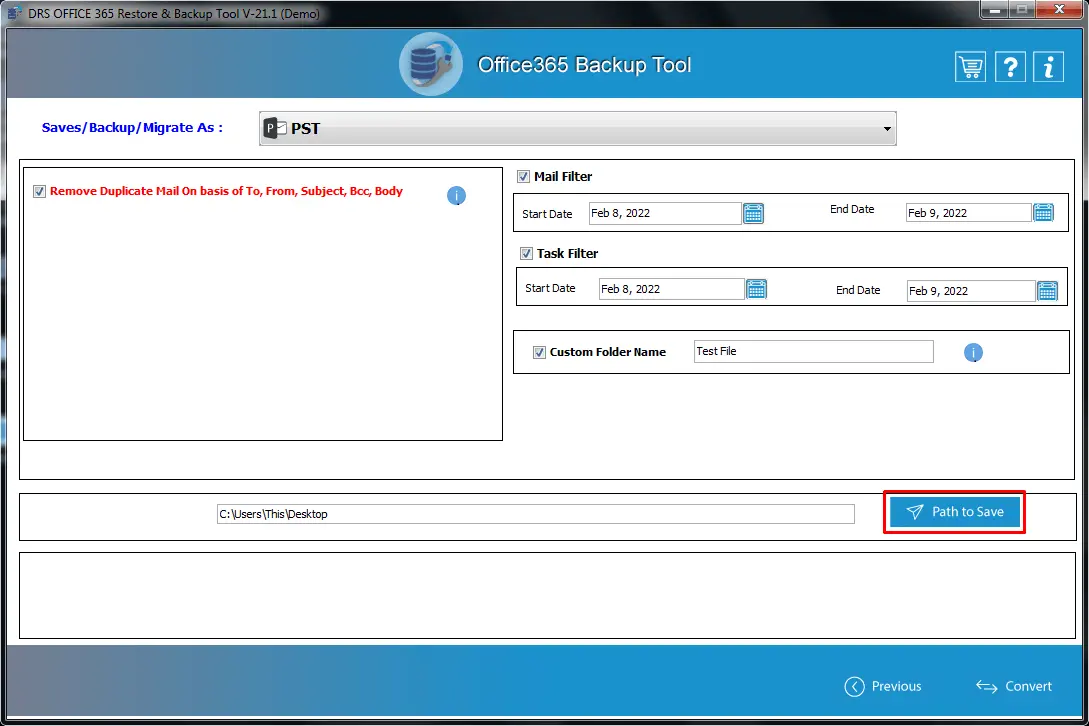
Step 16
Click on the Path to Save button to define the destination to the Office 365 backup file.
Step 17
At last, click on the Convert button to start the migration. The process will take some time, depending on the size of your Office 365 mailbox.
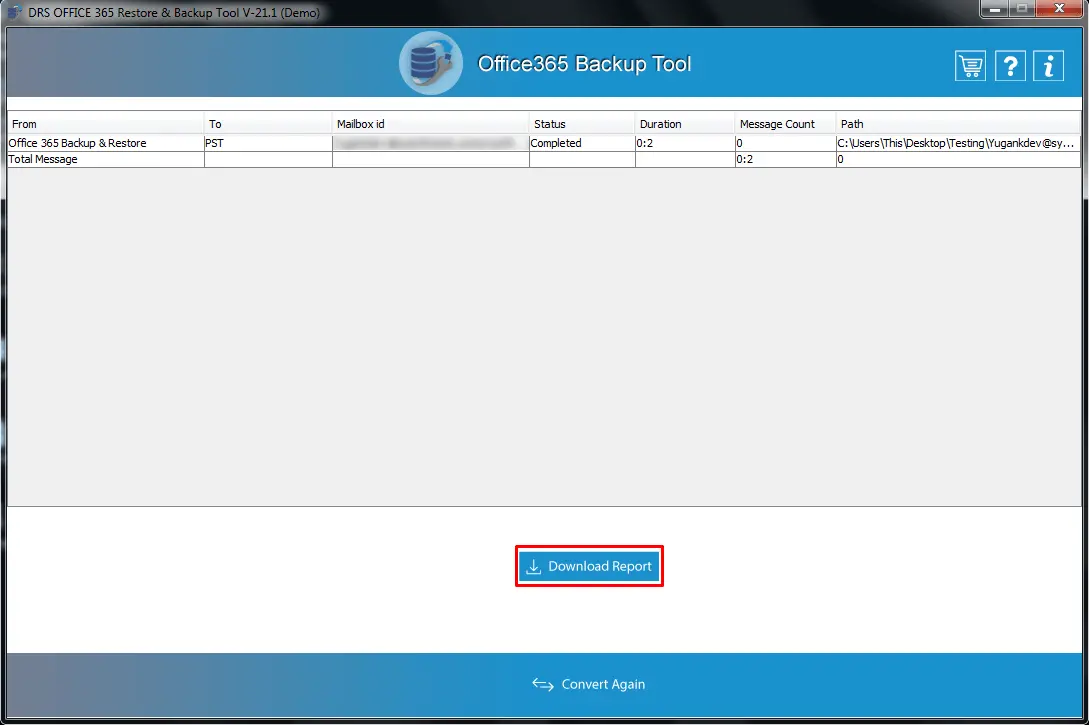
Step 18
After finishing the backup, you can download the migration report by pressing the Download Report button.
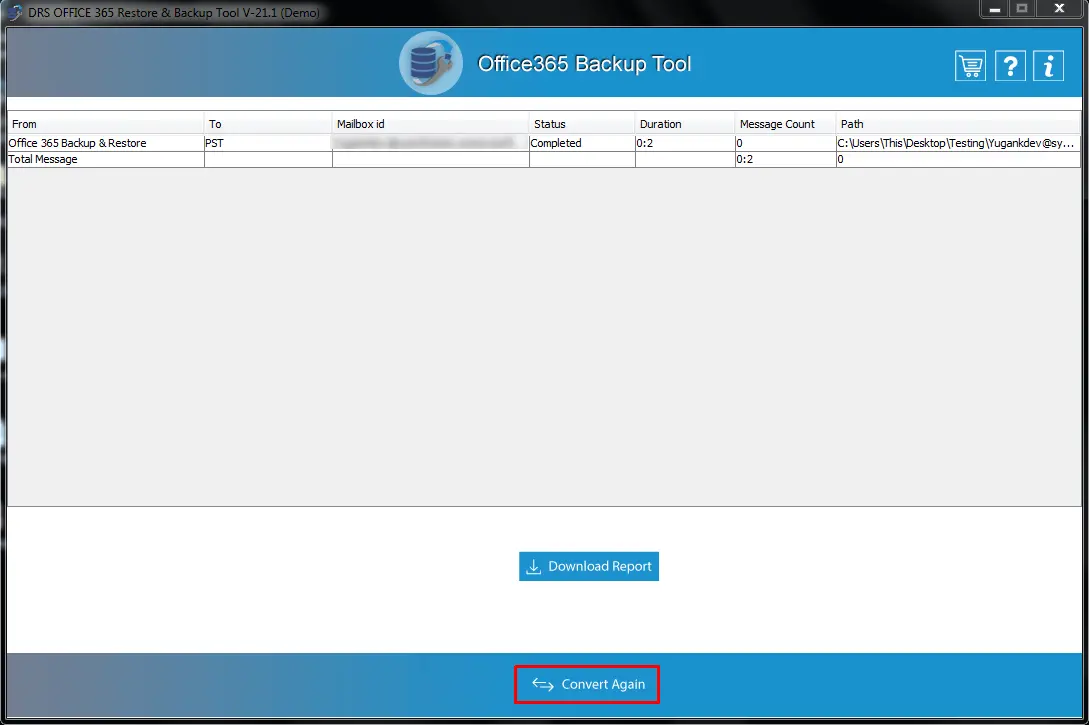
Step 19
If you want to export your Office 365 mailbox file in other file formats, press the Convert Again button.
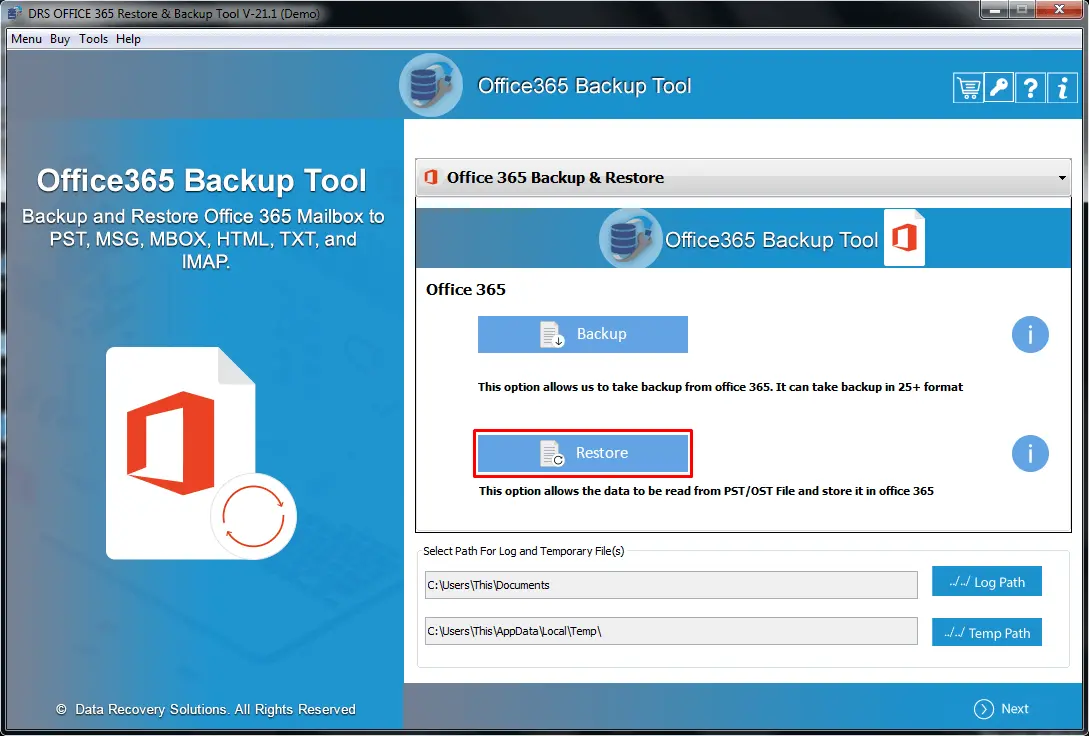
Follow steps 1 and 2 as mentioned above. After that, perform the below steps to restore your Office 365 mailbox data.
Step 3
Click on the Restore button to restore your Office 365 mailbox
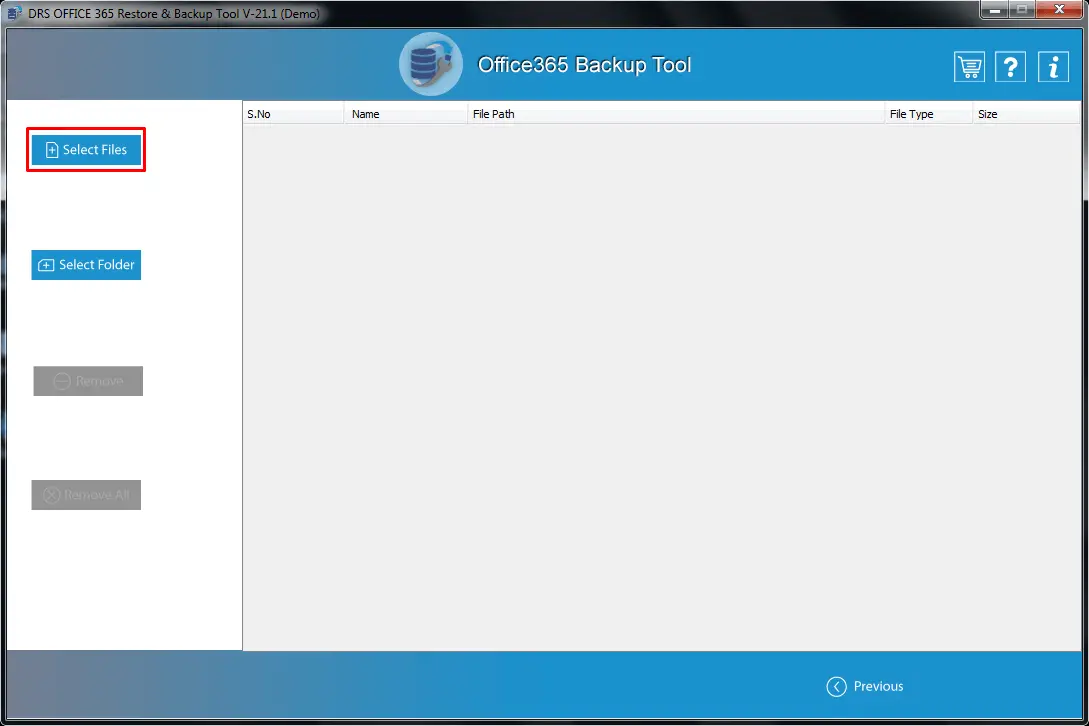
Step 4
After that, click on the Select Files option to add the required PST/OST file.
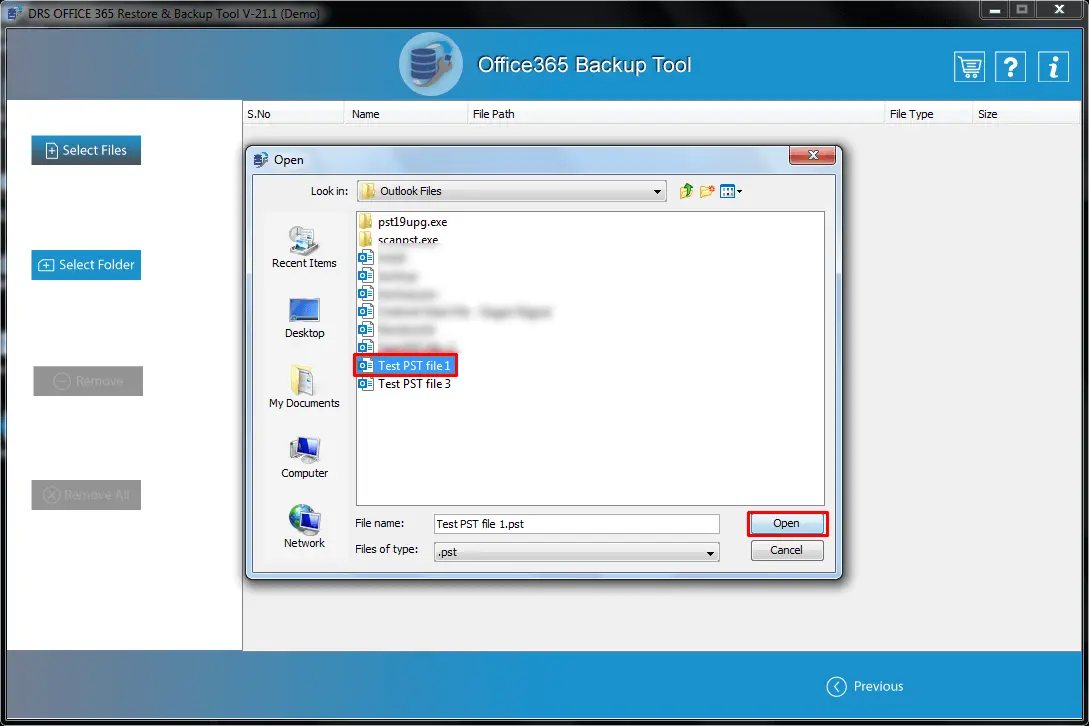
Step 5
Choose the backup file to restore your Outlook mailbox and click on the Open button.
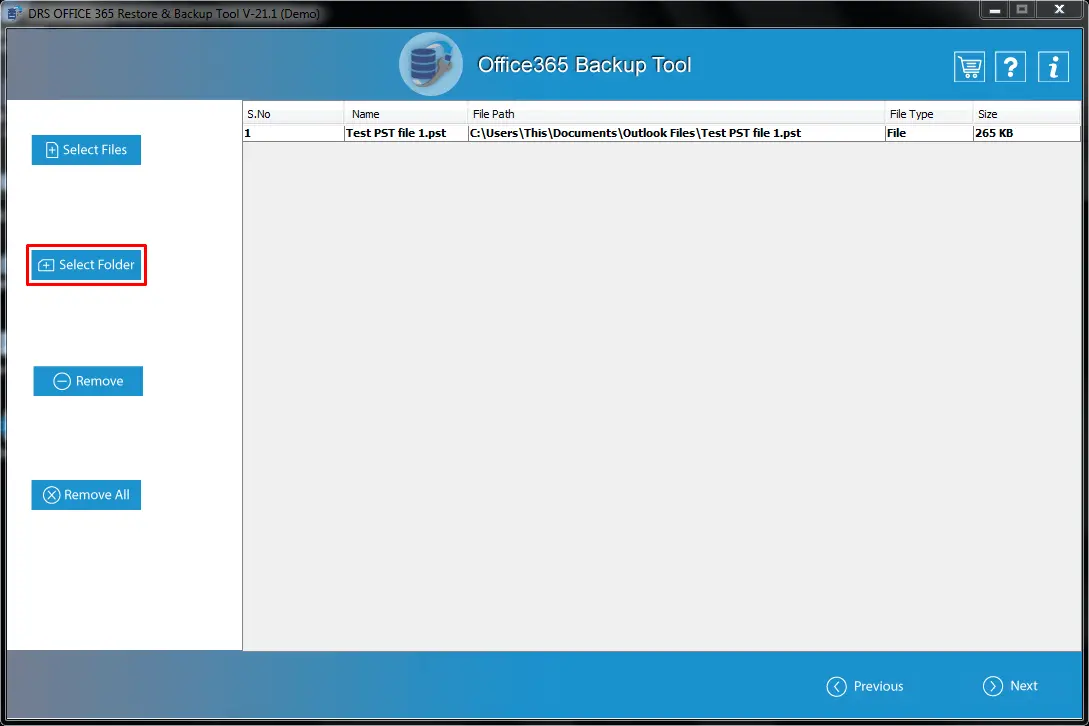
Step 6
You can also click on the Select Folder option if you have a folder of Outlook mailbox files.
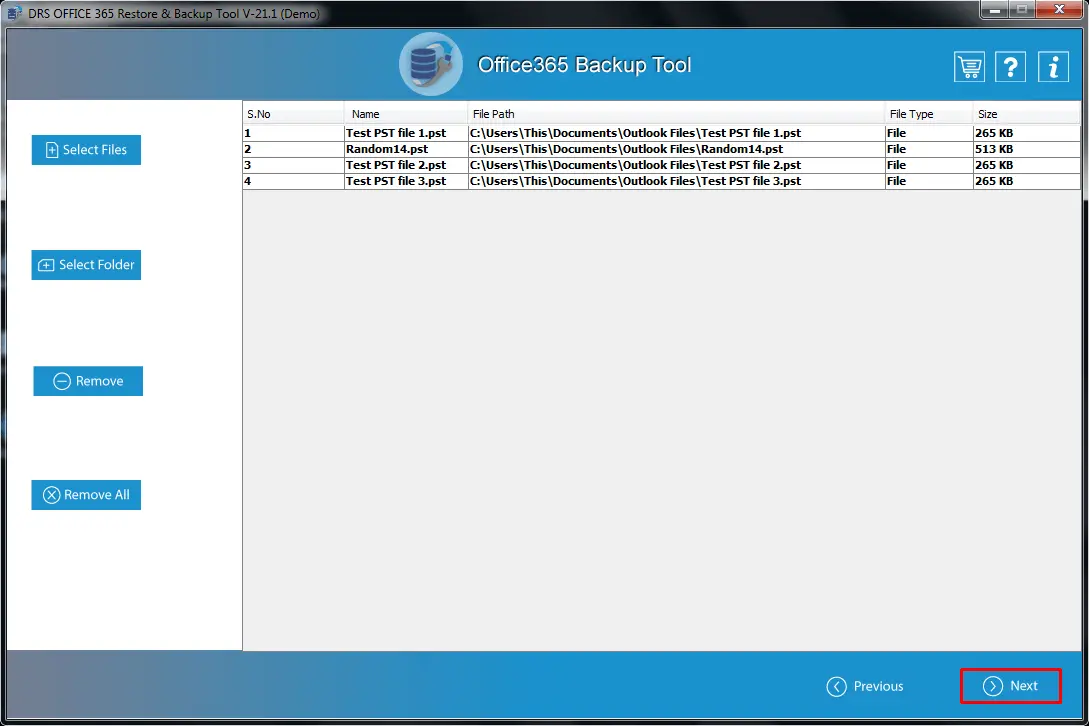
Step 7
After adding all the desired mailbox backup files, click on the Next button to proceed further
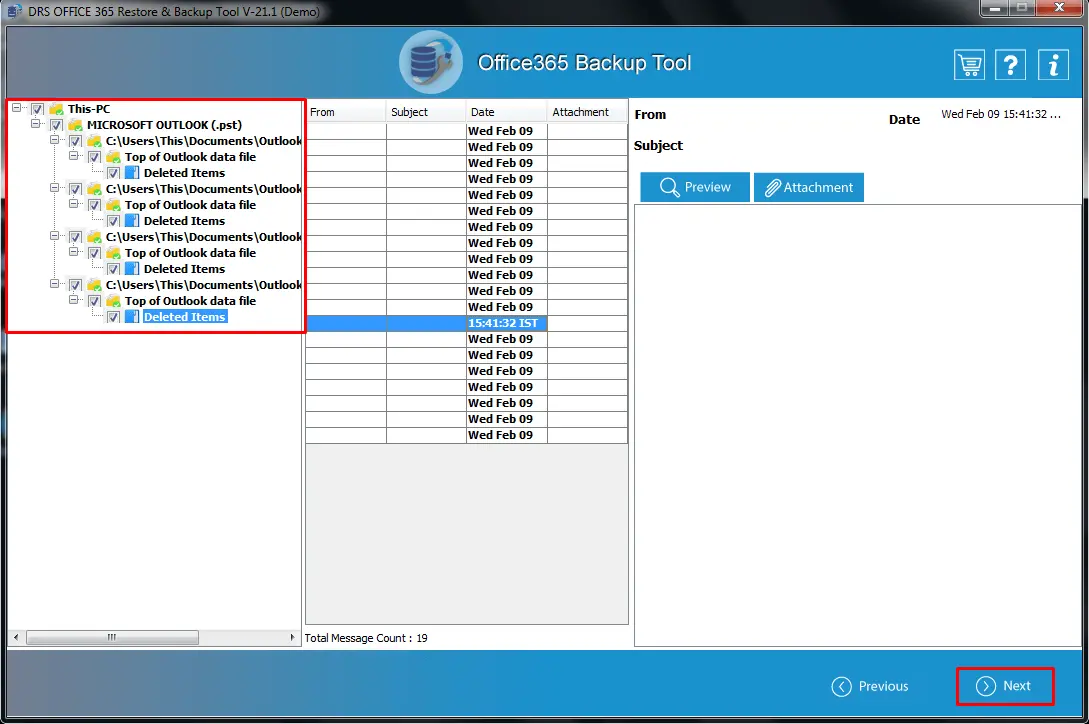
Step 8
Now, you will see the preview of the selected file content. Tick the mailbox item you want to export to your Office 365 account. Press the Next button.
Step 9
Enter the Office 365 Username and Password. If you want to restore the data to user mailboxes, tick the Assign Impersonation Right option. After that, click on the Sign-in button.
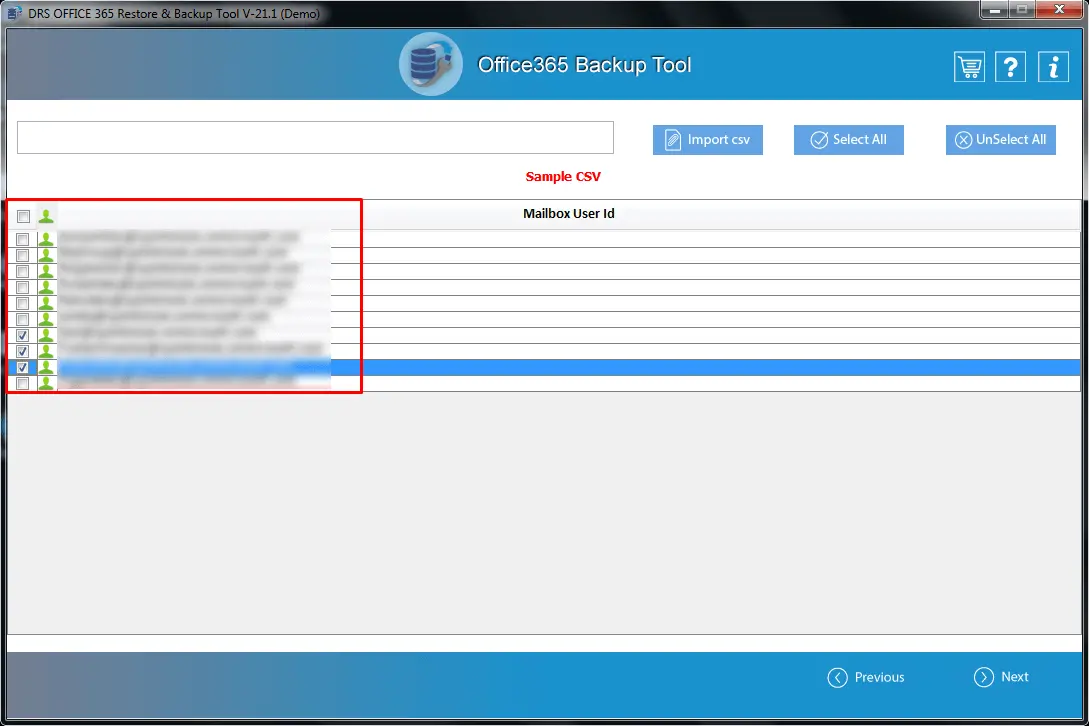
Step 10
After successful login, tick the mailbox user IDs required for further migration.
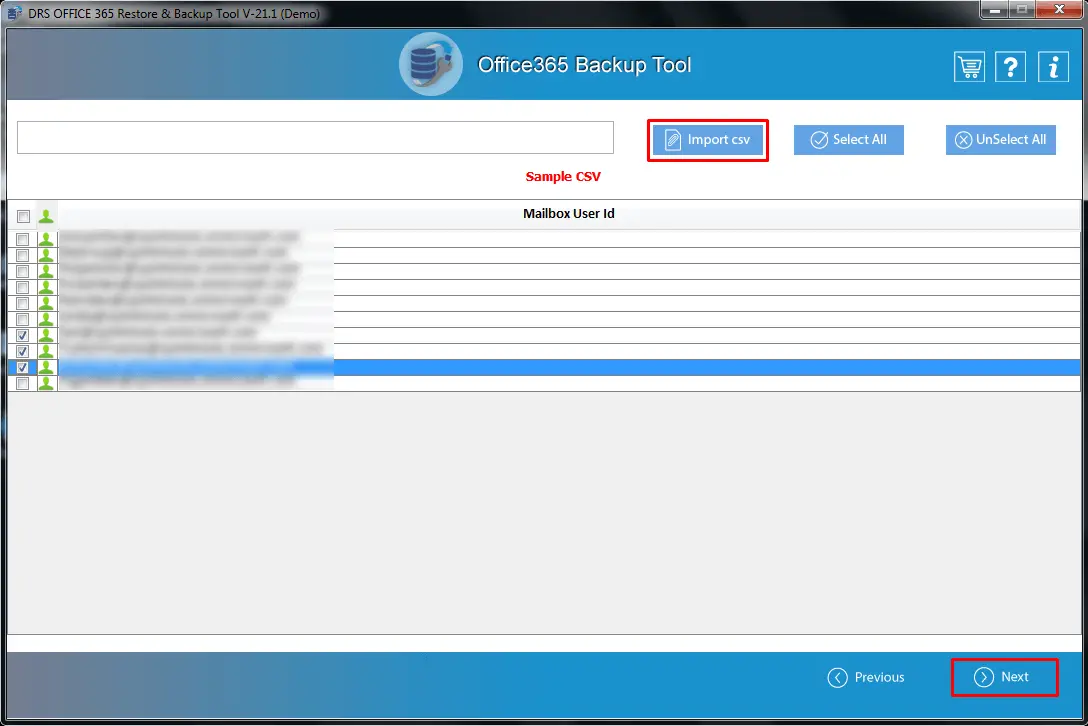
Step 11
Click on the Import CSV button to import a CSV file containing the list of all user mailboxes. Press the Next button to proceed further.
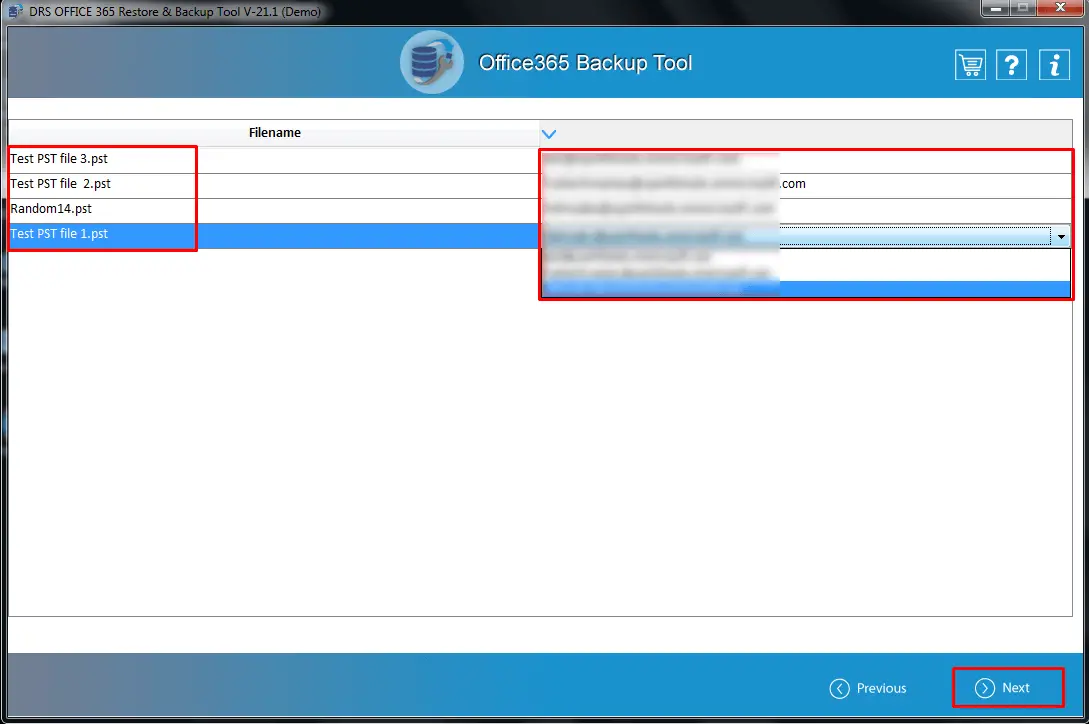
Step 12
Now, map every PST/OST file to the specific user account. It allows you to export the selected backup files to different mailbox accounts. After file mapping, press Next.
Step 13
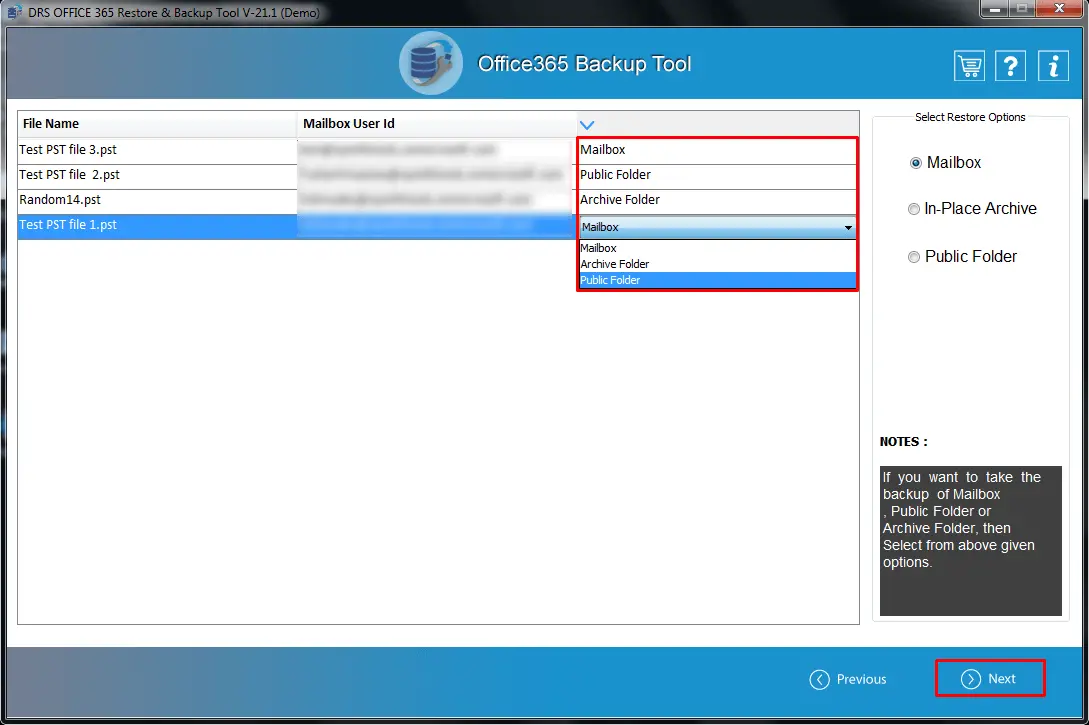
In the next step, define the mailbox type (Mailbox, Archive, or Public) for every File to User Account Mapping. Then, click on the Next button.
Step 14
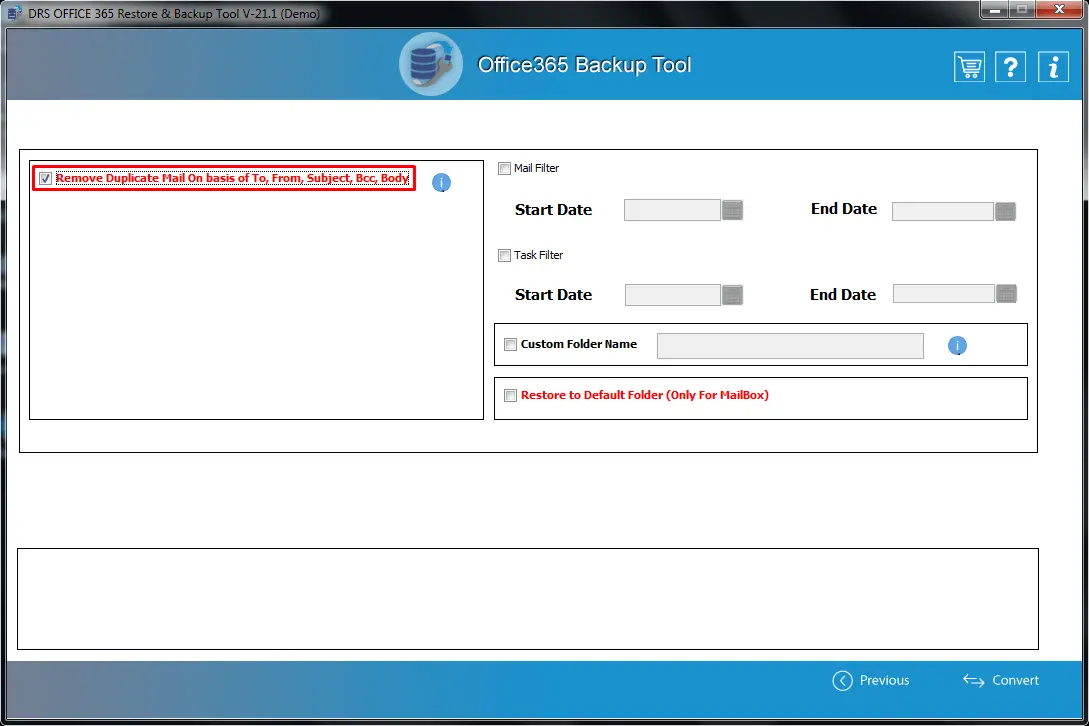
Now, tick the Remove Duplicate Mail on basis of the To, From, Subject, Bcc, Body option to exclude duplicate items from exporting to Office 365 account.
Step 15
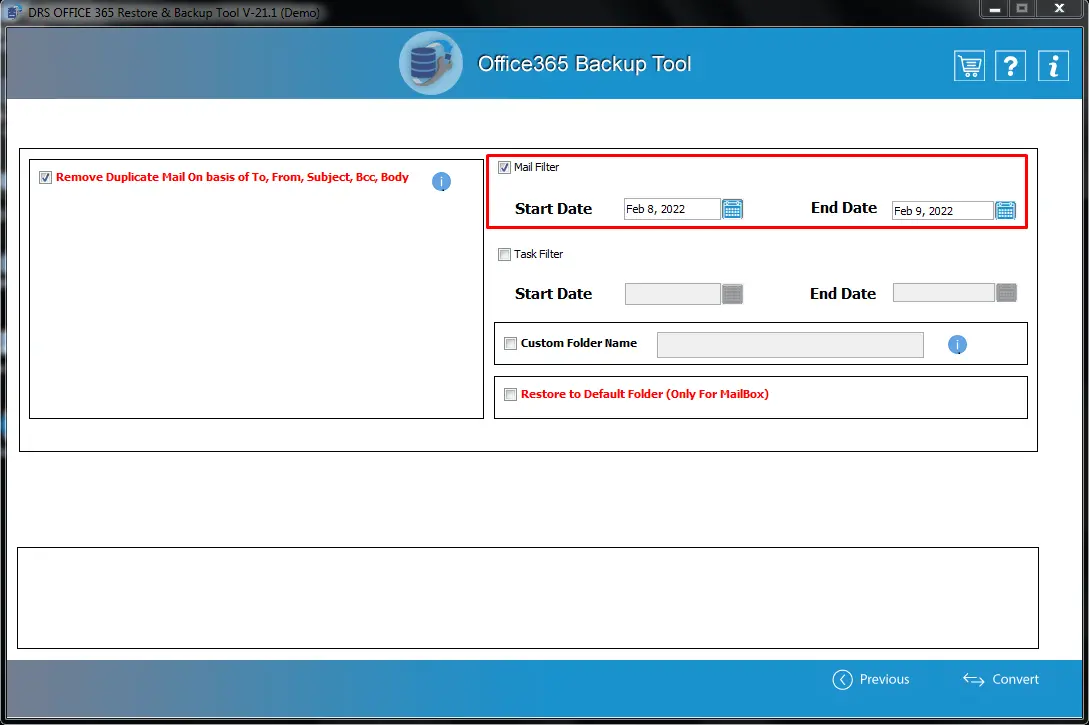
The Mail Filter is a date range filtering feature that allows you to export mailbox items related to a specific date range. Enter suitable Start Date and End Date to define the date range.
Step 16
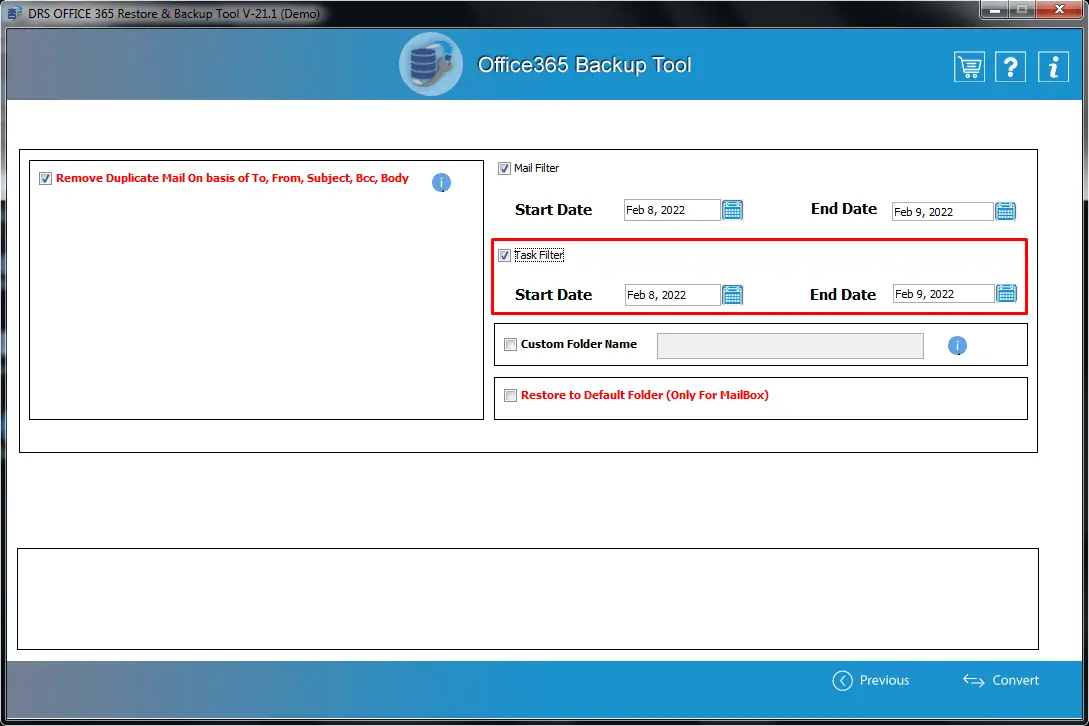
Similarly, tick the Task Filter option and choose the desired Start Date and End Date.
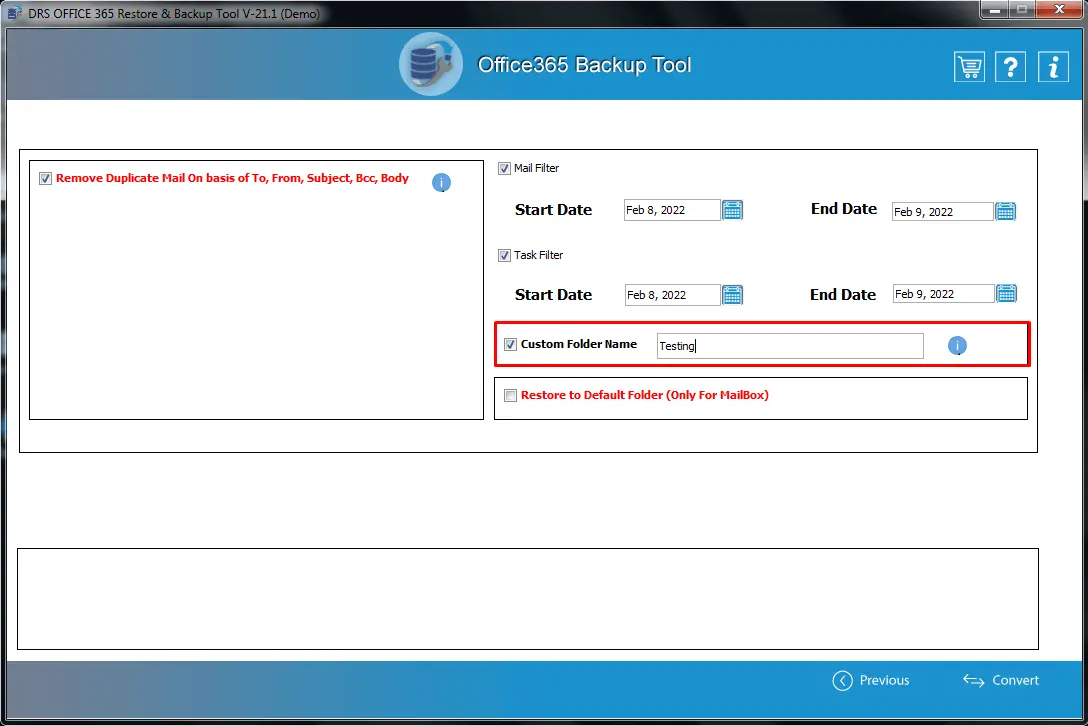
Step 17
You can also give the desired name to the folder containing the resultant file using the Custom Folder Name option. Mark this option and enter the name in the respective field
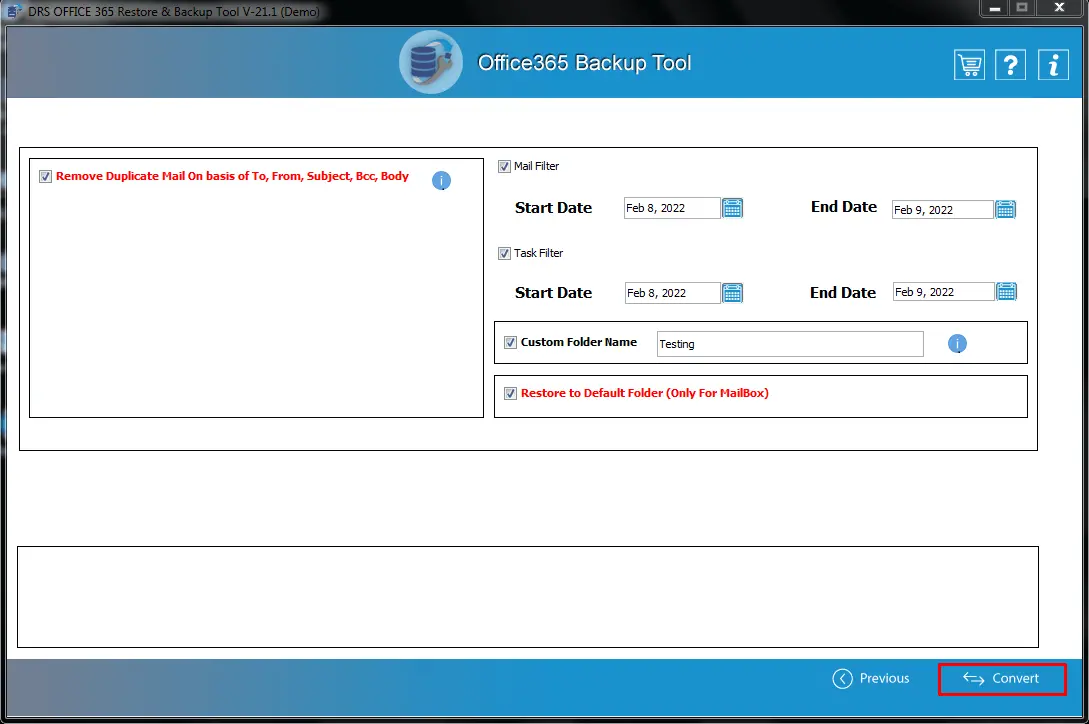
Step 18
Opt for the Restore to Default Folder to export the data to its default folder in the mailbox.
Step 19
At last, click on the Convert button to start the migration of the OST/PST file to the Office 365 account.
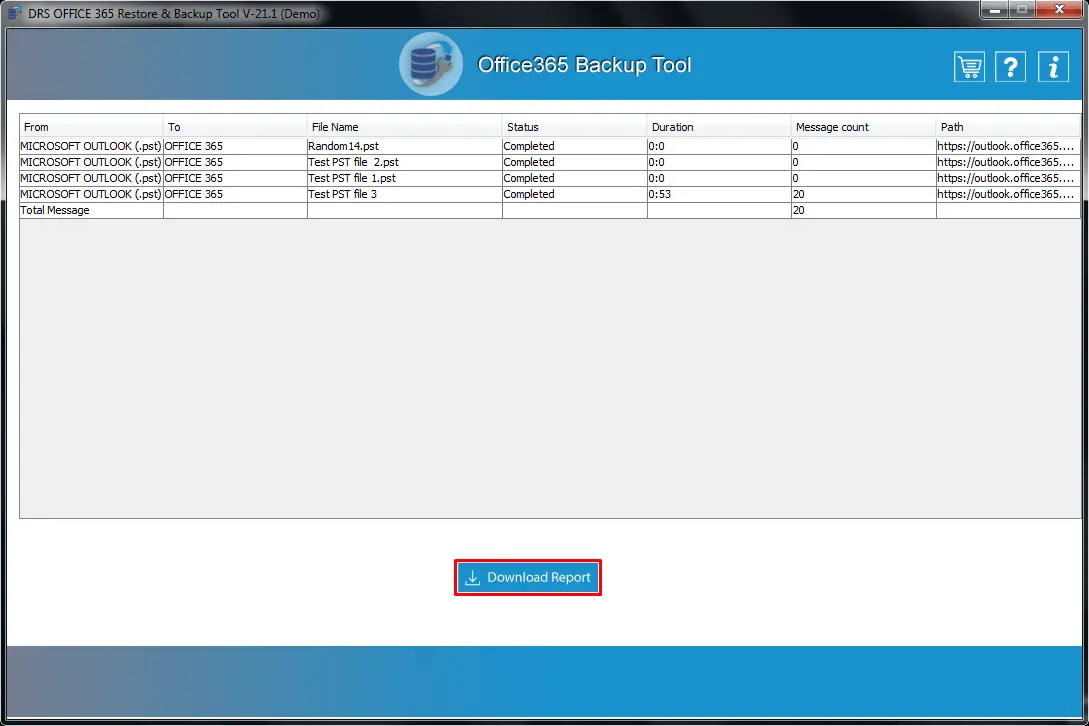
Step 20
After completing the process, press the Download Reportbutton to download the conversion report in CSV file format.