Detailed Walkthrough Using the CloudMigration Utility
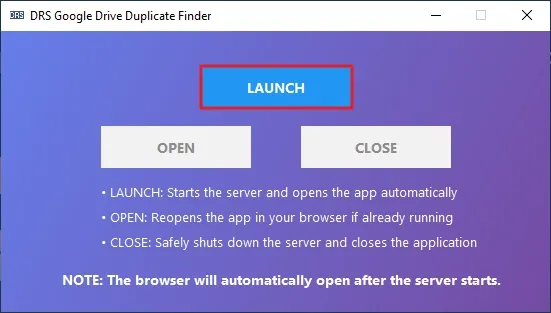
Firstly, launch the CloudMigration Google Drive Duplicate File Finder Tool.
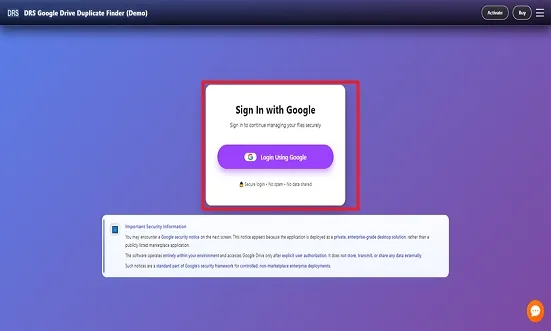
Now, sign in using your Gmail account credentials securely.
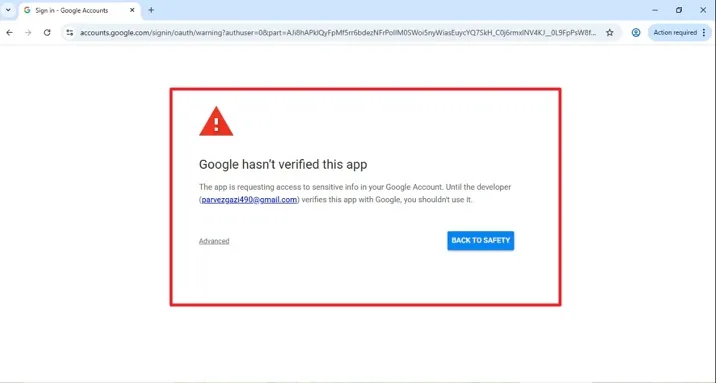
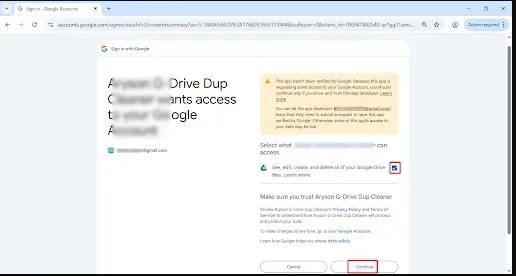
Complete the Google verification by clicking on ‘advance’ and then ‘continue’.
After that, grant the access permission to Google Drive and again click ‘continue’.
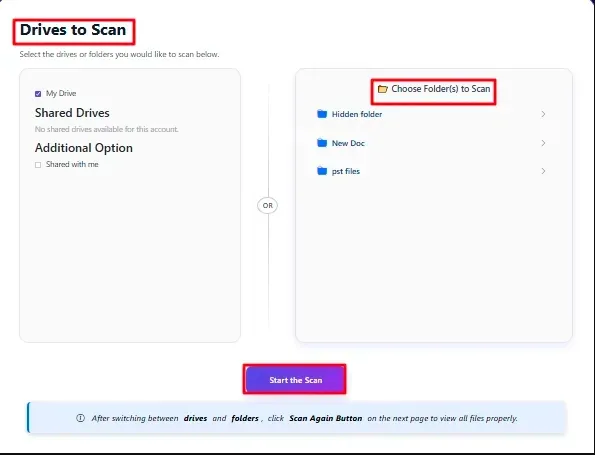
Then, choose either ‘Drives to Scan’ to scan the entire drive or ‘Folder(s)’ to scan the selected folder.
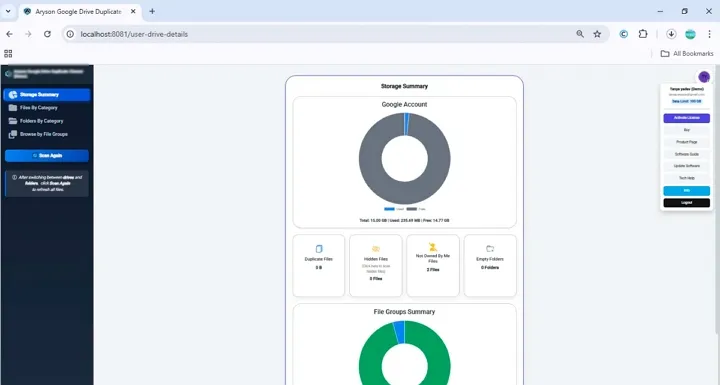
On the next page, you will see a ‘Storage Summary Panel.’
- Once the scan is complete, a detailed overview is shown, including Drive storage usage, duplicate files, hidden items, files not owned by you, and empty folders.
- The right-side panel offers instant access to account information, license activation, essential actions, and support features, allowing you to stay focused without disrupting your workflow.
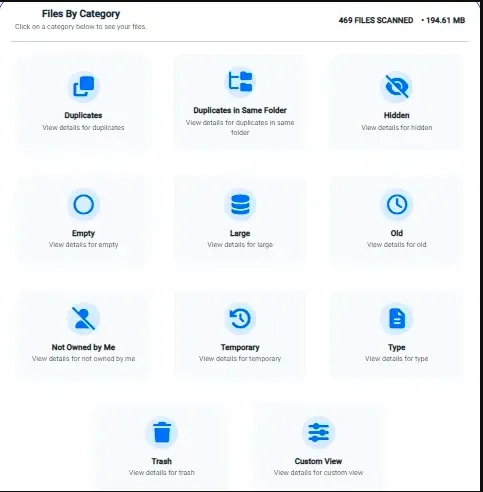
Further, files are categorized into Duplicates (same folder), Hidden, Empty, Large, Old, Not Owned by Me, Temporary, By Type, Custom View, and Trash. This makes file management easier and more efficient.
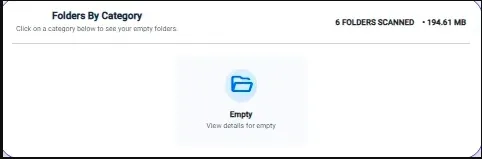
Subsequently, identifies empty and unused folders, helps eliminate unnecessary clutter, and reclaim storage space, improving overall efficiency in Drive management.
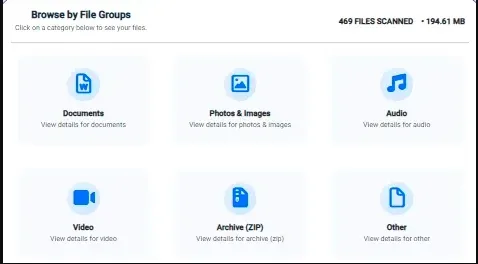
Afterwards, files are automatically categorized by type, including Documents, Photos, Audio, Video, ZIP, and other formats. Shows the total file count and the amount of storage consumed by each category.
Helps pinpoint storage-heavy file types, enabling better space optimization.
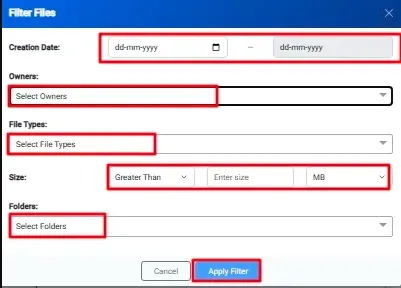
Next, apply the advanced filters if required.
- Creation Date: Search for files created within a selected date range.
- Owners: Identify files based on ownership.
- File Types: Filter and locate specific file formats.
- Size: Quickly detect large files occupying significant space.
- Folder: Choose a specific folder for targeted file management.
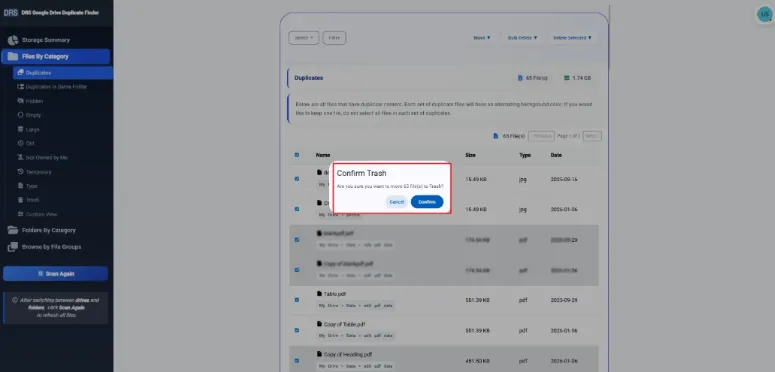
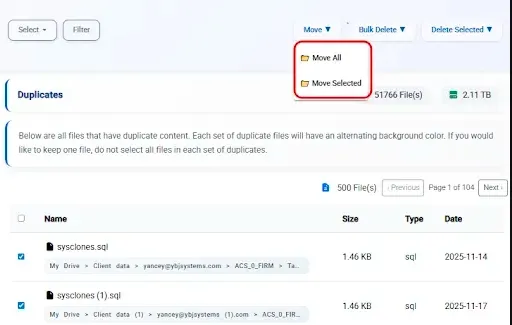
In the end, select and delete the repeated files:
- Select Files: Choose files on the current page using options such as None, All, Newest, or Oldest.
- Manual Delete: Pick individual files and click Delete to send them to Trash or permanently remove them after confirmation.
- Bulk Delete: Delete all files within a selected category at once to save time and effort.
- Move Files: Use Move Selected or Move All to relocate files to a different folder.
Finally, click confirm to start the deletion process.