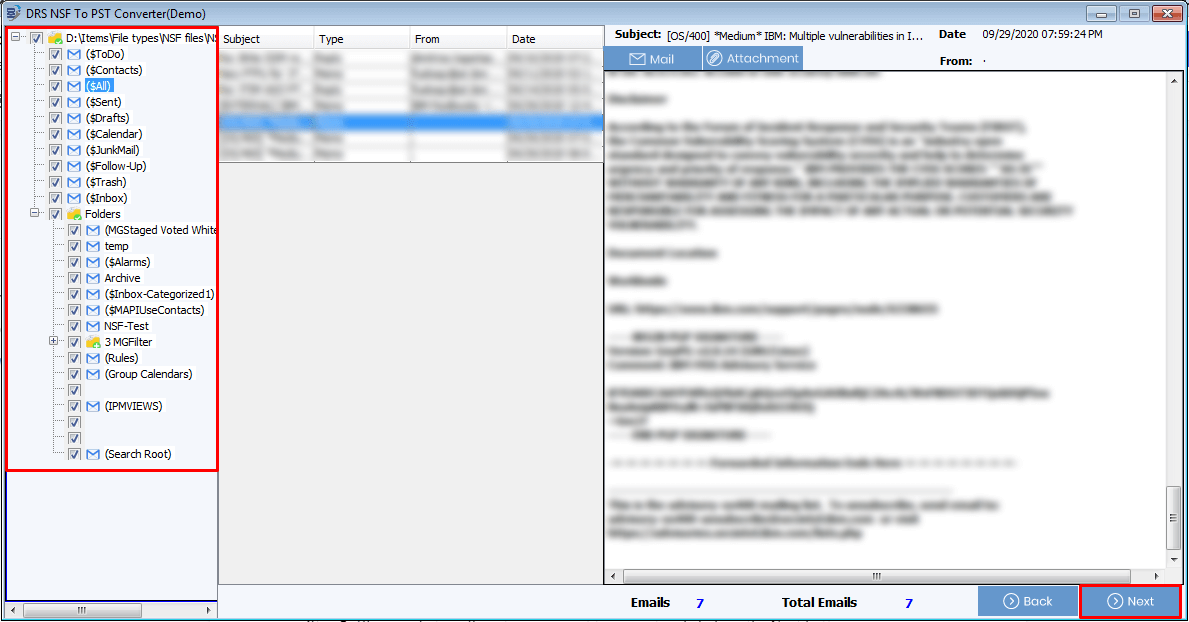
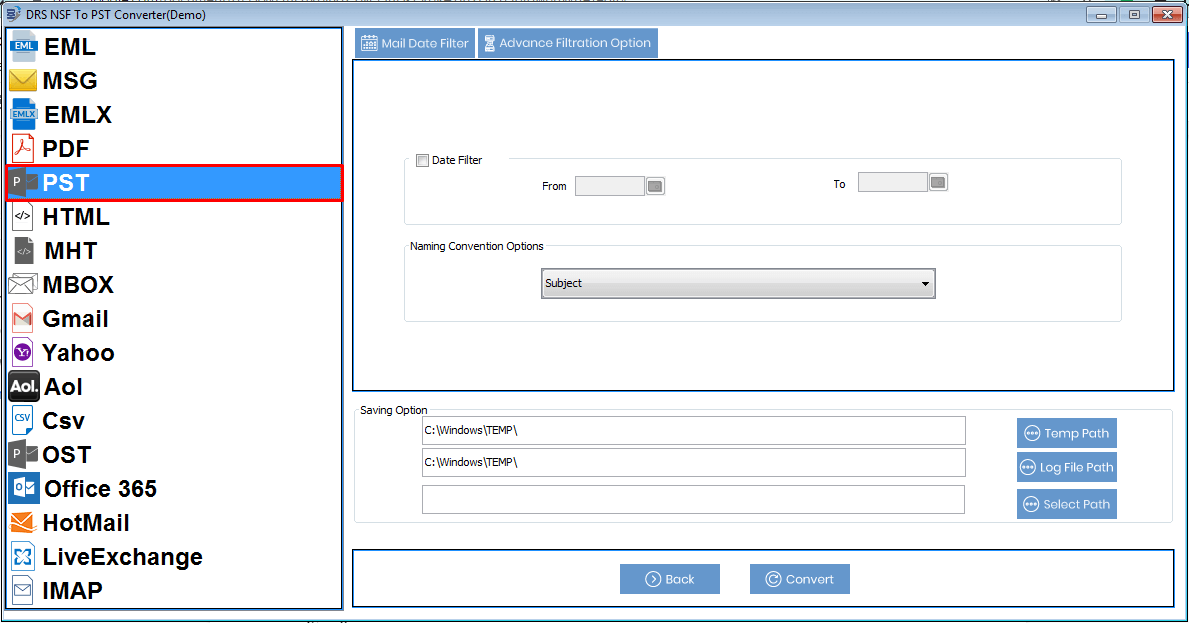
Step 7
Choose PST file format from the list available in the left pane.
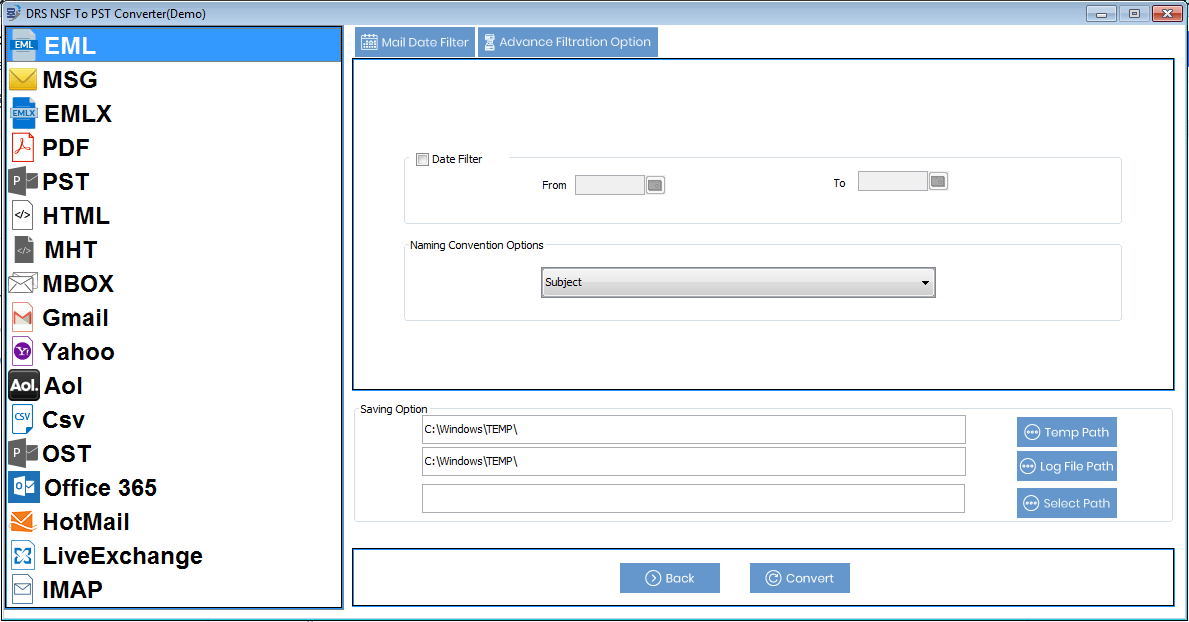
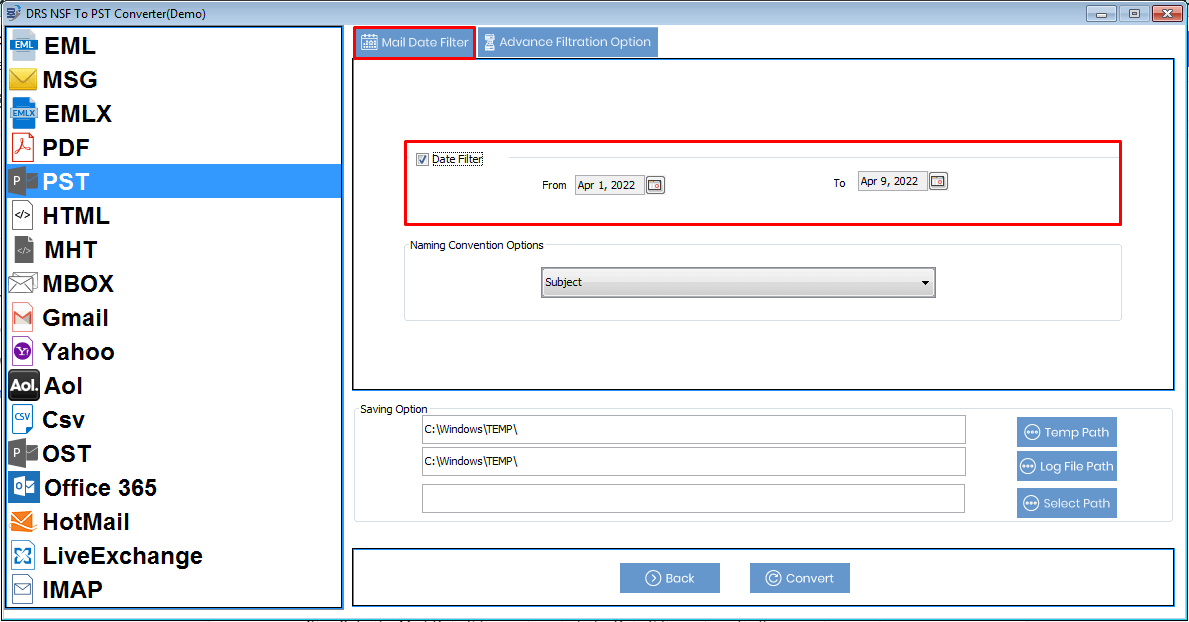
Step 8
In the Mail Date Filter section, tick the Date Filter option. It allows you to migrate emails of a specific date range. Enter a suitable Start Date and End Date to define the date range.
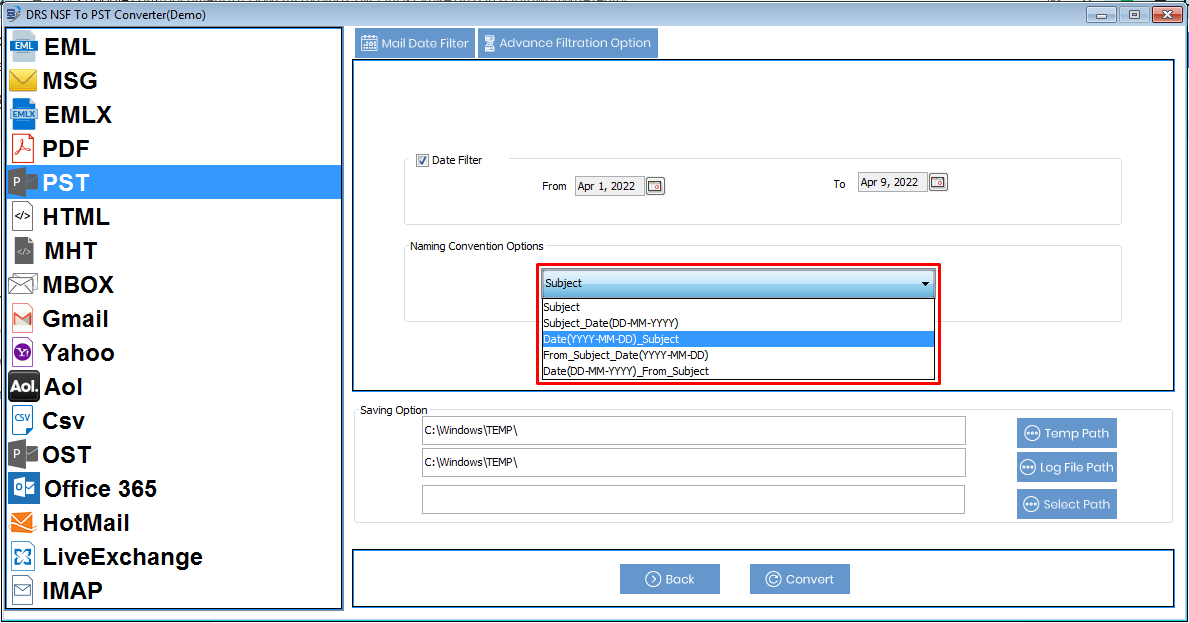
Step 9
You can also choose the Naming Convention to name the folder containing the resultant file. Expand the list and pick from the predefined naming conventions.
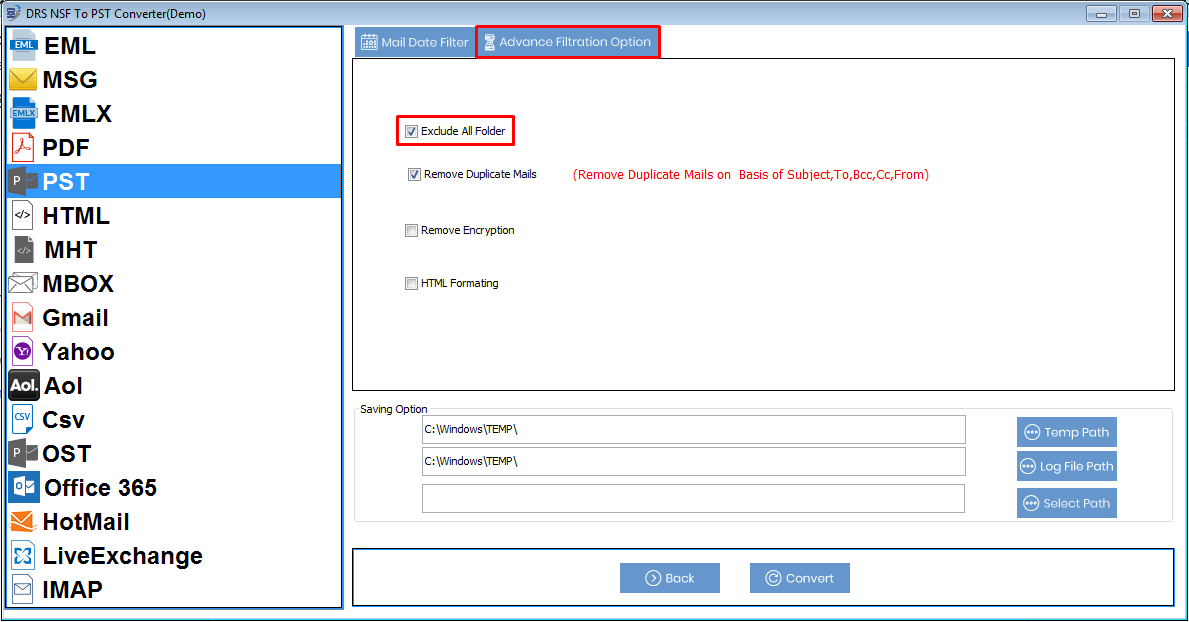
Step 10
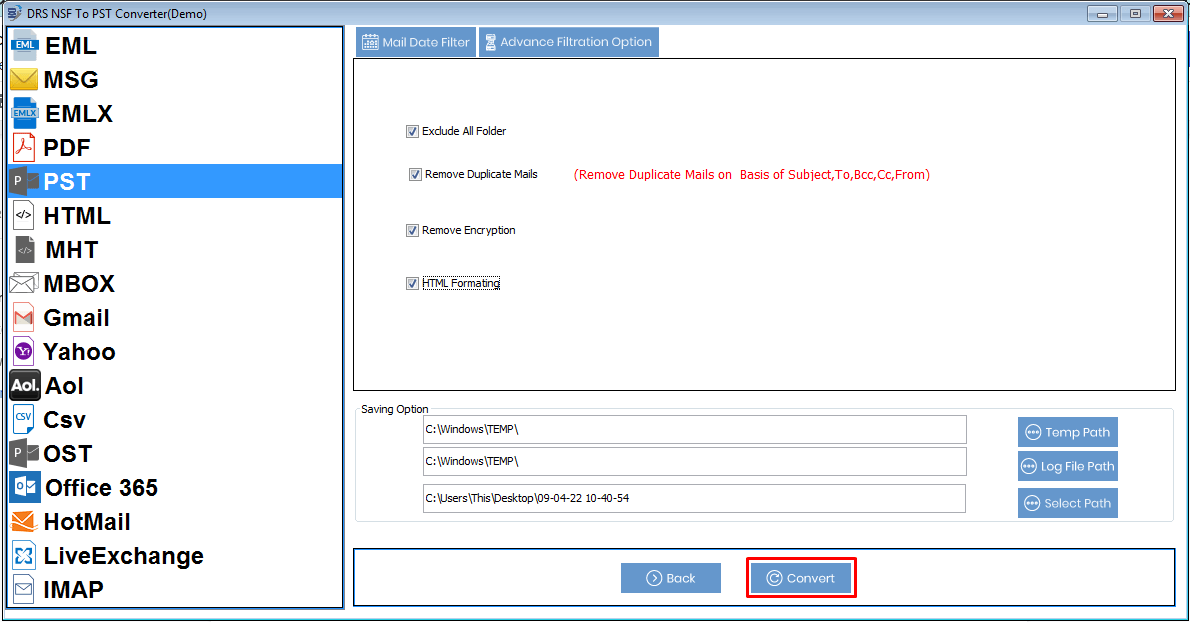
After that, switch to the Advanced Filtration Options tab. Here, the first option is the Exclude All Folder. Tick this option to prevent the conversion of the All mailbox folder.
Note: 'All' is the name of the mailbox folder. It contains emails from every mailbox folder like inbox, sent, draft, trash, etc.
Step 11
For precise migration, select the Remove Duplicate Mails option. It will exclude all duplicate emails based on to, from, subject, bcc, and body while converting NSF to PST.
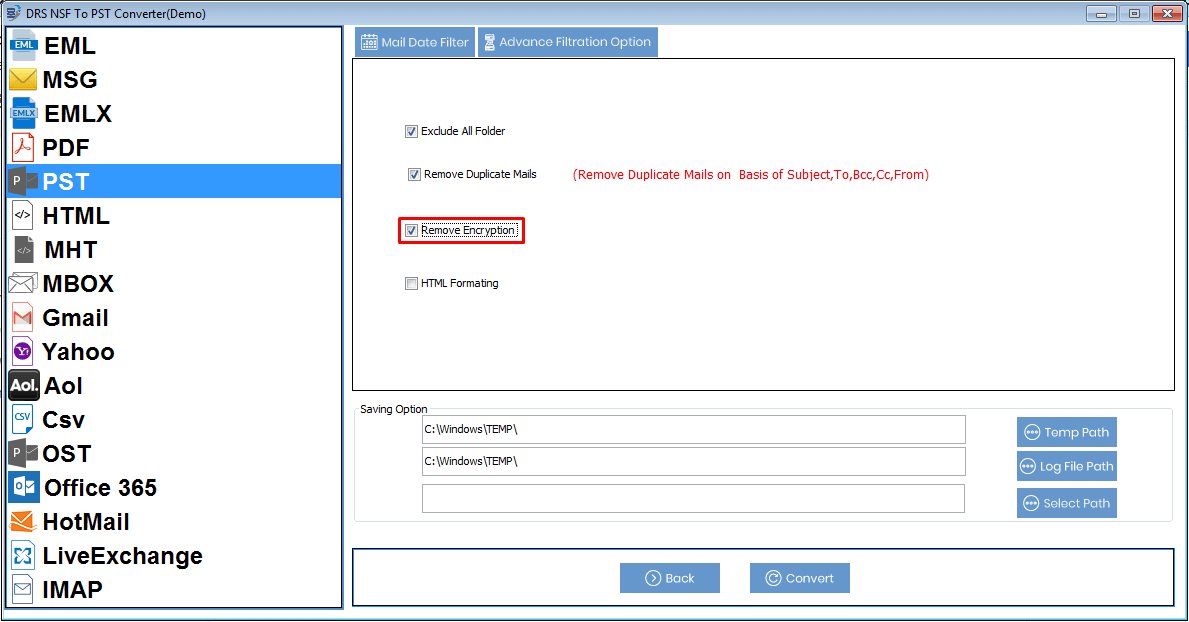
Step 12
Tick the Remove Encryption option. It will disable encryption on any email of the input NSF file.
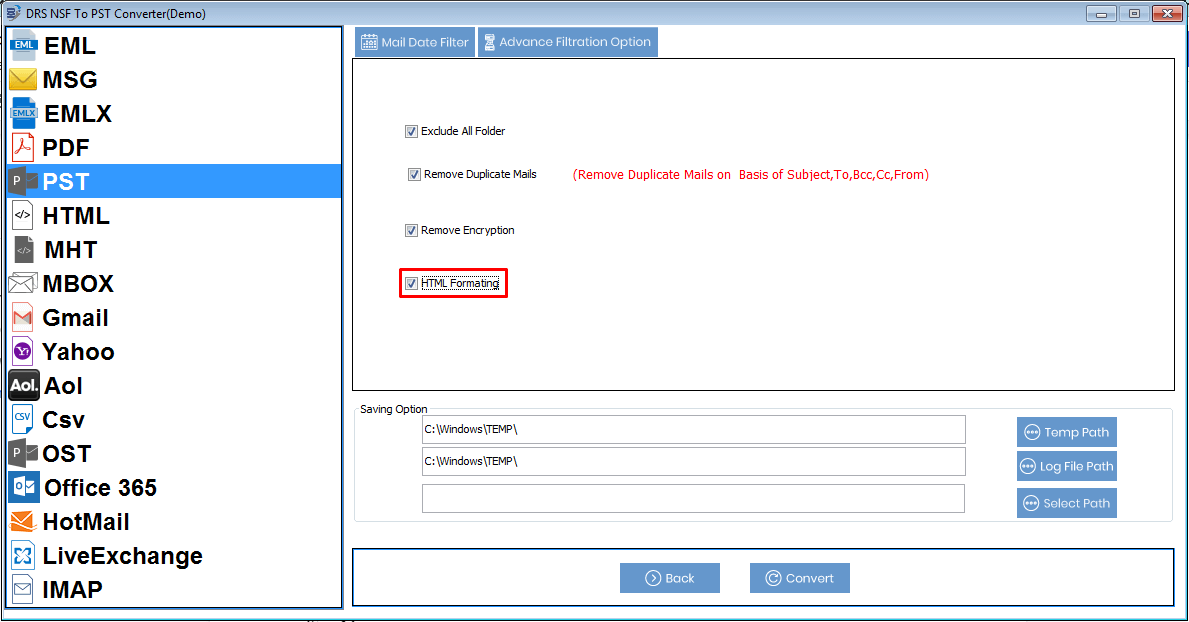
Step 13
Next, select the HTML formatting option if you want to save emails of the resultant file with HTML formatting.
Step 14
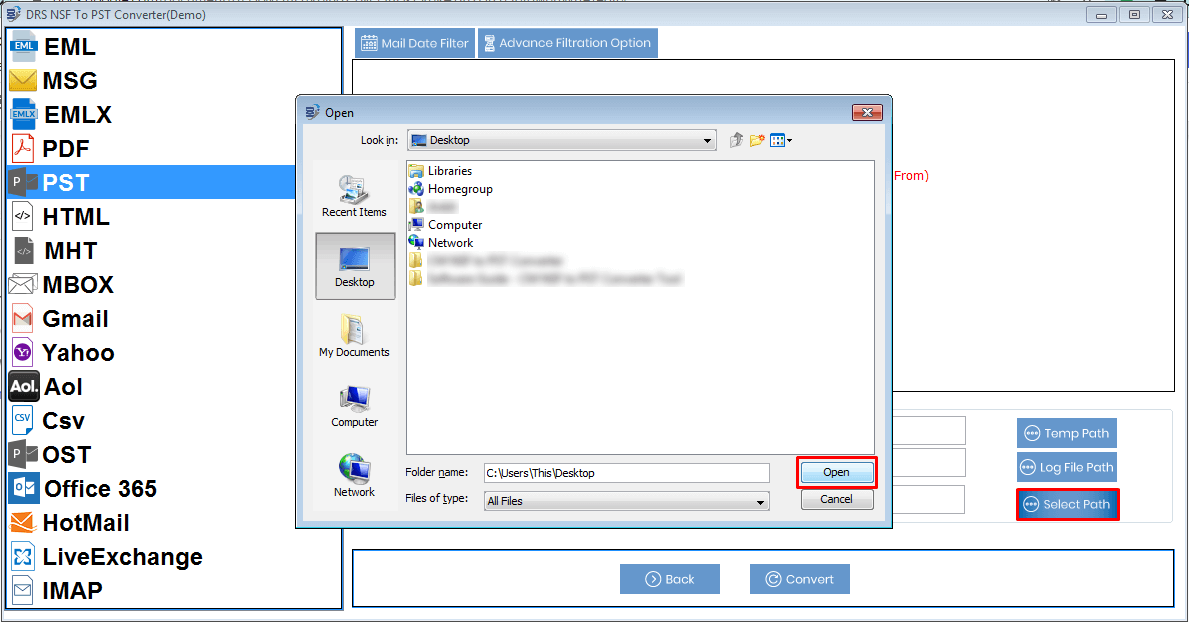
After that, click on the Select Path button to define the destination of the resultant file. Choose a location from the file explorer and click on the Open button.
Step 15
At last, click on the Convert button to start the NSF to PST migration.
Step 16
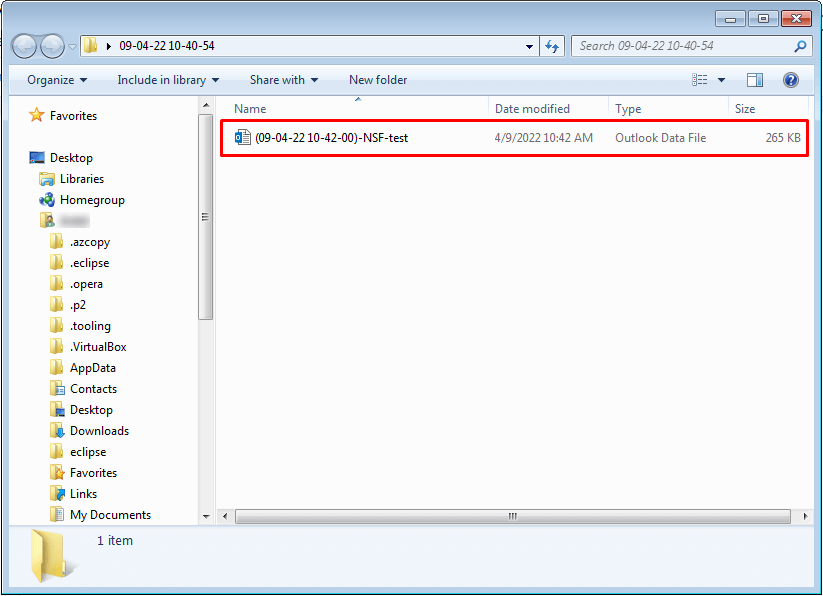
After finishing the process, you will see the resultant file at the defined location.
Below are the steps to migrate your Lotus Notes NSF file to Gmail. Follow steps 1 to 6 and then perform the procedure mentioned.
Step 7
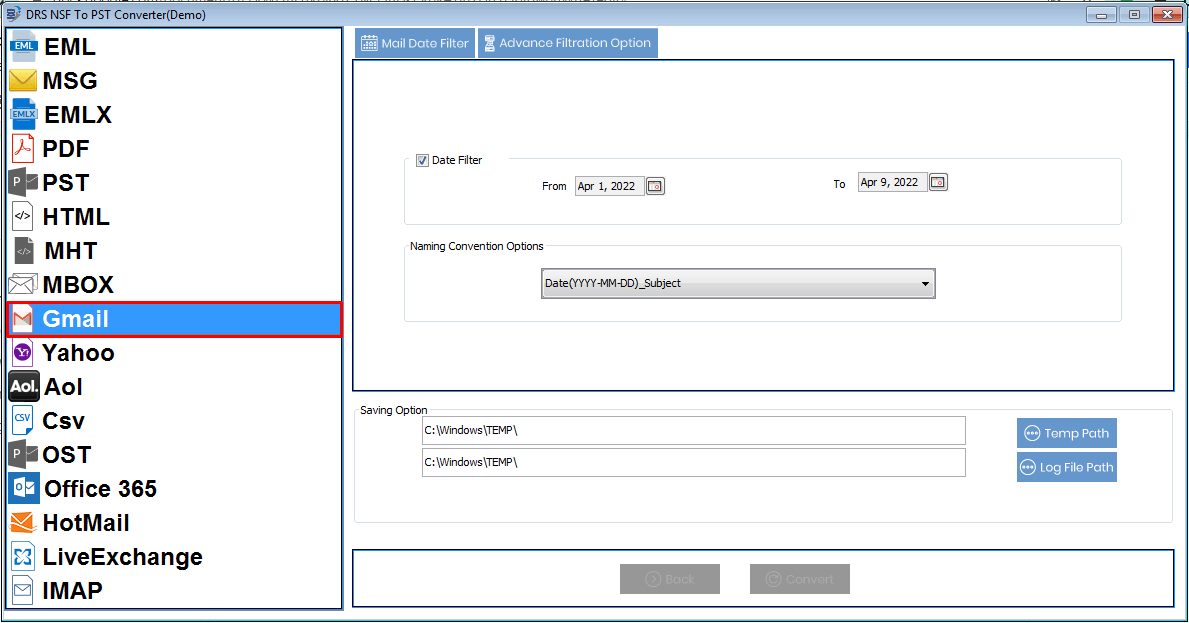
Choose Gmail from the list of options in the left pane.
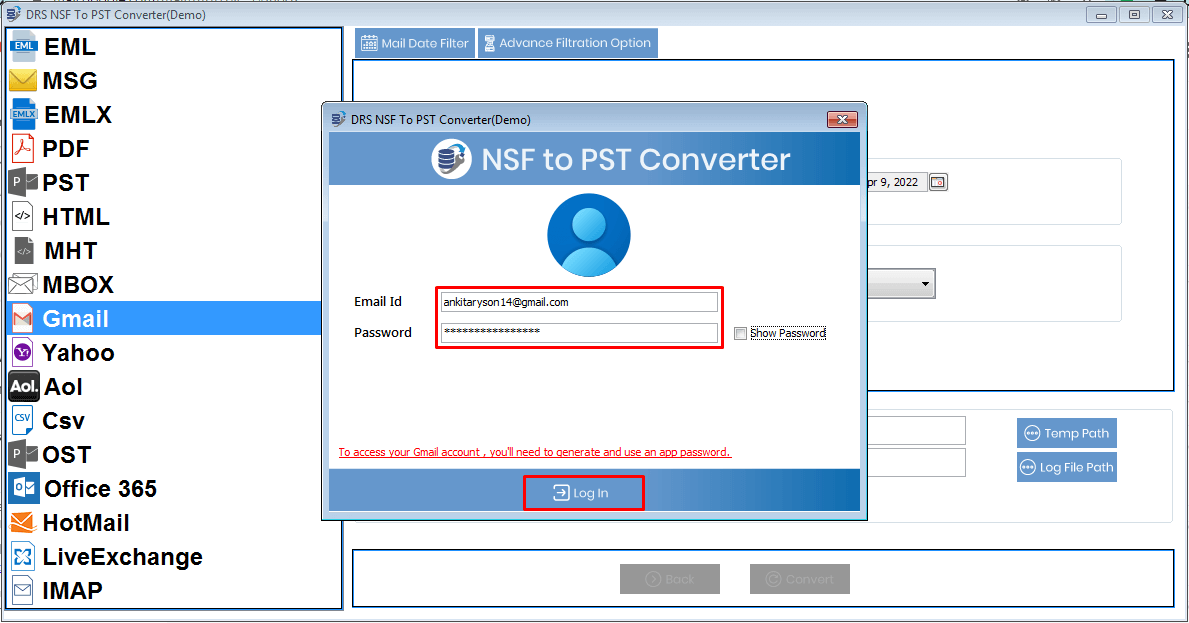
Step 8
Now, you see a login dialogue box. Enter your Gmail login credentials (Email ID and app password) and click on the Login button.
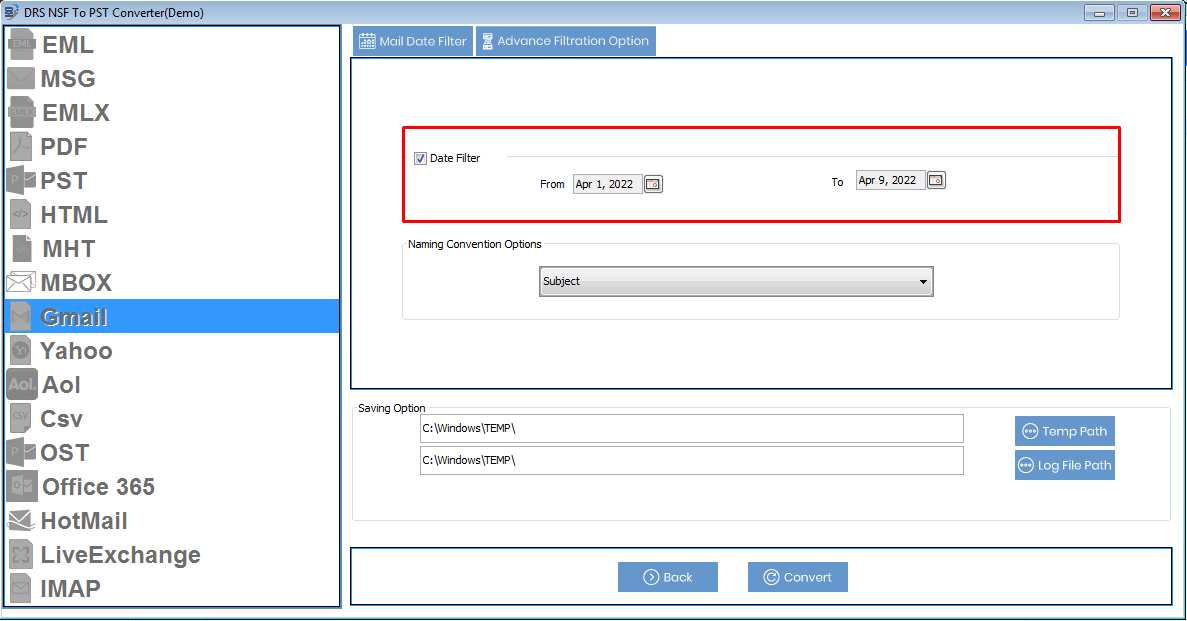
Step 9
After successfully signing in to your account, Select the Date Filter option and enter the appropriate Start Date and End Date. It will migrate only selected emails.
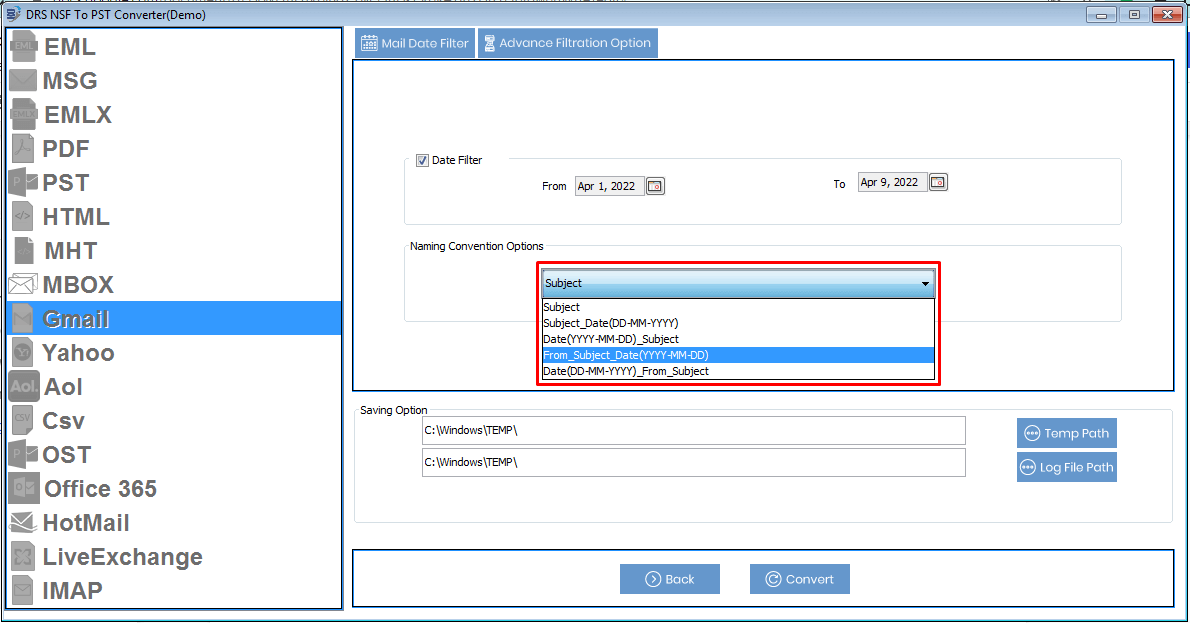
Step 10
Expand the list of Naming Convention and select any desired format to name the resultant file.
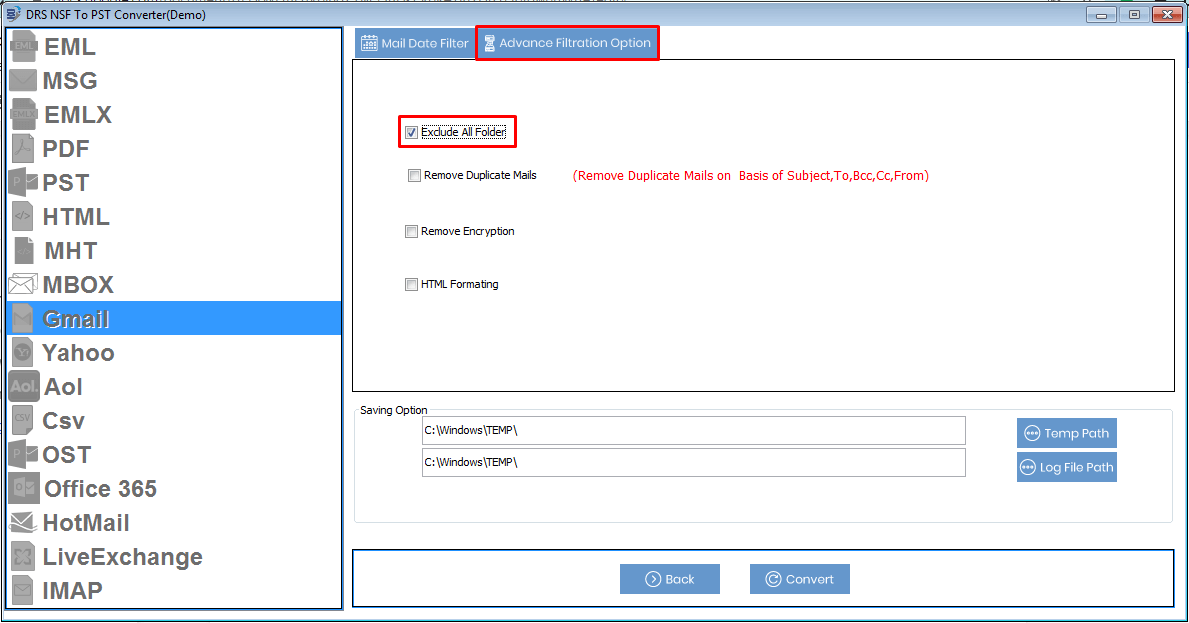
Step 11
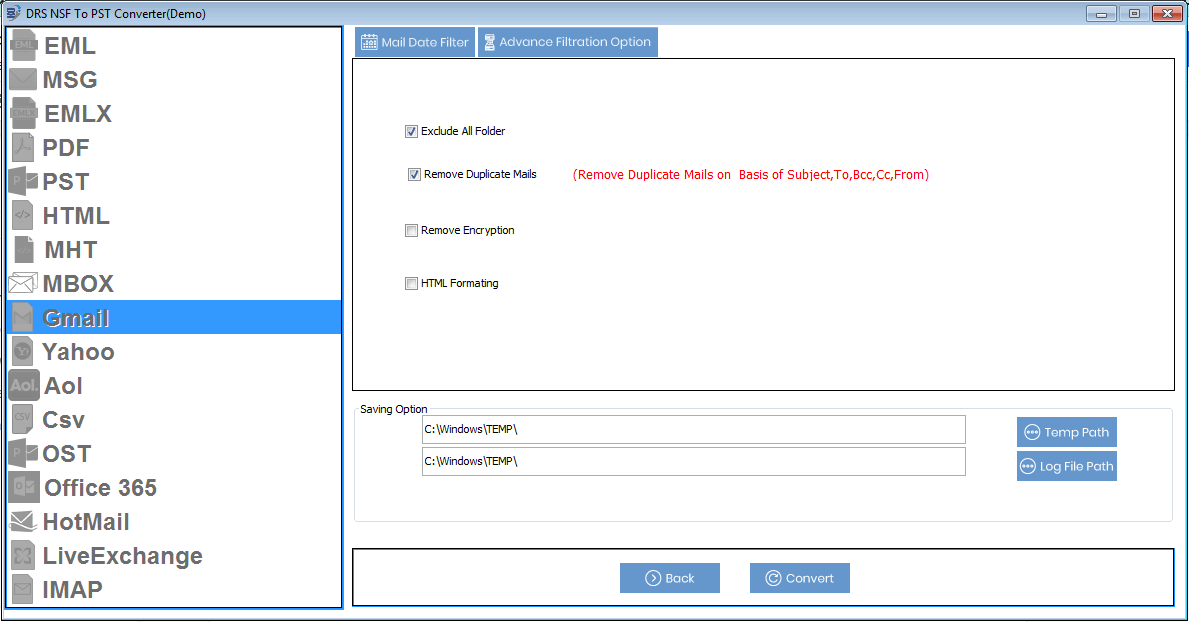
Switch to the Advance Filtration Option, and tick the Exclude All folder option. It will exclude the All mailbox folder from migration.
Step 12
The Remove Duplicate Mails option filters all duplicate emails on the basis of to, from, subject, bcc, body. Enable this feature for accurate migration.
Step 13
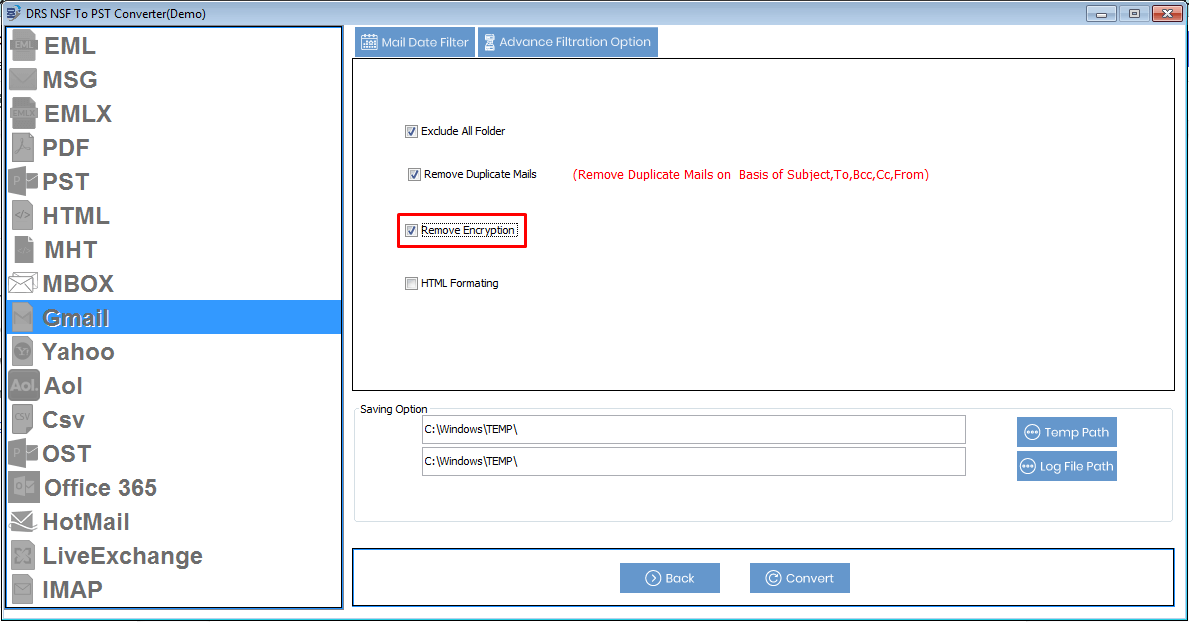
If the input NSF file has encryption on an email or any mailbox folder, you can disable it by selecting the Remove Encryption option. So, you can easily access mailbox items from Gmail.
Step 14
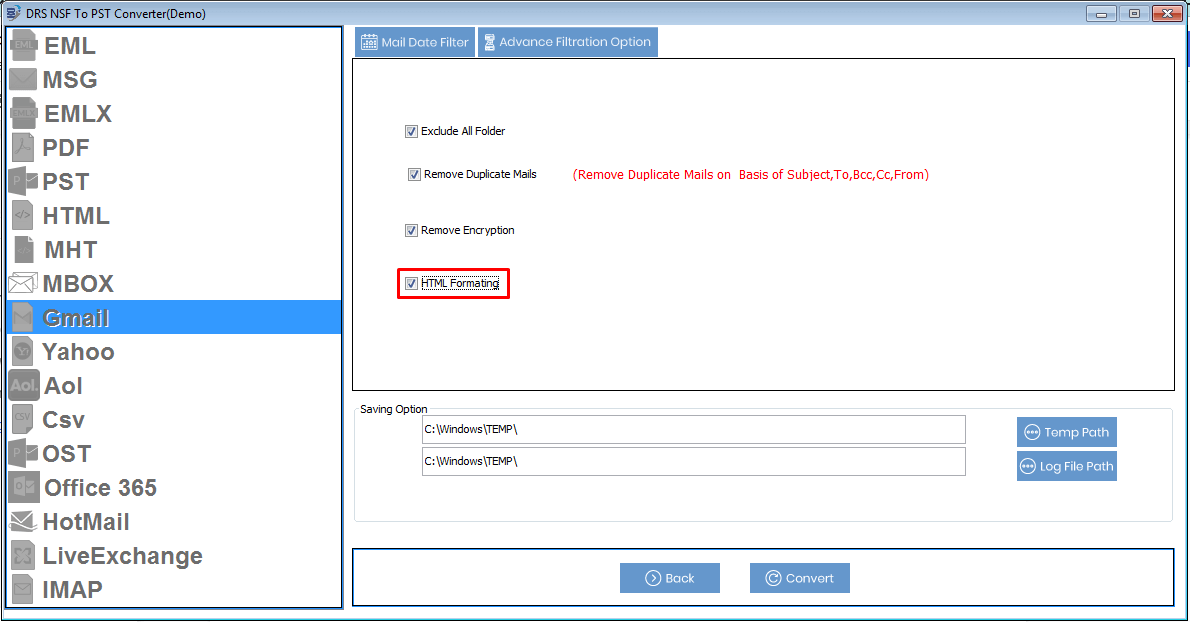
You can also migrate your Lotus Notes NSF emails to Gmail in HTML format by selecting the HTML Formatting option.
Step 15
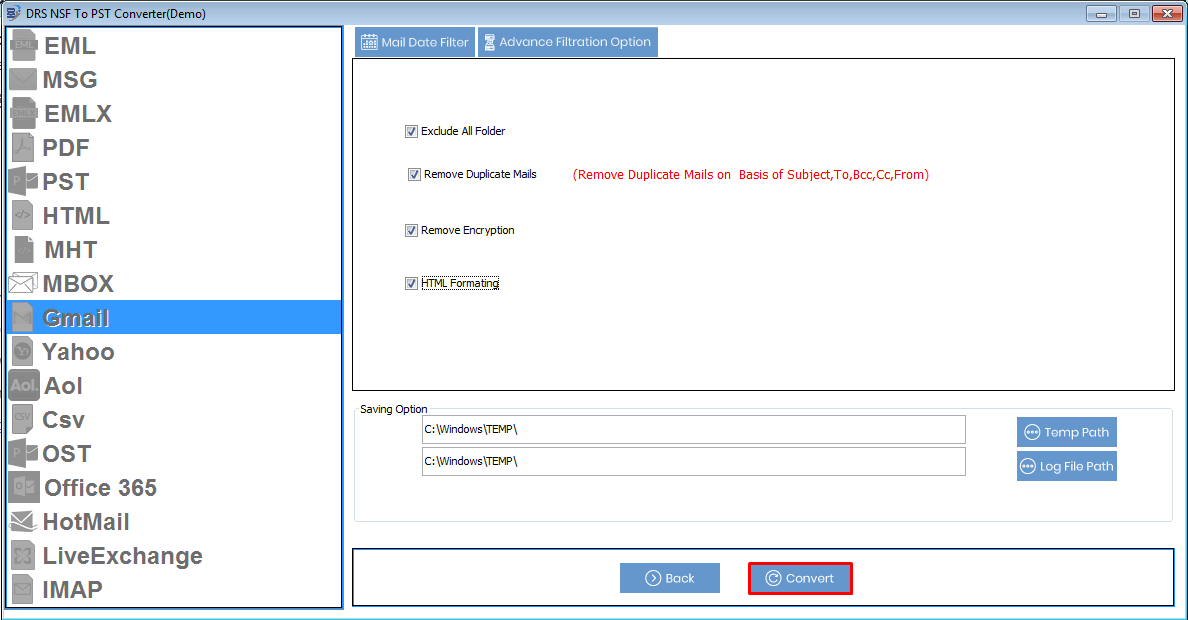
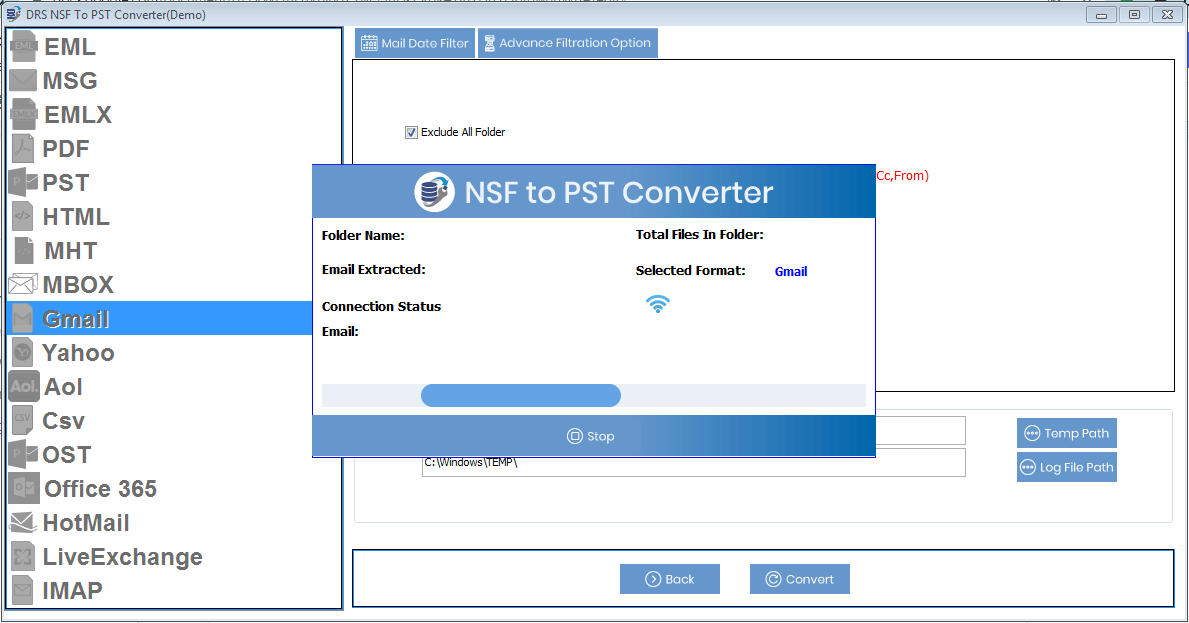
Finally, click on the Convert button to initiate the migration.
Step 16
After that, the tool processes your request and migrates the NSF file to Gmail as per specified options.