In-depth Steps to Perform the Tool
Step 1
Download & Install the CloudMigration OneDrive Migration Tool.
Step 2
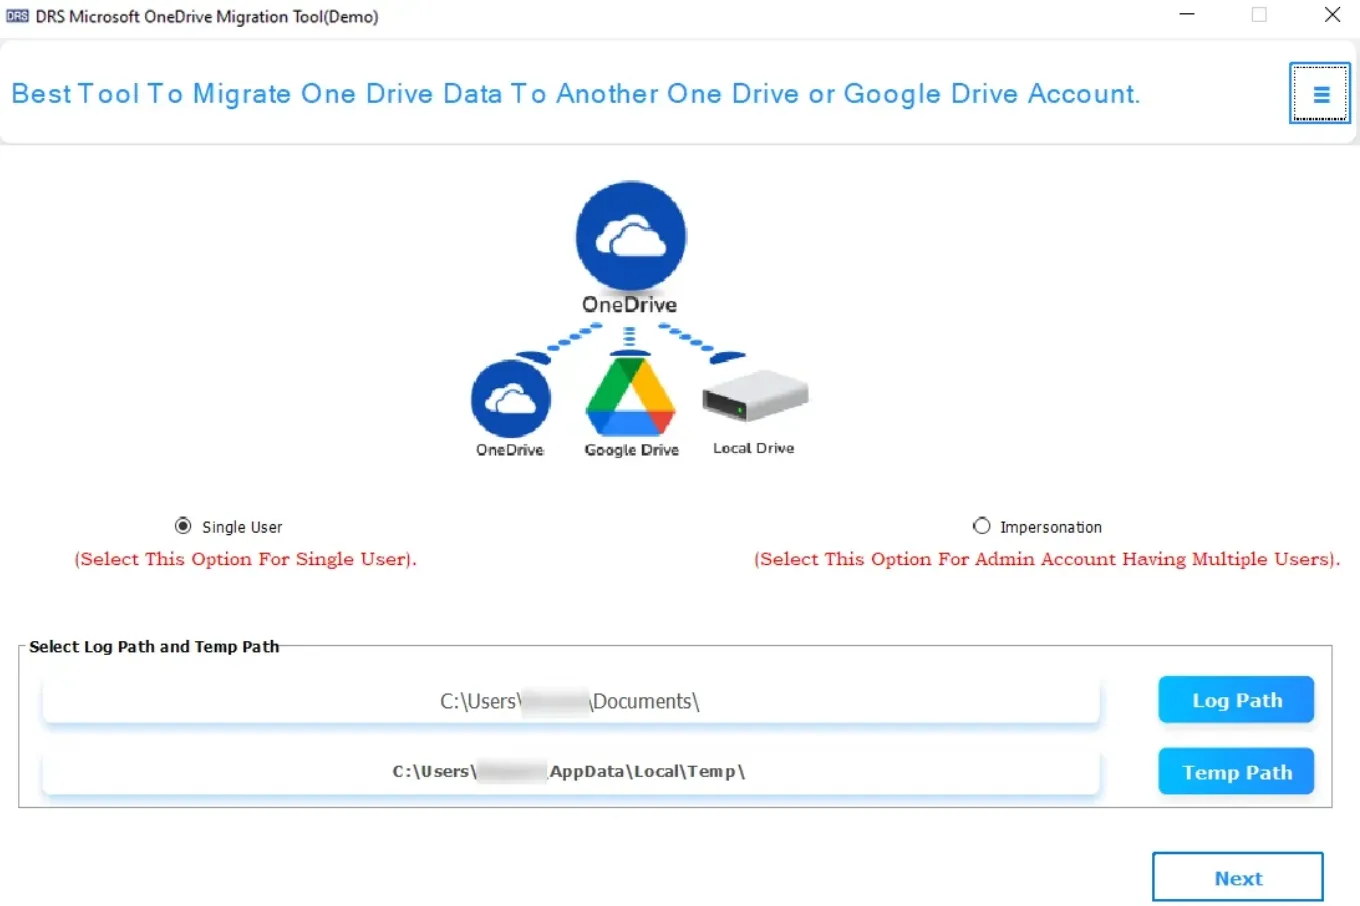
If you are a single user, then you need to select the Single User option.

Step 3
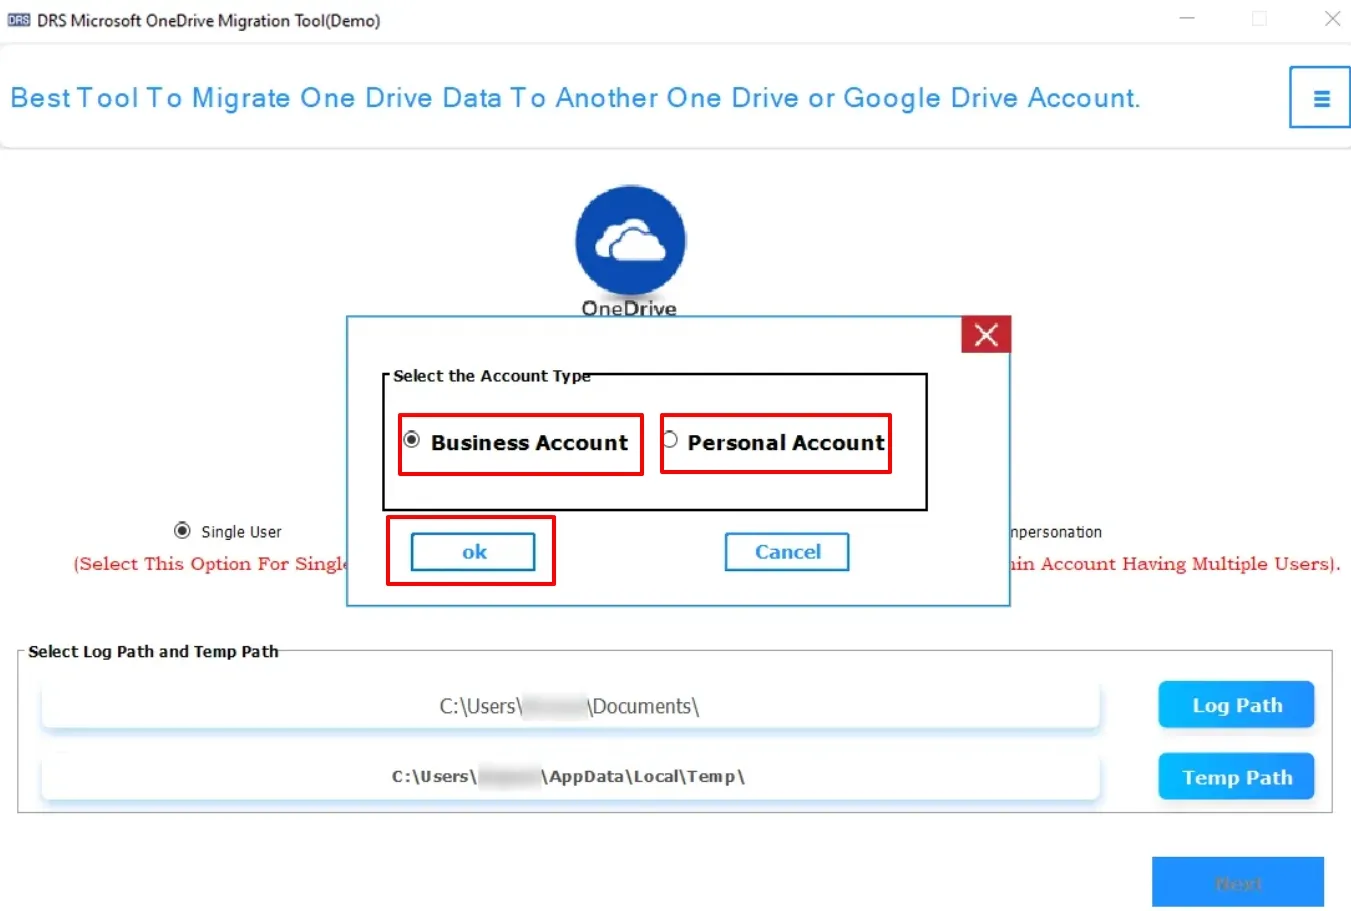
Also, you have to choose either Business Account/Personal Account type → OK.
Step 4
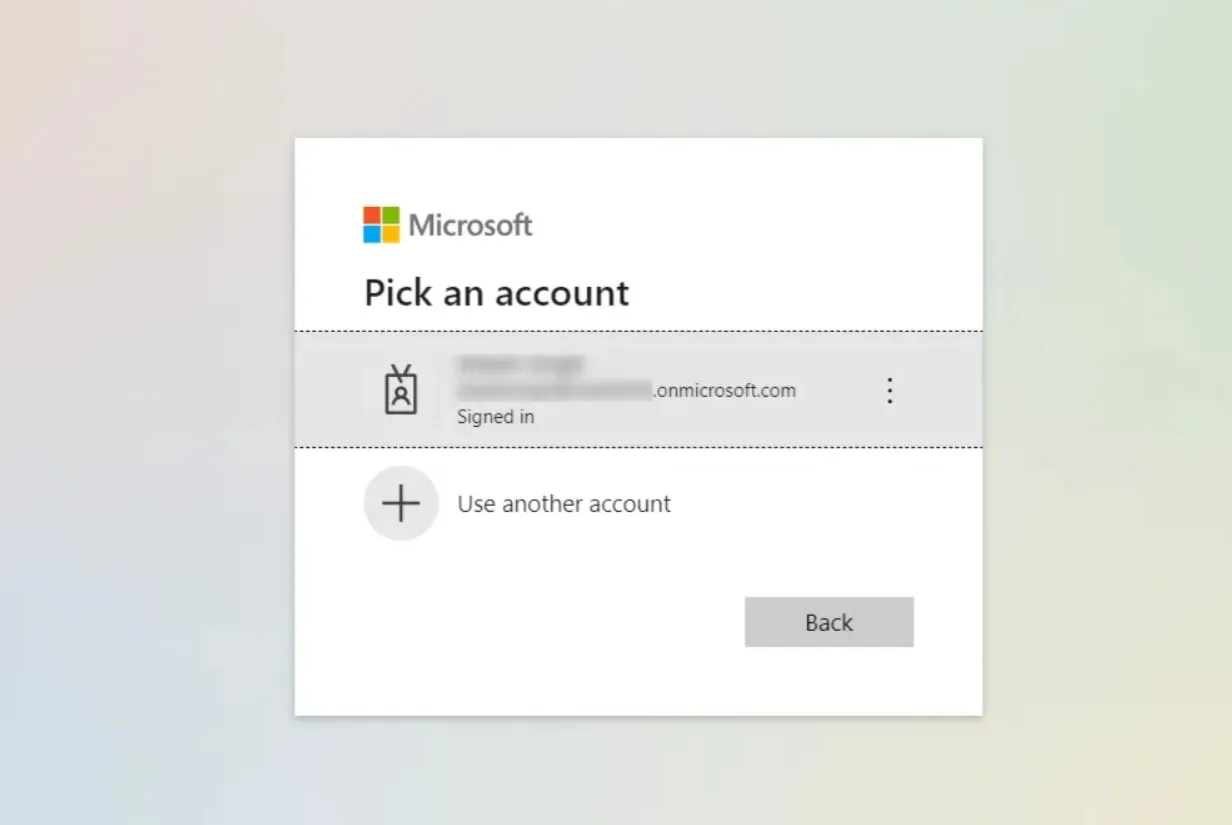
Select the OneDrive Account which you want to convert.
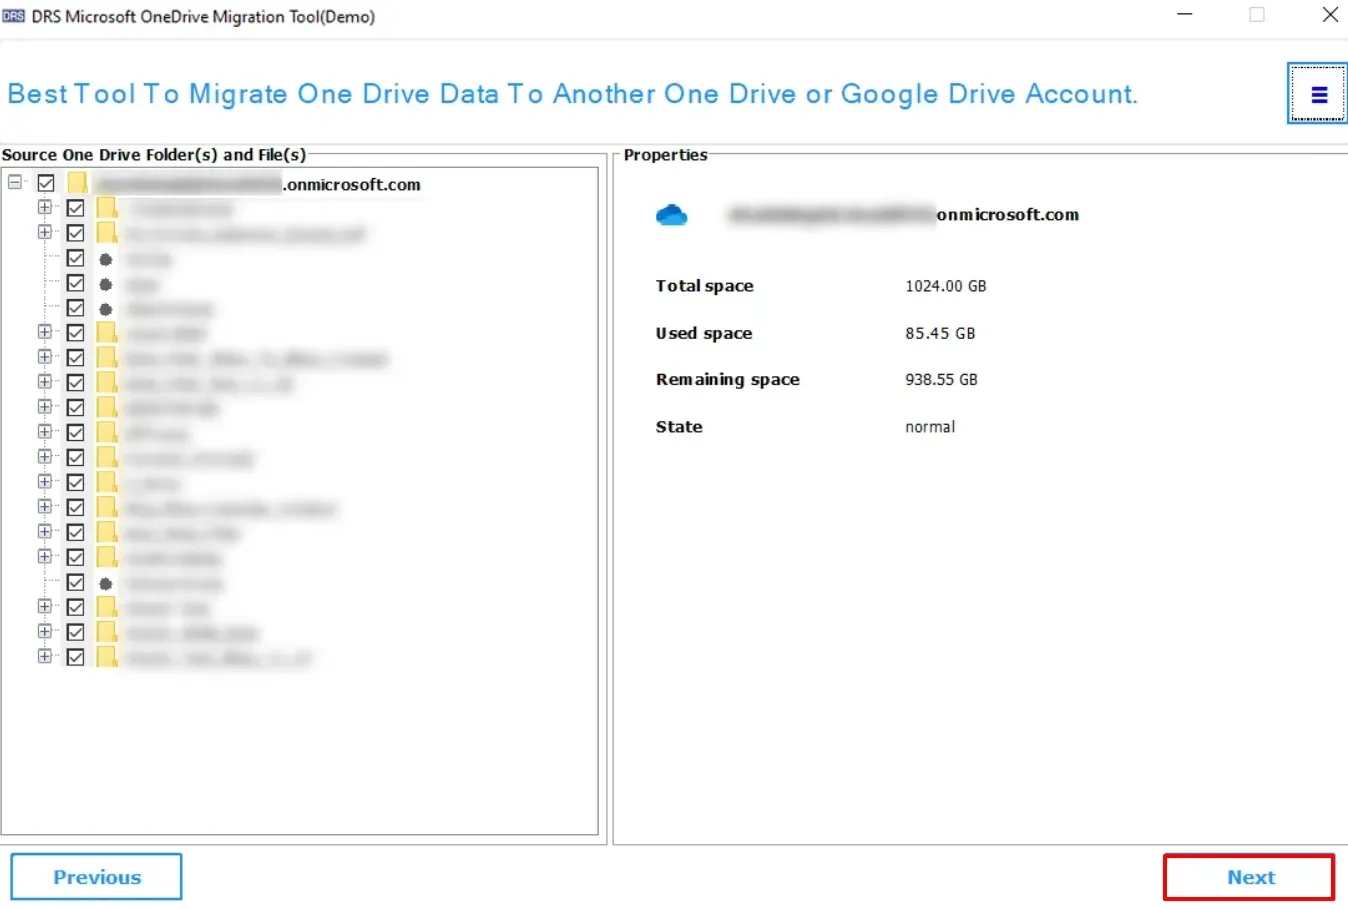
Step 5
Verify the files/folders along with their properties → Next.
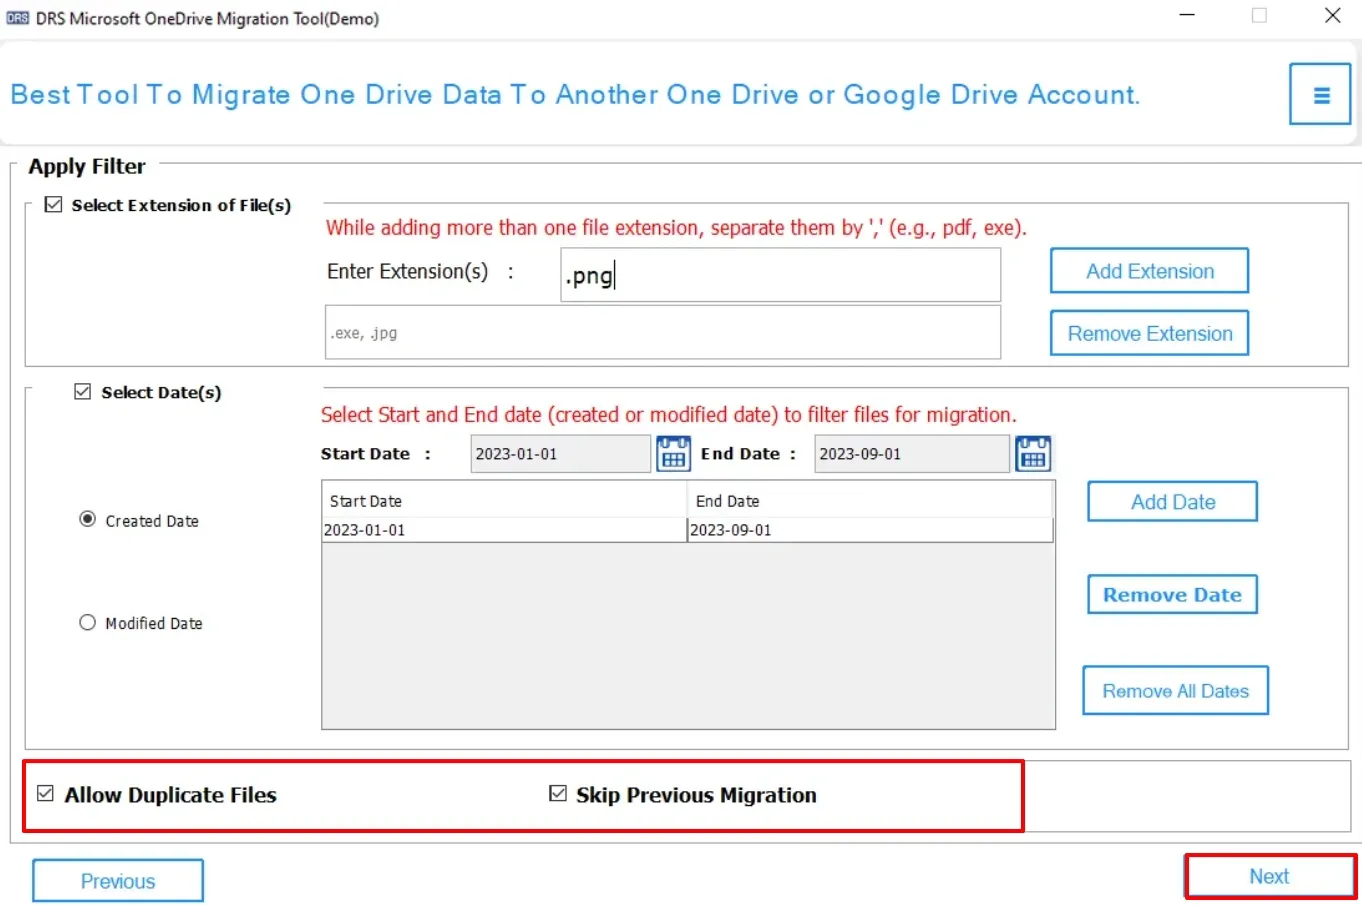
Step 6
Apply the additional filters:
- Select Extension of File: You can add or remove the extension.
- Select Date(s): You can create/modify the date accordingly.
- Enable Allow Duplicate Files/Skip Previous Migration options → Next.
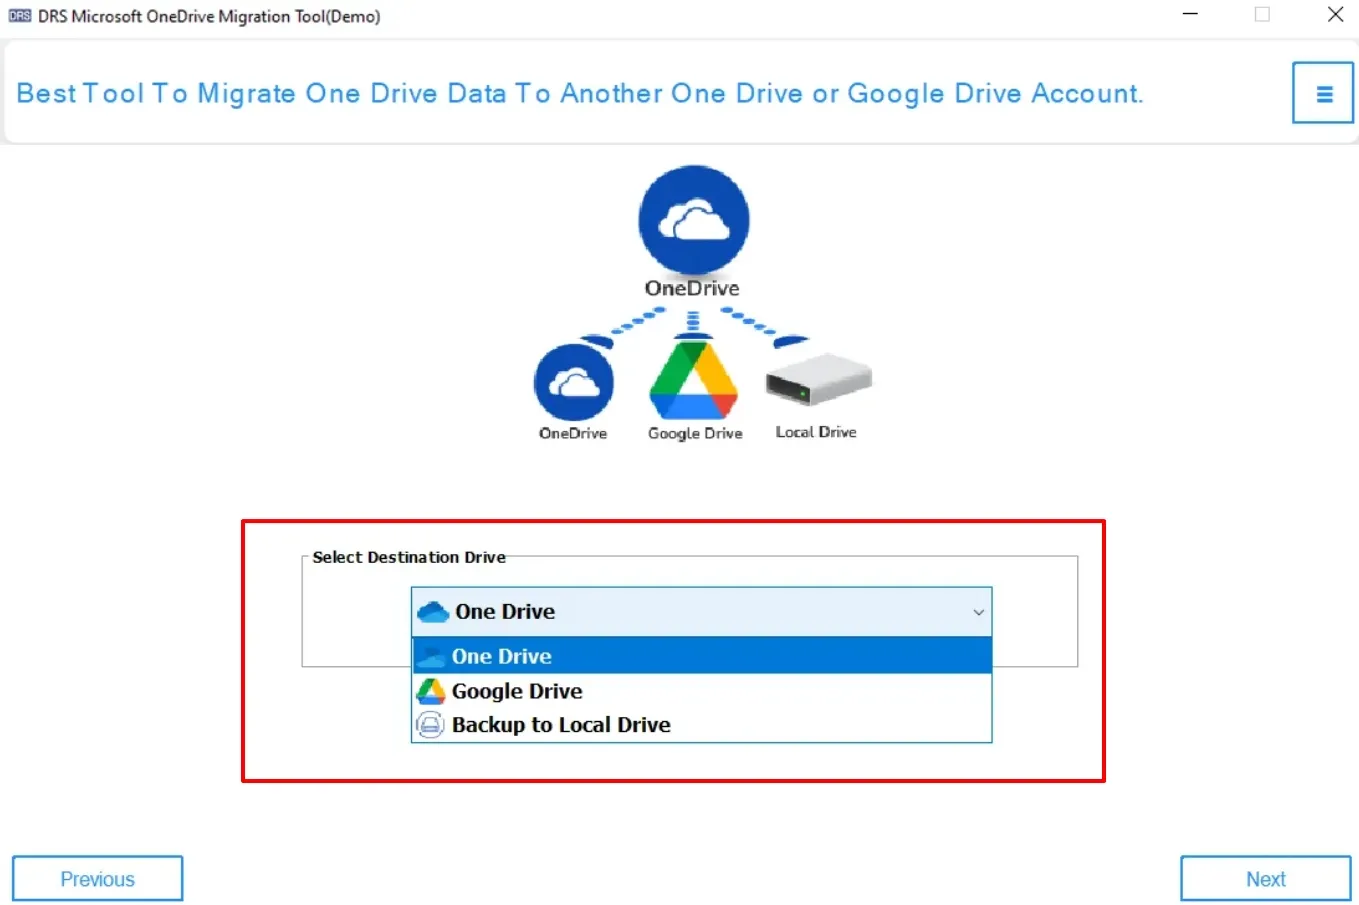
Step 7
Choose OneDrive account to Select Destination Drive.
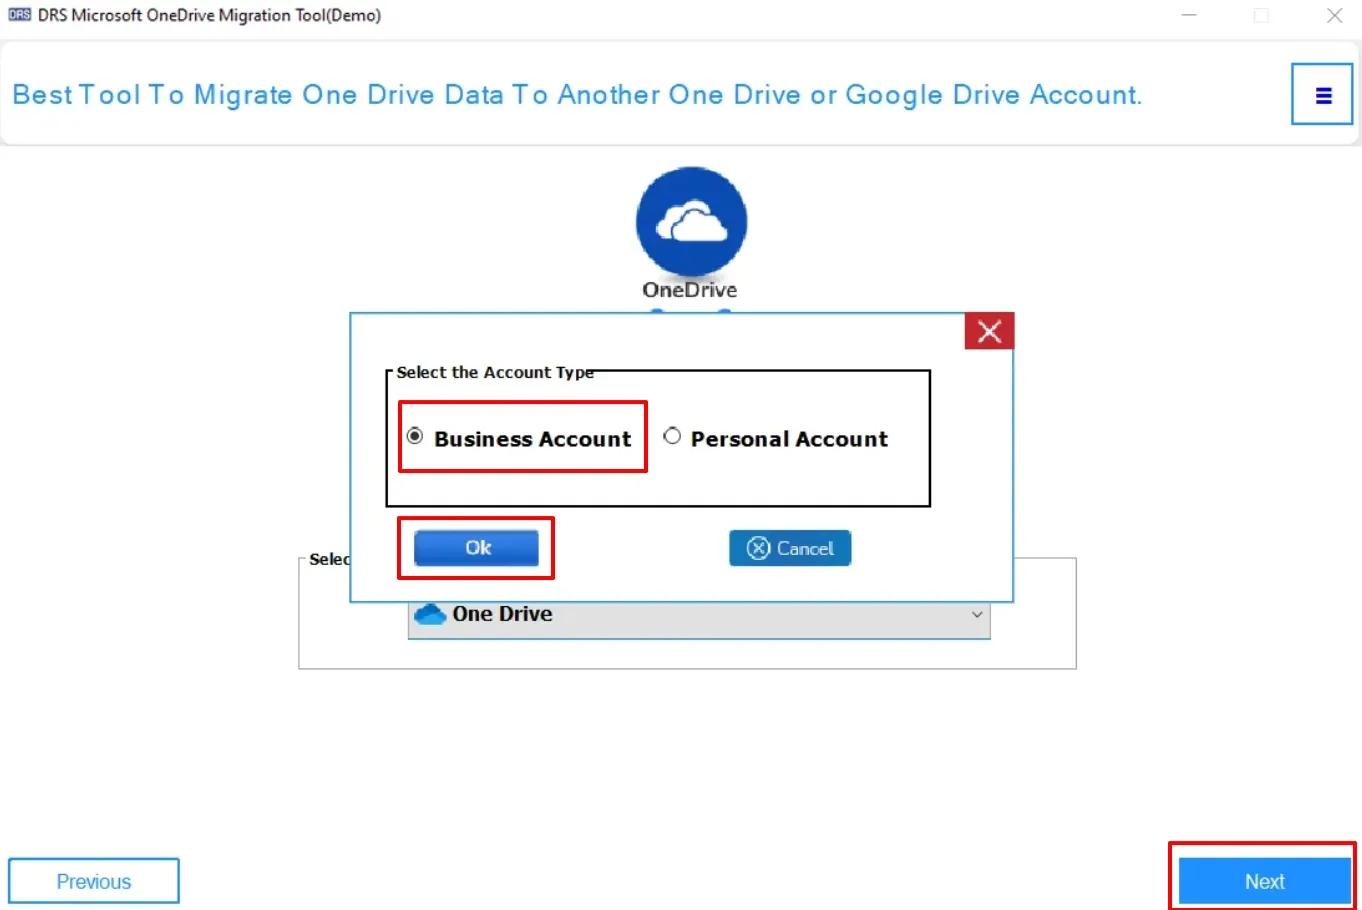
Step 8
Again choose the Business Account → OK → Next.
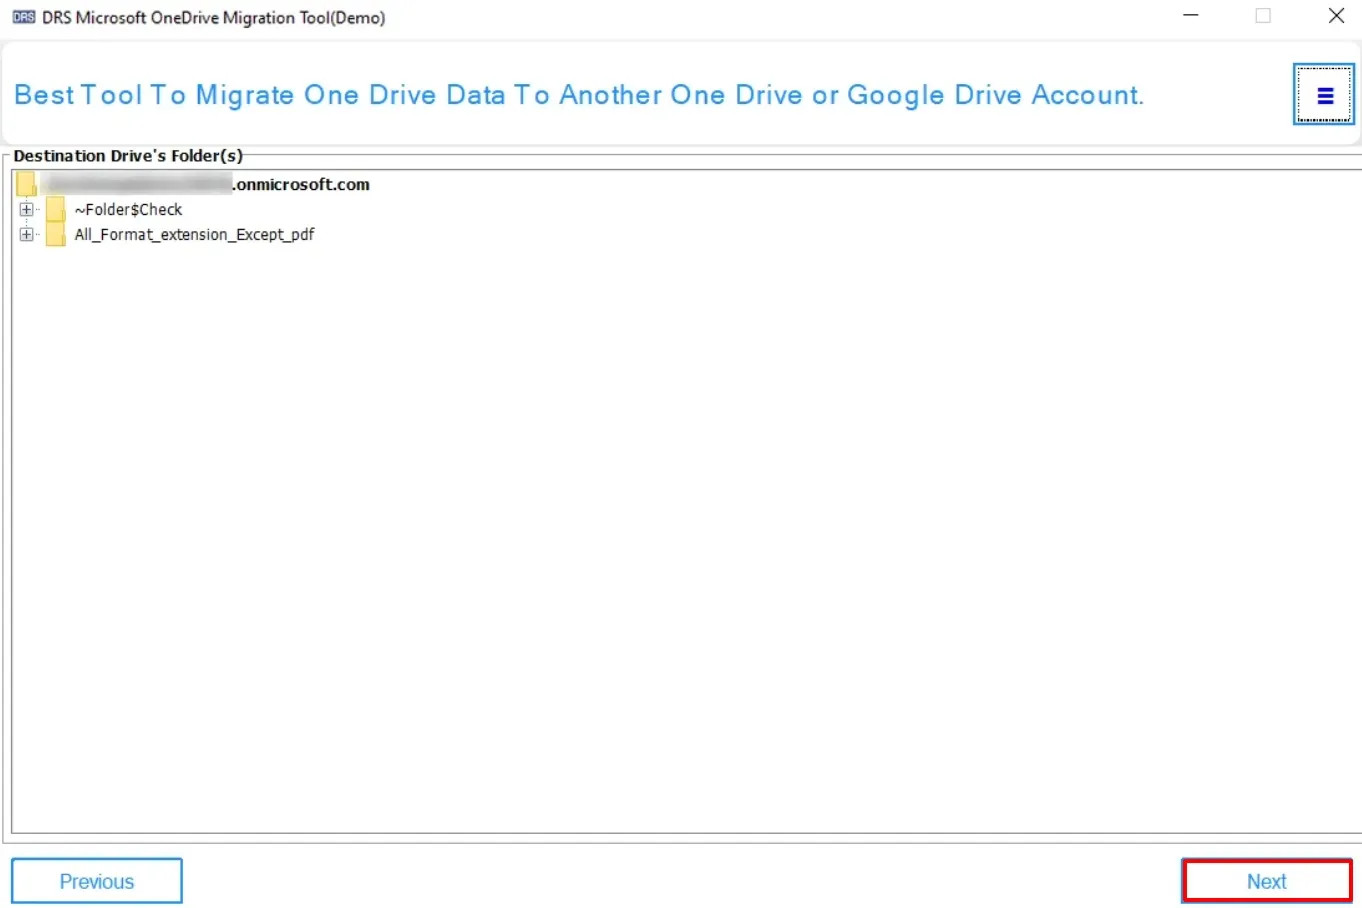
Step 9
Select the Destination Drive Folder where you want to migrate → Next.
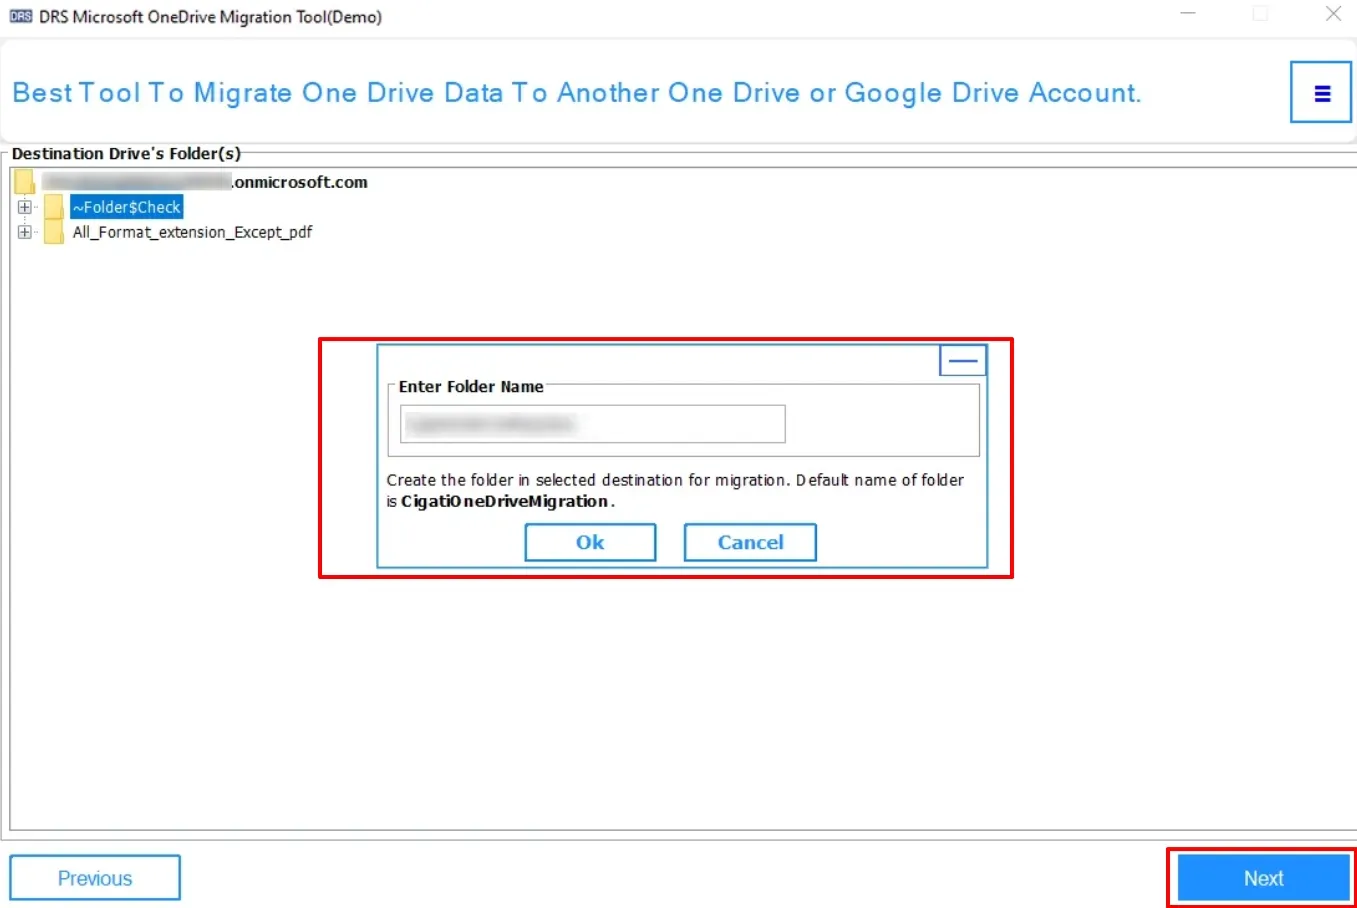
Step 10
Enter the desired Folder Name → OK → Next.
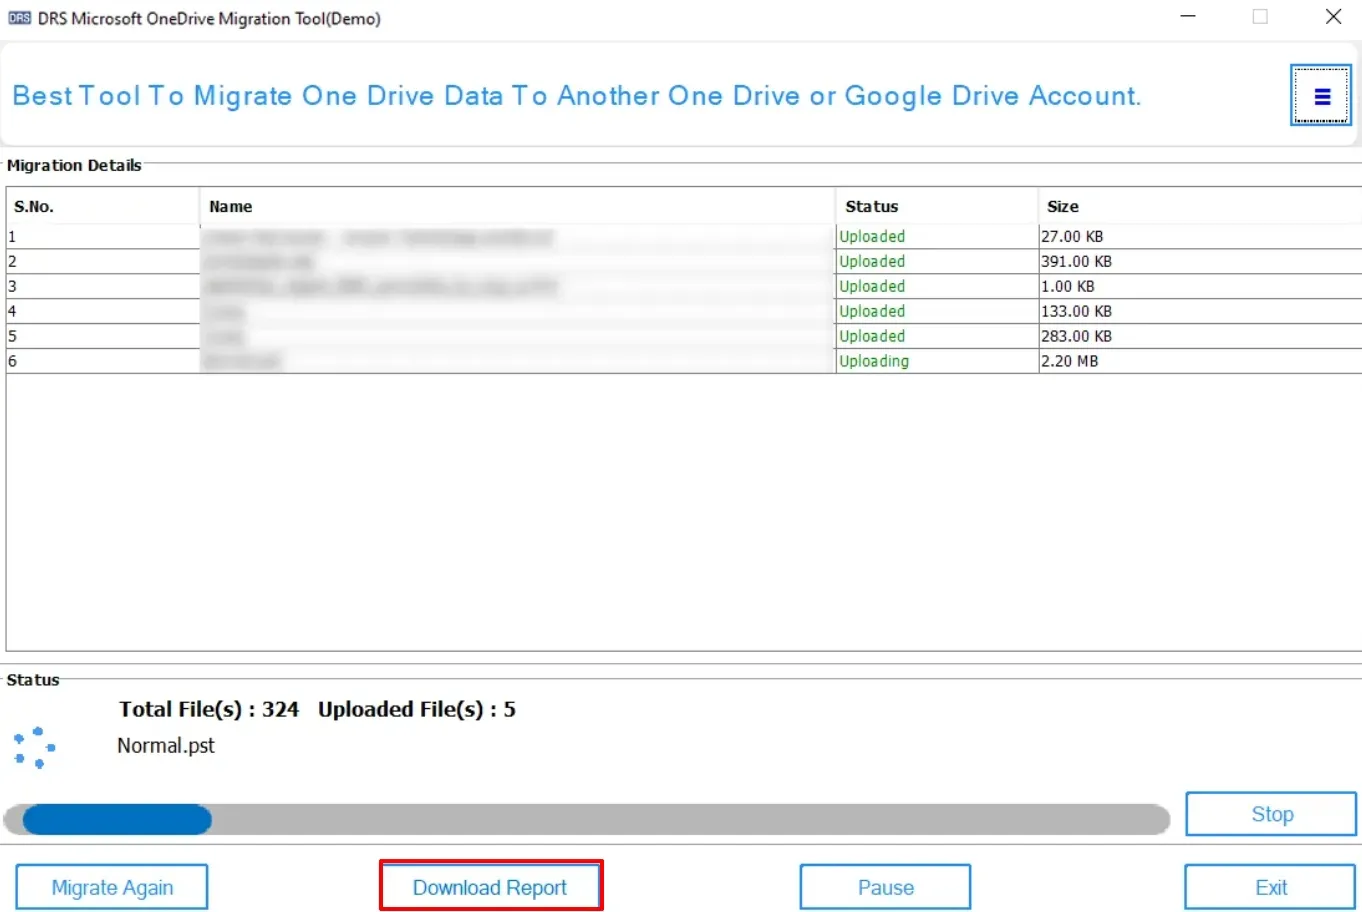
Step 11
Preview the data → Download the report if needed.