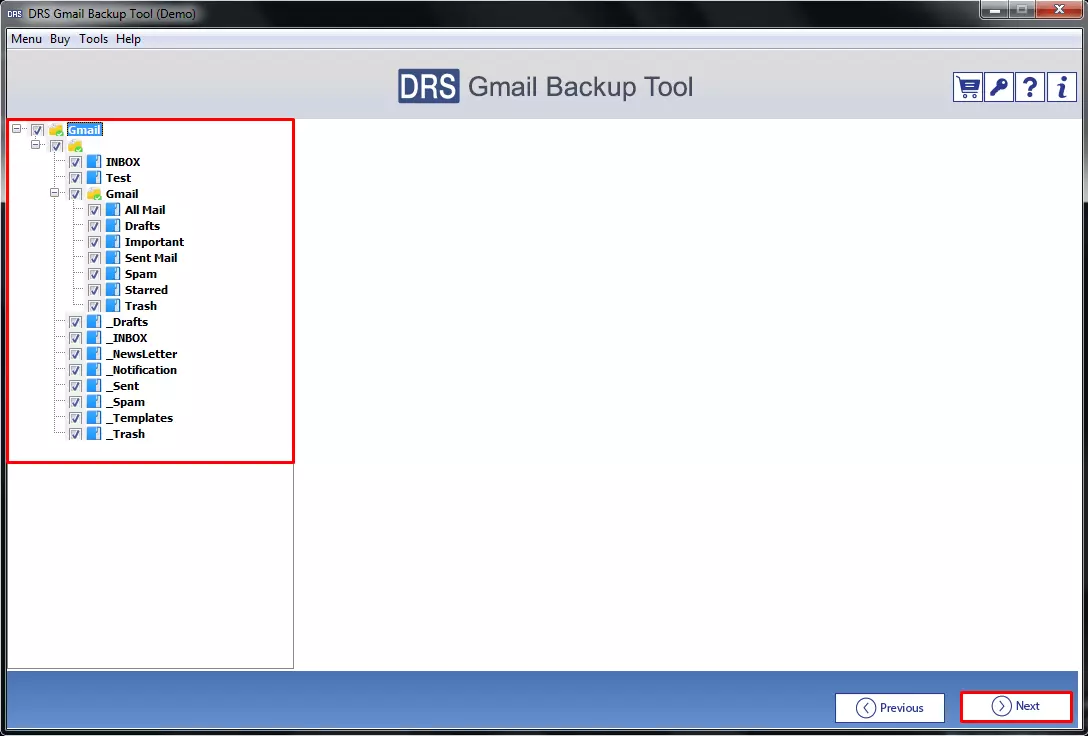
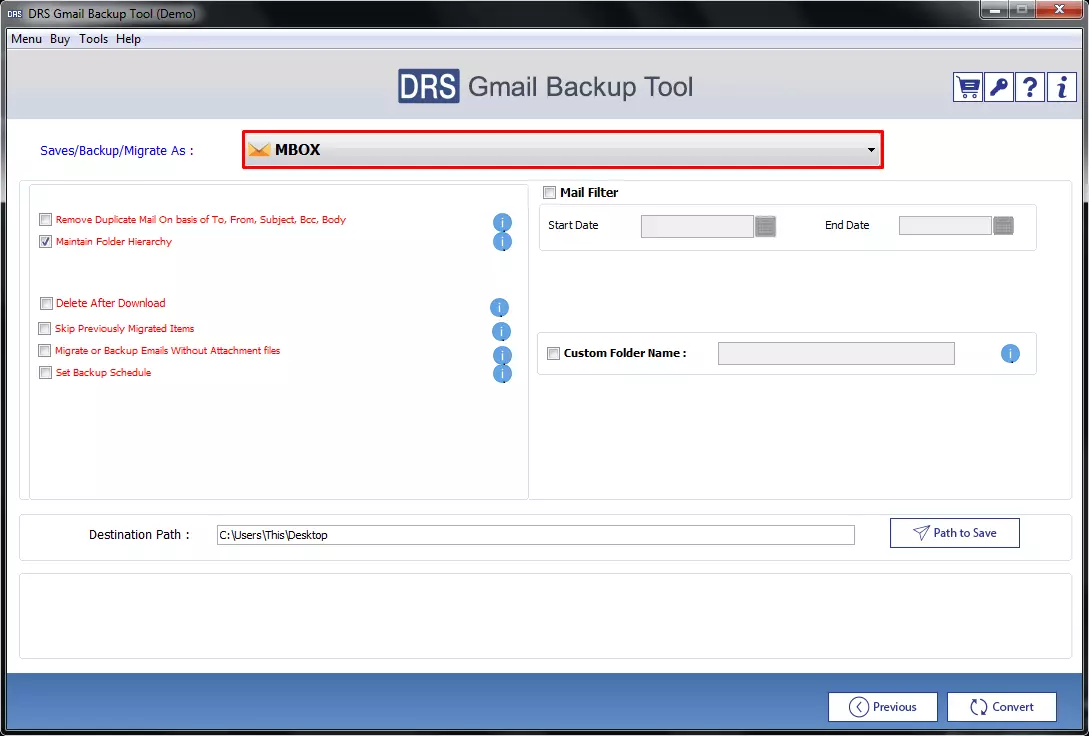
Step 6
Select the MBOX file format from the list
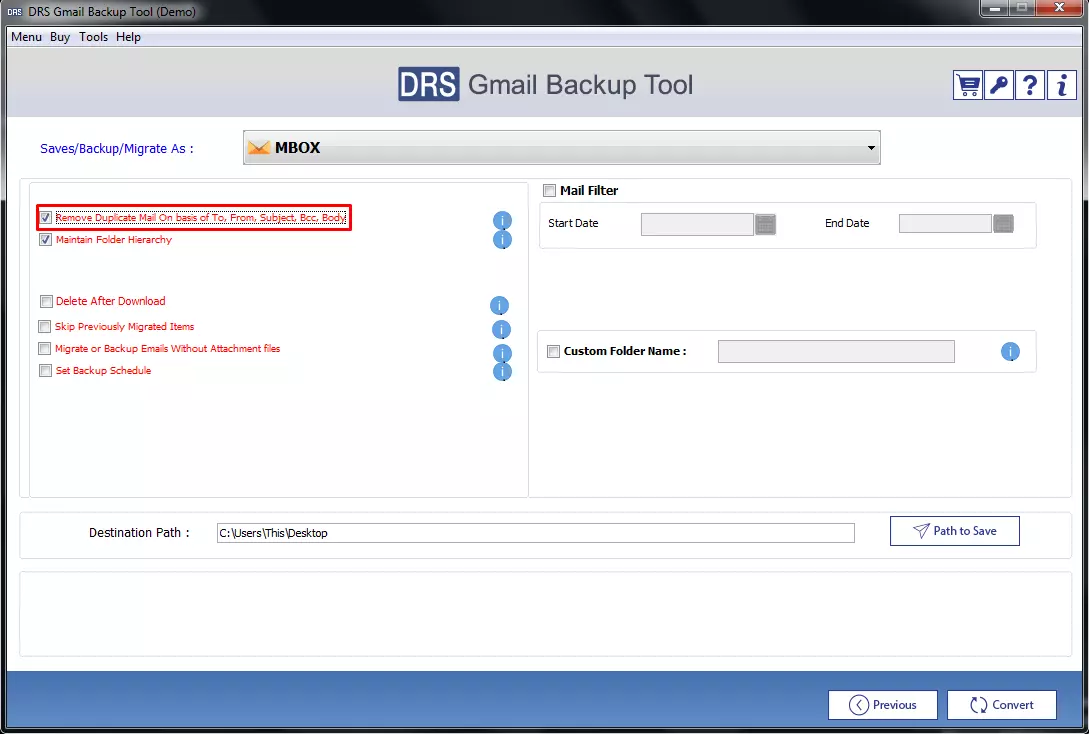
Step 7
After that, tick the Remove Duplicate Mail On basis of To, From, Subject, Bcc, Body option. It helps you to create a backup file free from duplicate mailbox items.
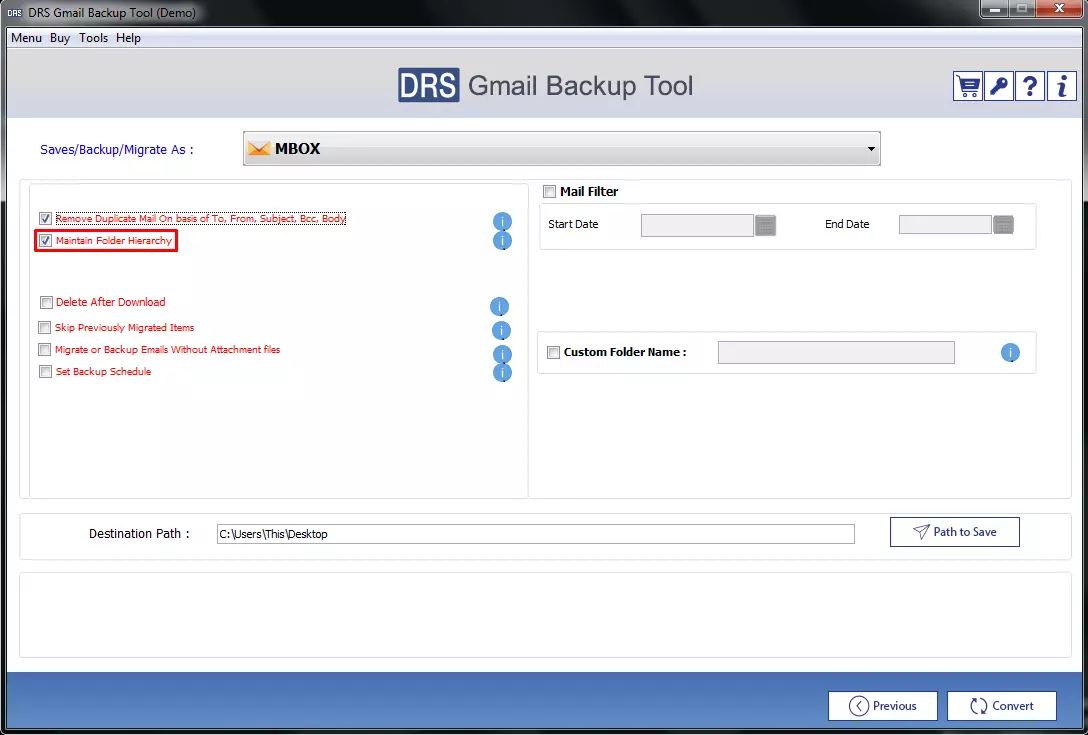
Step 8
The Maintain Folder Hierarchy option is enabled by default. It keeps all the mailbox items in the correct hierarchy.
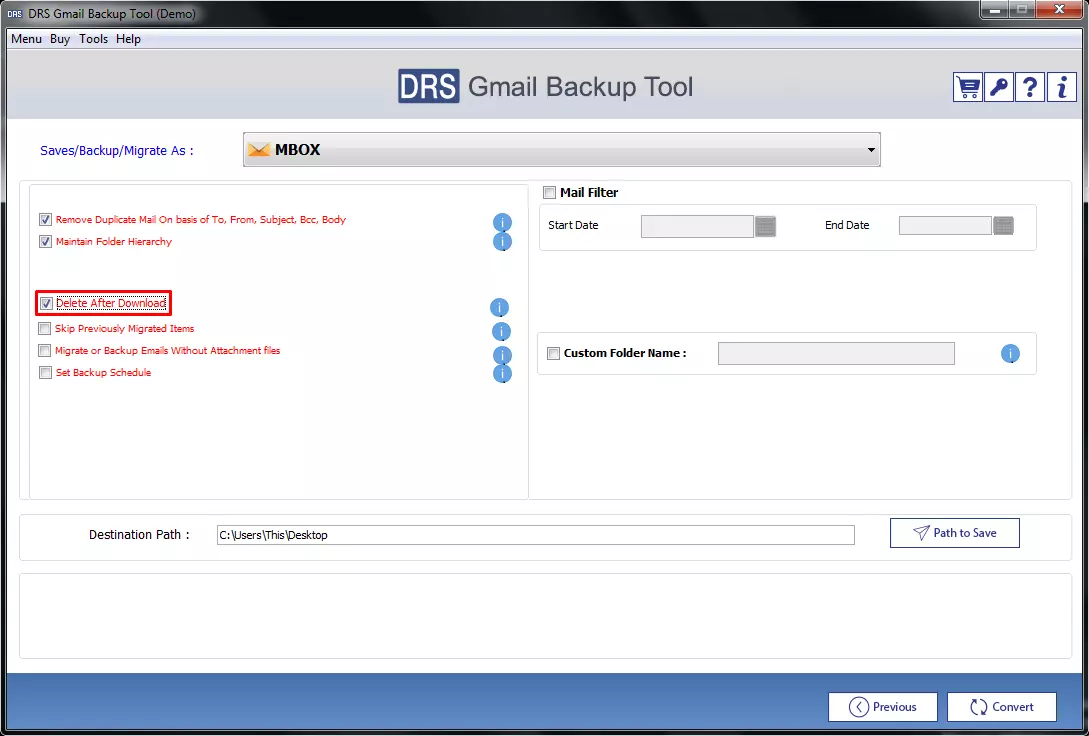
Step 9
If you want to delete Gmail emails from your mailbox after migration, select the Delete After Download option. It allows you to create free space for new incoming emails.
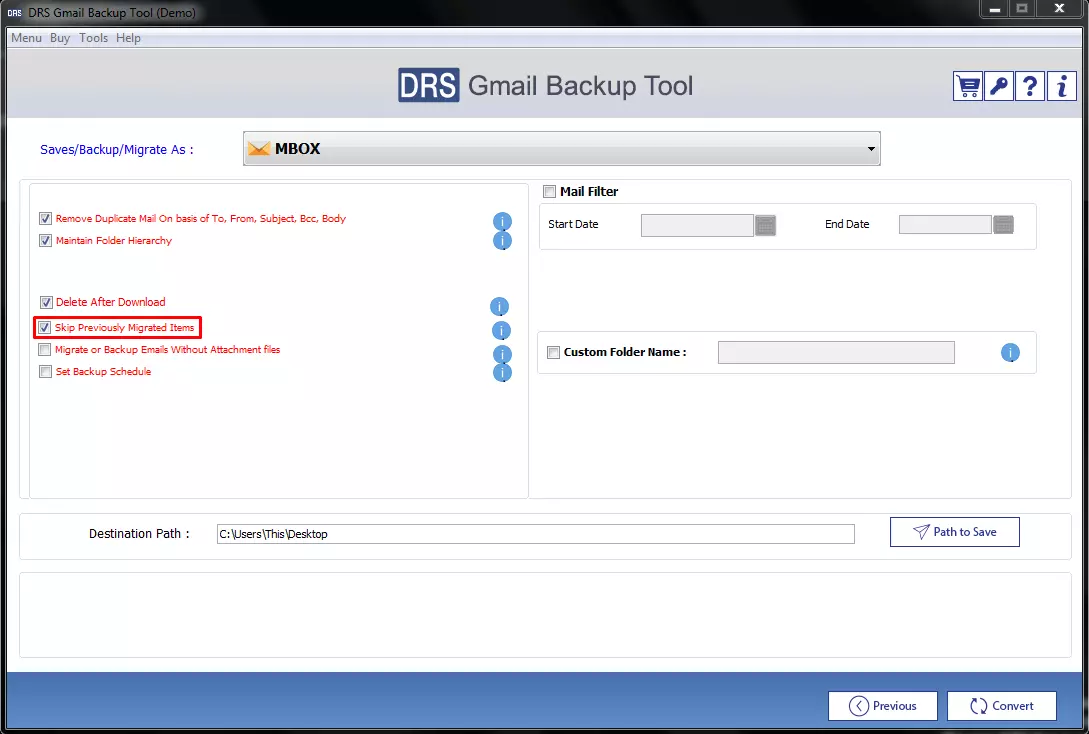
Step 10
Next, tick the Skip Previously Migrated Items option to skip emails that you migrated earlier using this tool
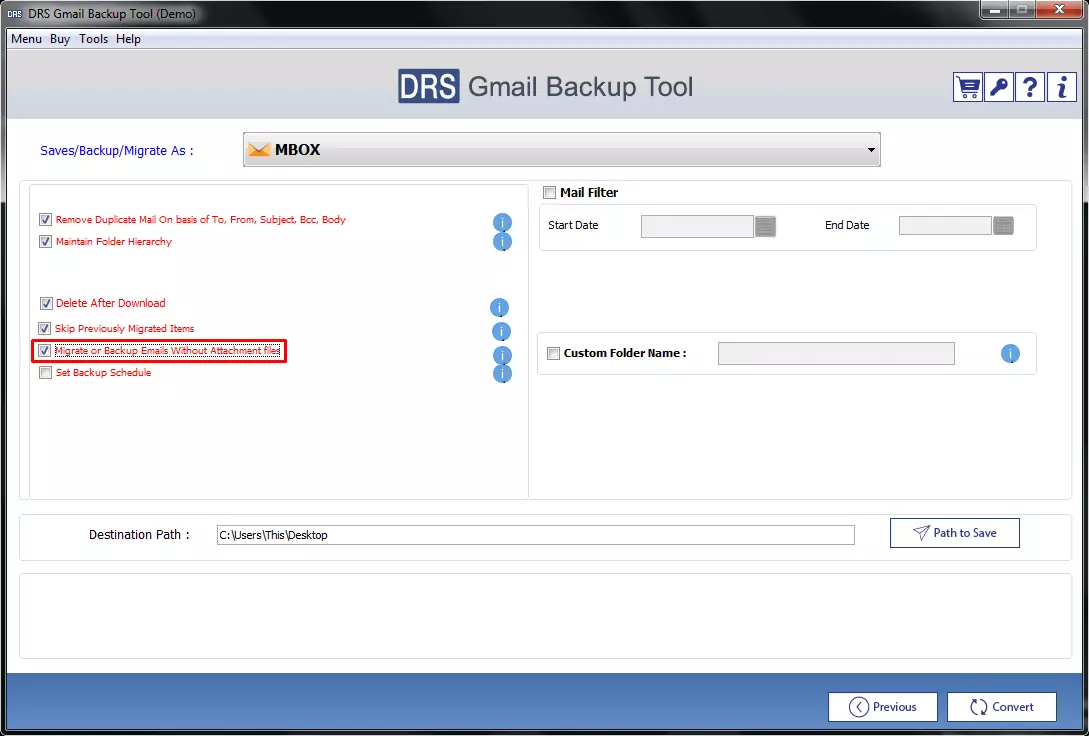
Step 11
The Migrate or Backup Emails without Attachment files option allows you to backup emails only and leave all the attachments. Thus, you can create a precise and compact backup.
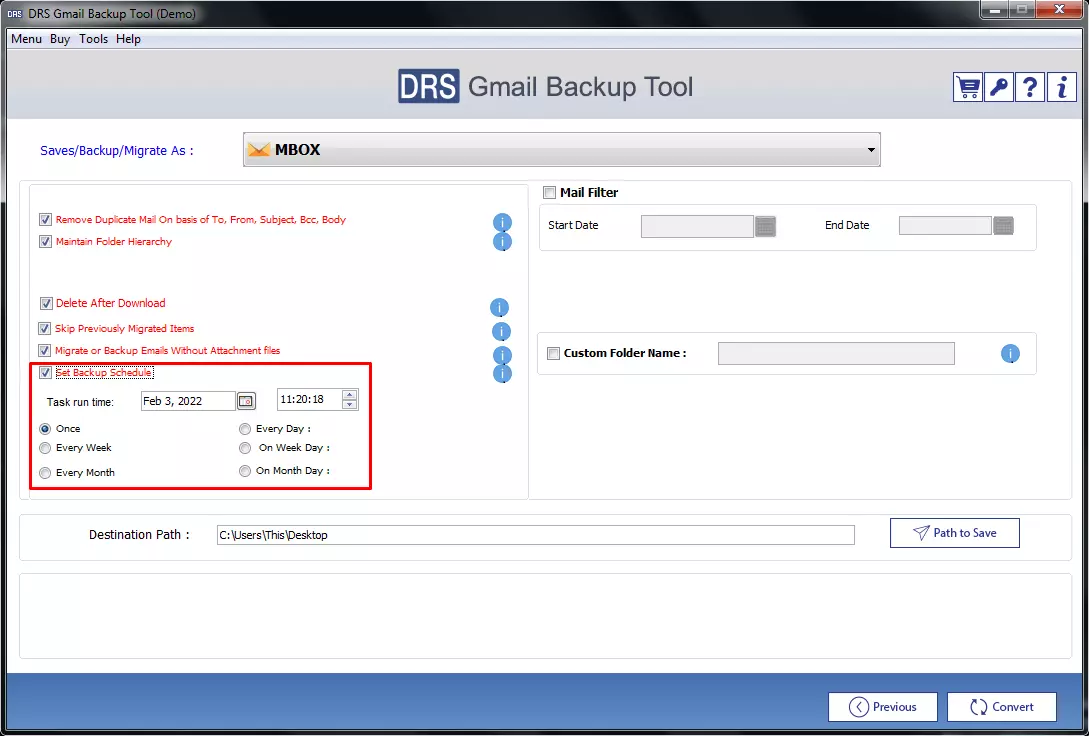
Step 12
After that, if you want to schedule your Gmail mailbox migration, opt for the Set Backup Schedule. Enter suitable date, time, and frequency for backup.
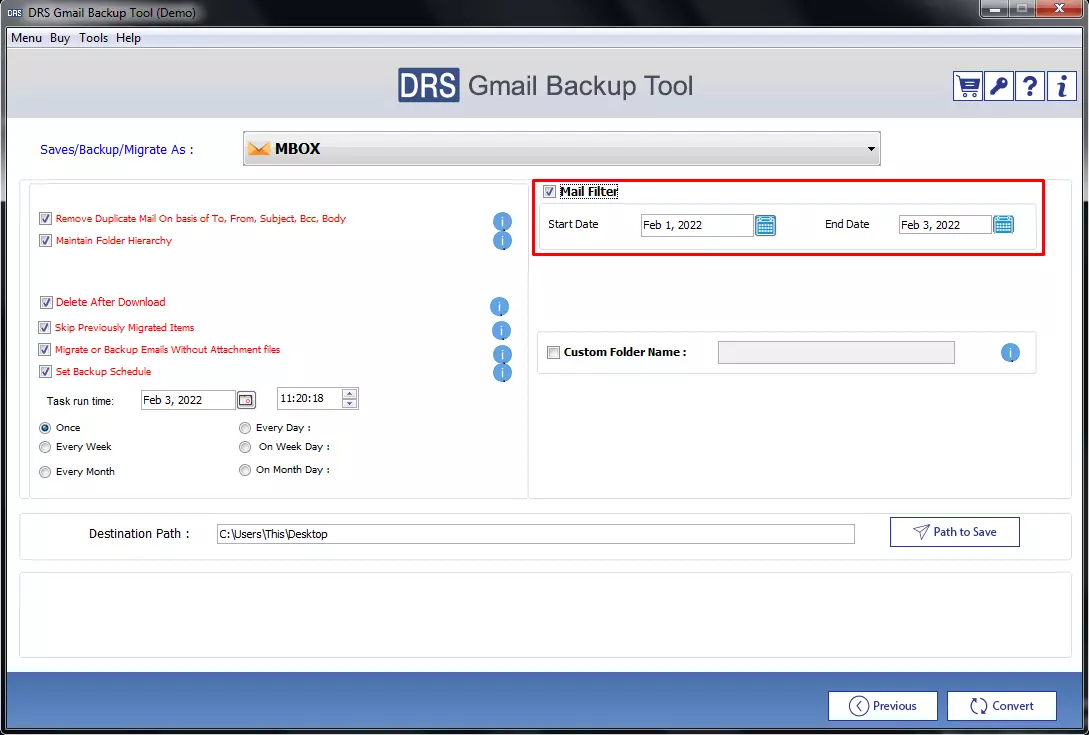
Step 13
The Mail Filter is a date range feature that helps you to backup only specific mailbox items of your Gmail account. So, tick the Mail Filter and enter suitable Start Date and End Date to define the date range.
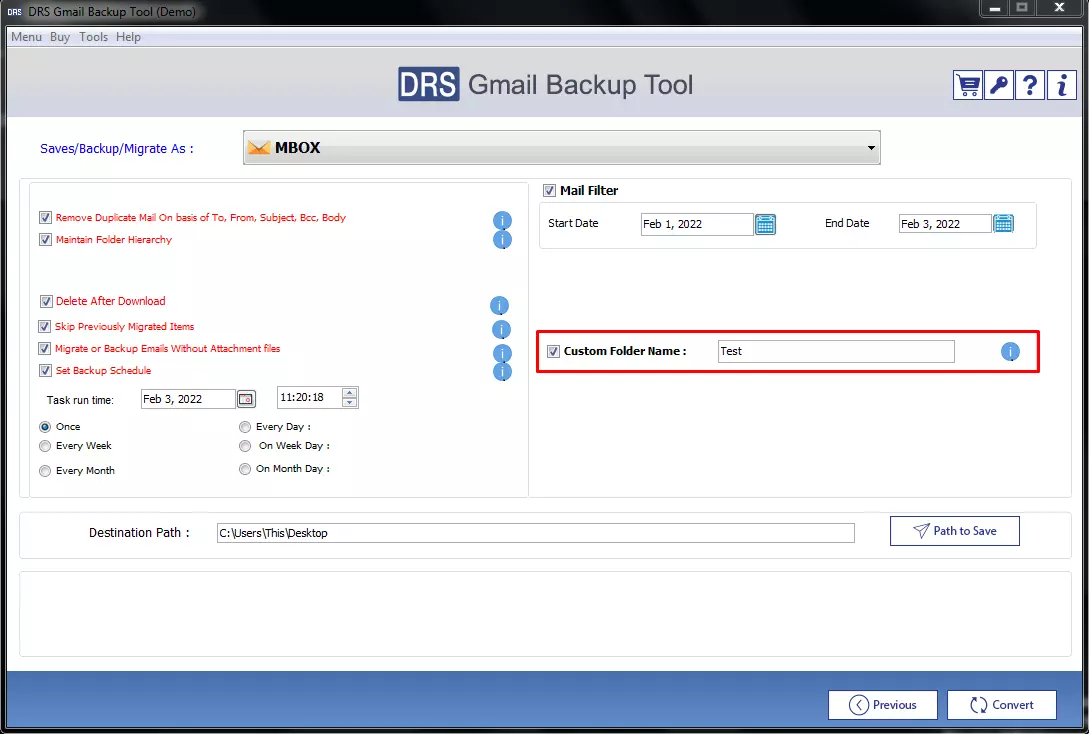
Step 14
You can also assign any desired name to the folder of the resultant file. Mark the Custom Folder Name option and give a suitable name in the field.
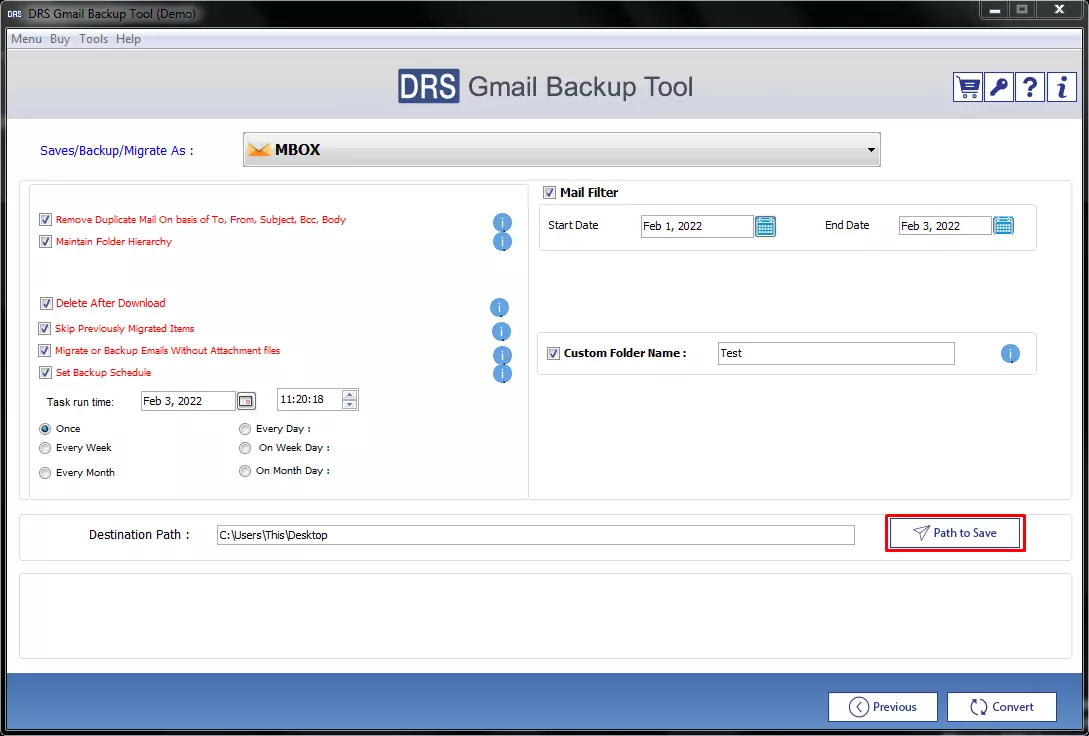
Step 15
Click on the Path to Save button to specify the saving location of the output MBOX file. The default destination path for the backup file is set to Desktop.
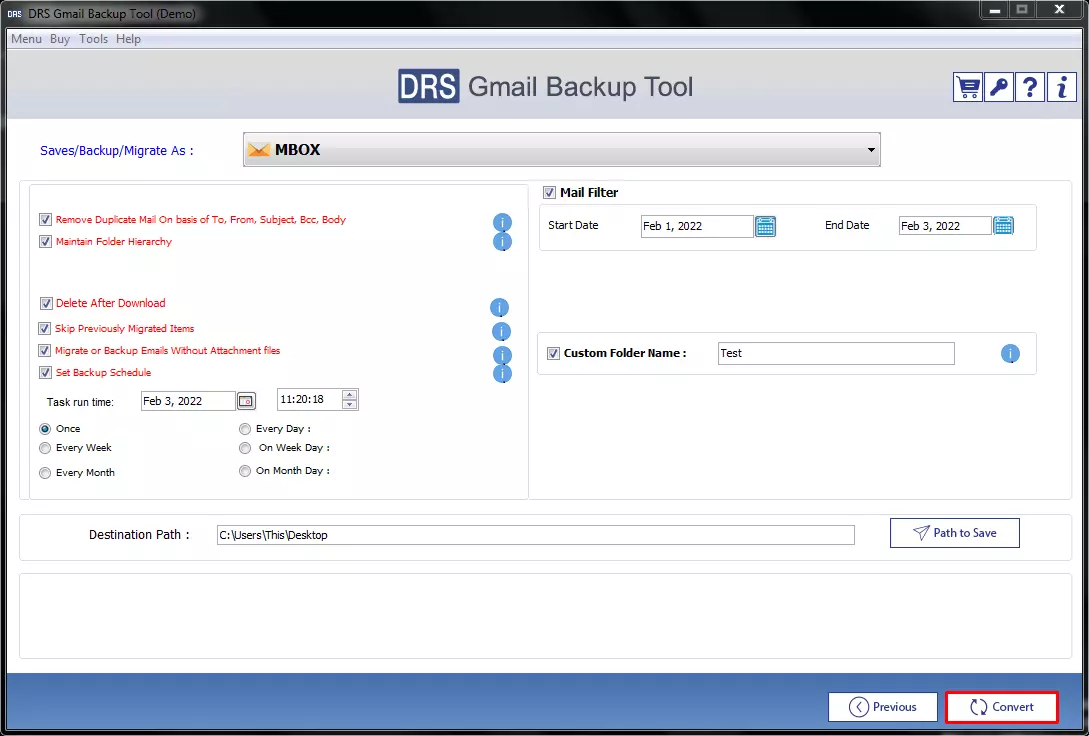
Step 16
At last, hit the Convert button to initiate the Gmail backup to MBOX file format. After starting the conversion, the time taken for migration will depend upon the size of your Gmail mailbox..
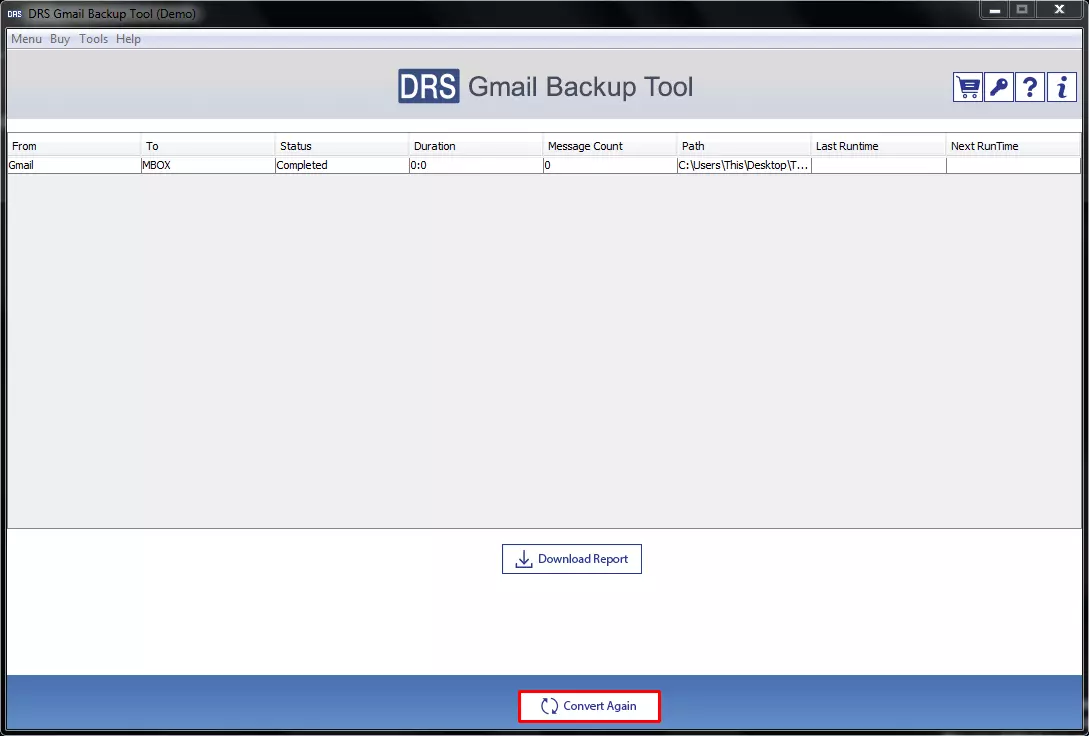
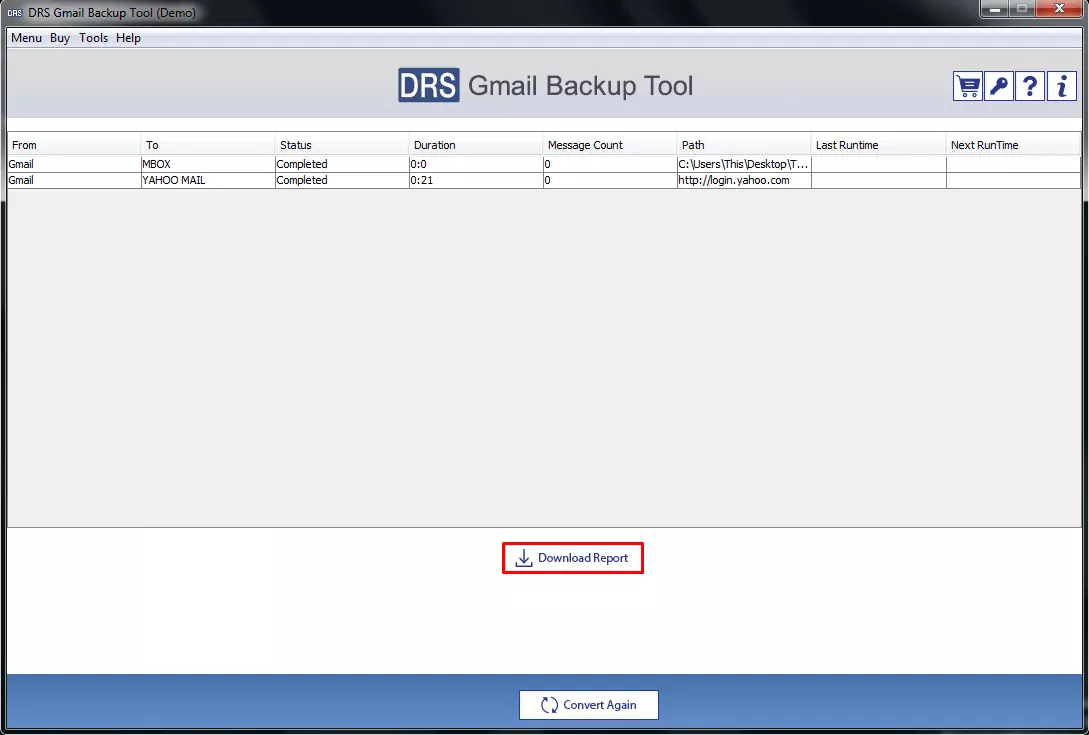
Step 17
After finishing Gmail to MBOX migration, click on the Download Report button to download the conversion report in CSV file format.
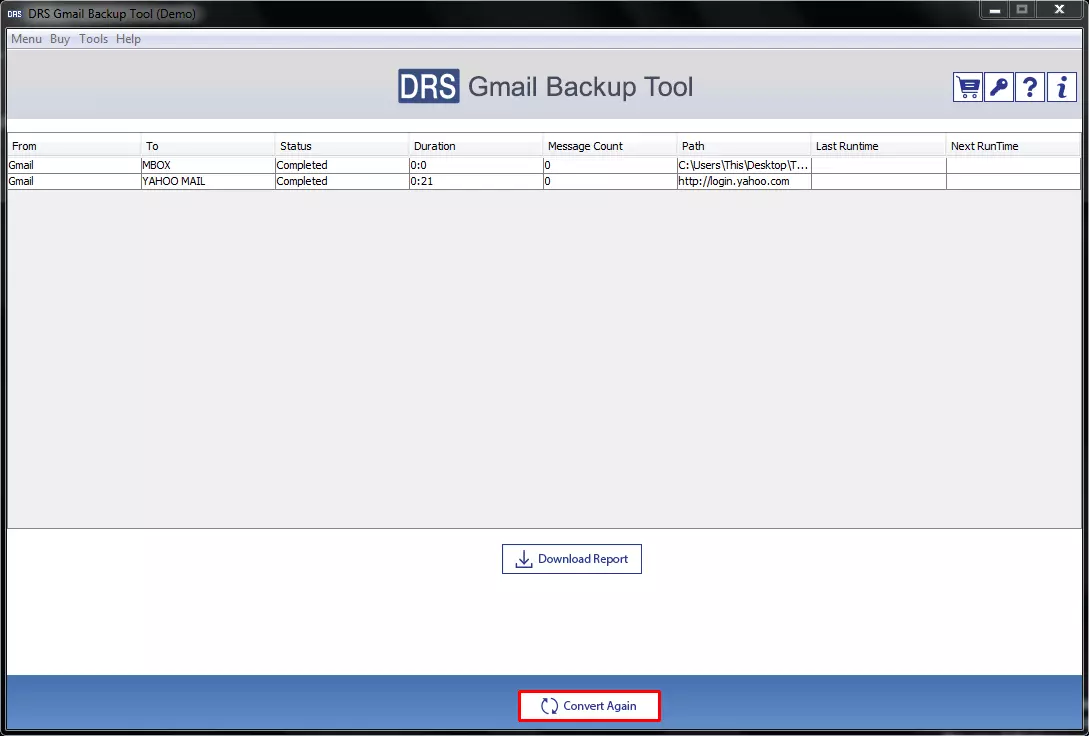
Step 18
Also, you can repeat the process by pressing the Convert Again button.
First, perform steps 1 to 5. After that, follow the steps below to migrate your Gmail mailbox to Yahoo Mail.
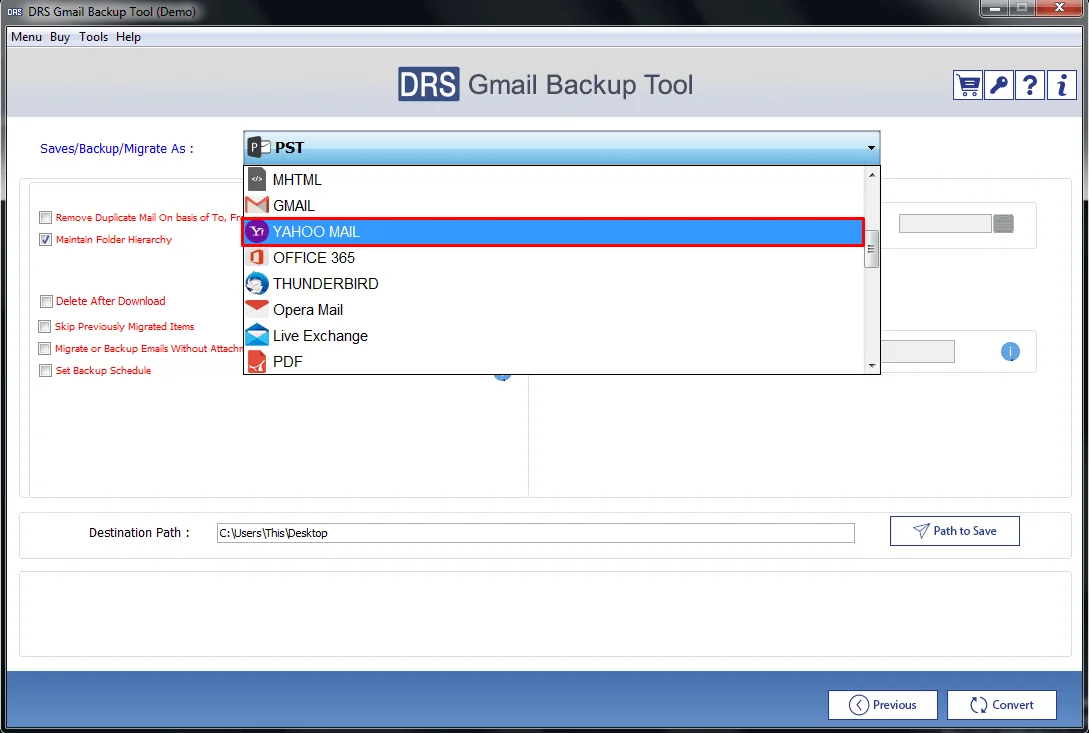
Step 6
Select the Yahoo Mail option from the list of the Save/Backup/Migrate As field.
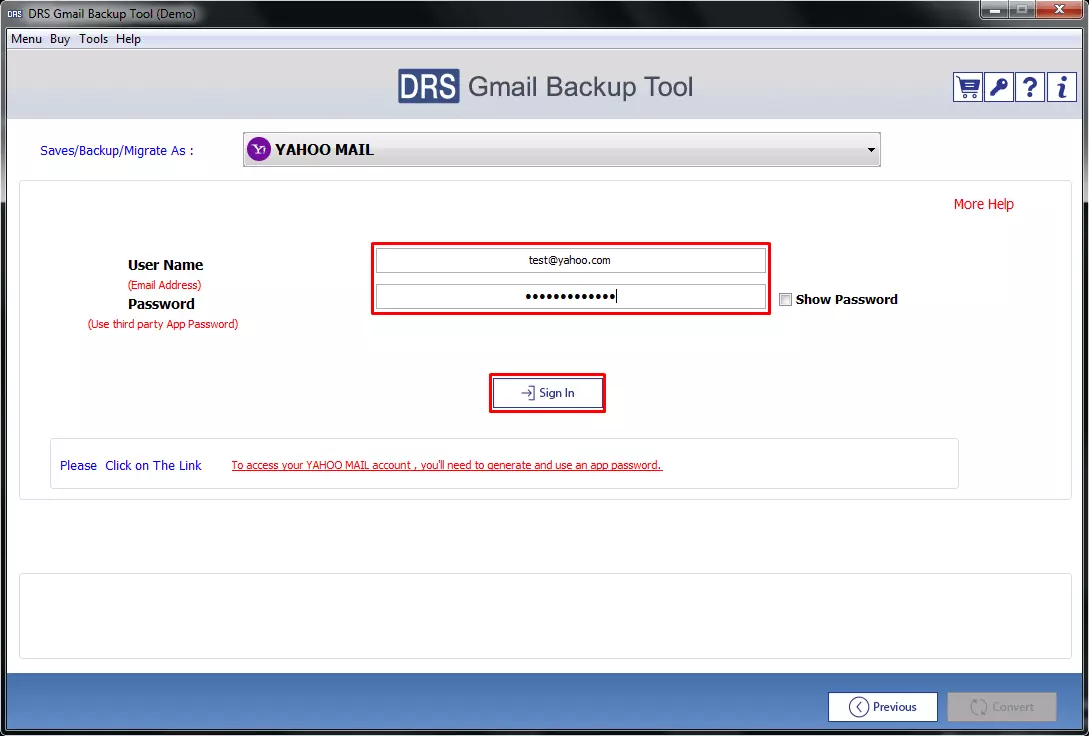
Step 7
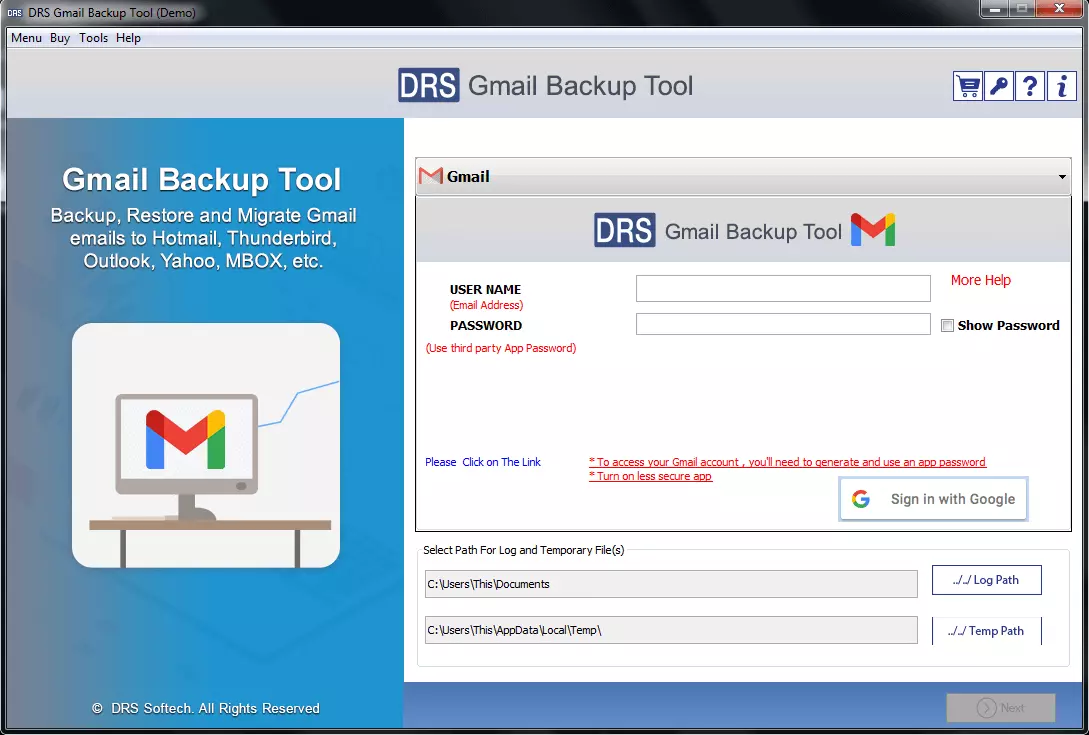
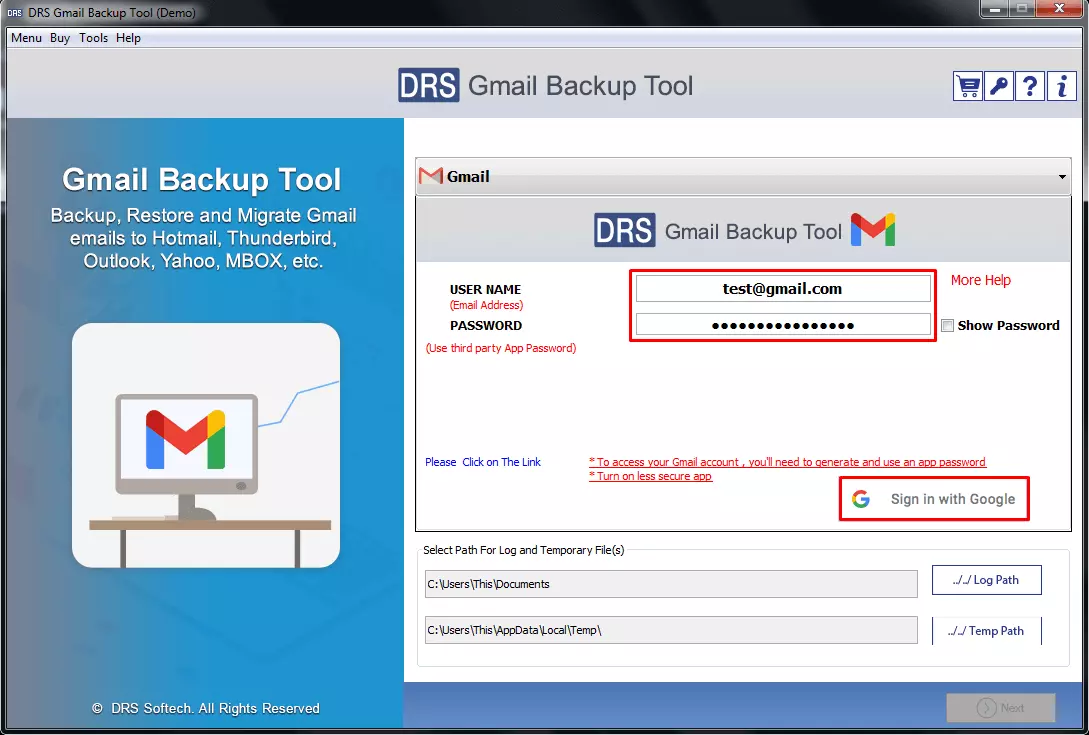
Enter your Yahoo Username and App Password. Then, click on the Sign In button. You have to use the third-party app password instead of the regular password.
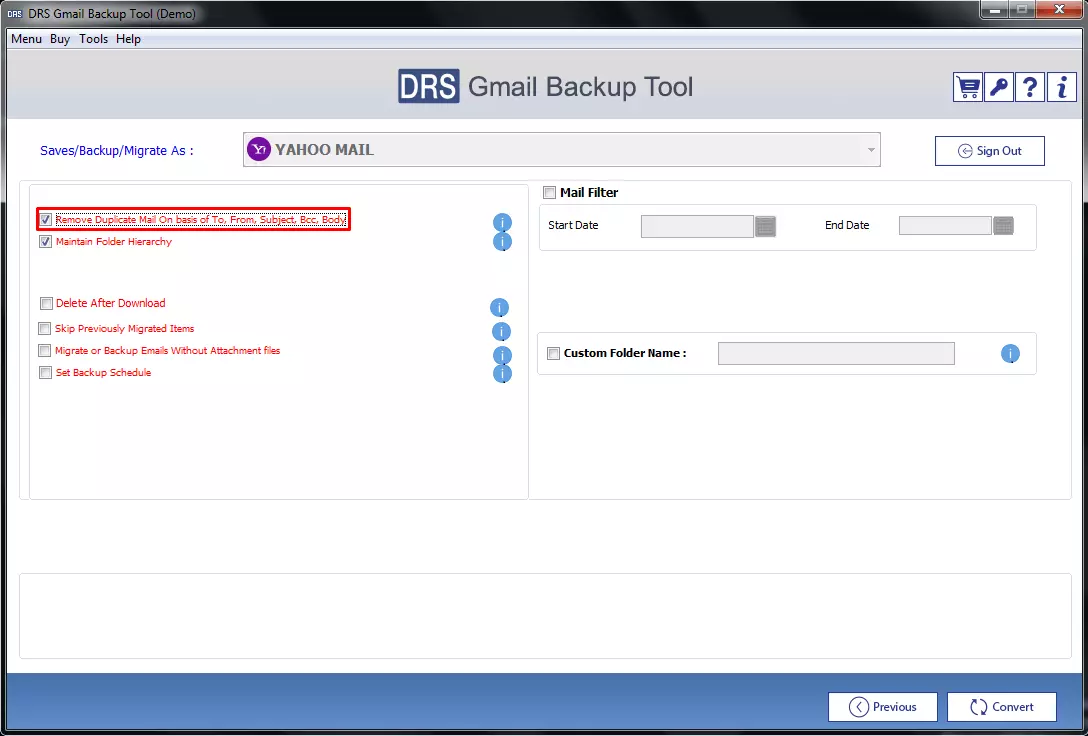
Step 8
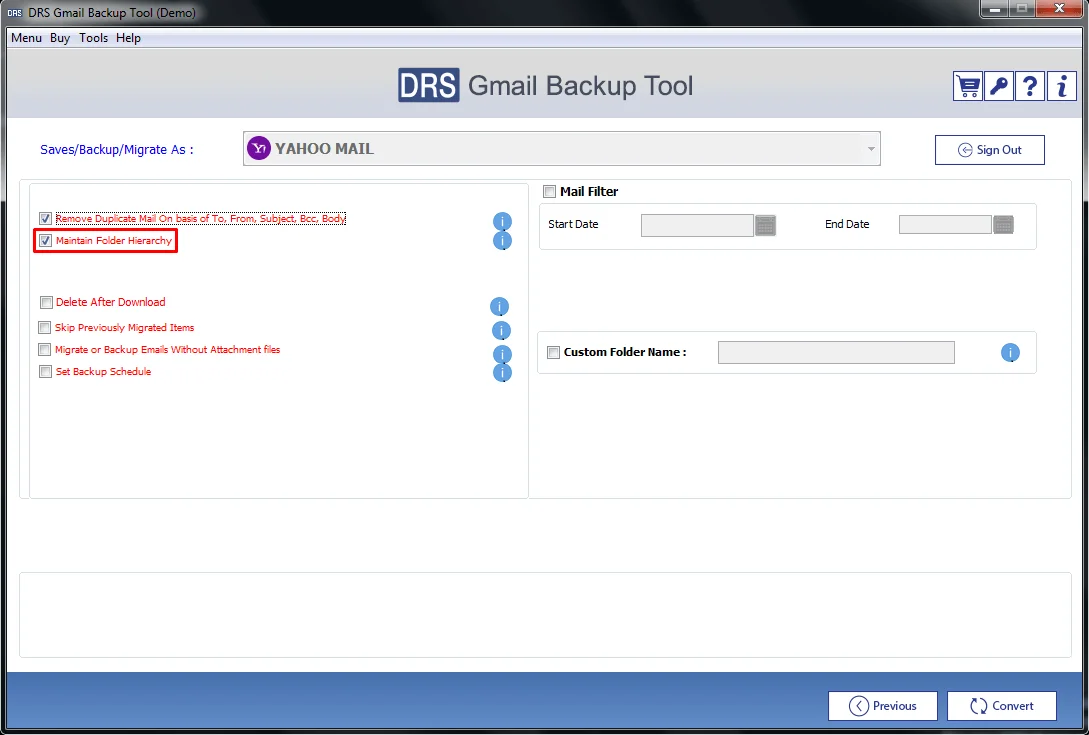
After that, select the Remove Duplicate Mail On basis of To, From, Subject, Bcc, Body option. So, the tool will migrate only original emails and eliminate duplicates from backup.
Step 9
The Maintain Folder Hierarchy option is provided to maintain the order of the mailbox folders as the original.
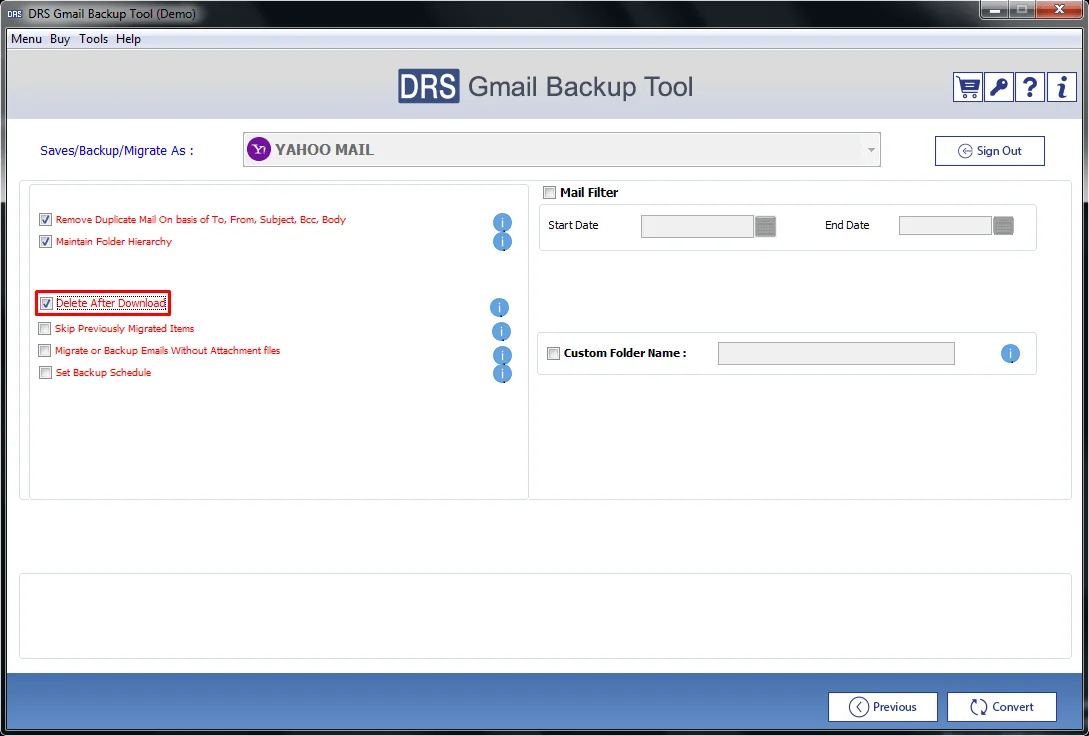
Step 10
Next, tick the Delete After Download option. This feature helps you to leave free space by deleting migrated mailbox data from the server.
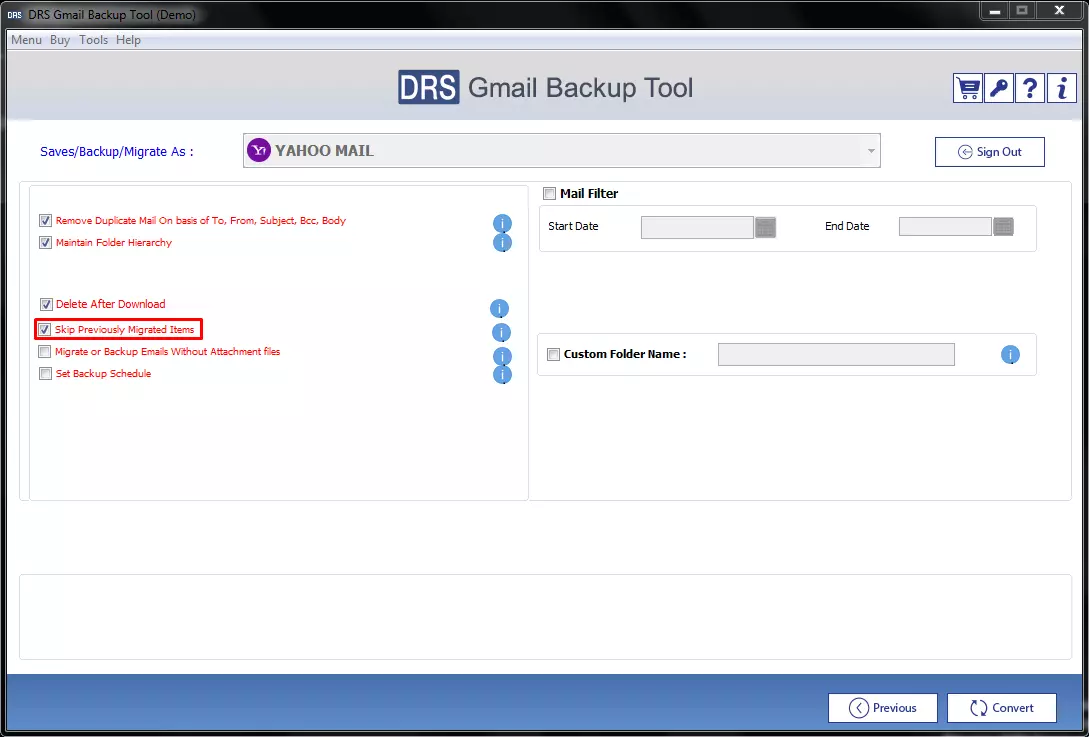
Step 11
If you want to leave all the mailbox items that you migrated earlier, select the Skip Previously Migrated Items option. It will exclude all emails that you migrated earlier.
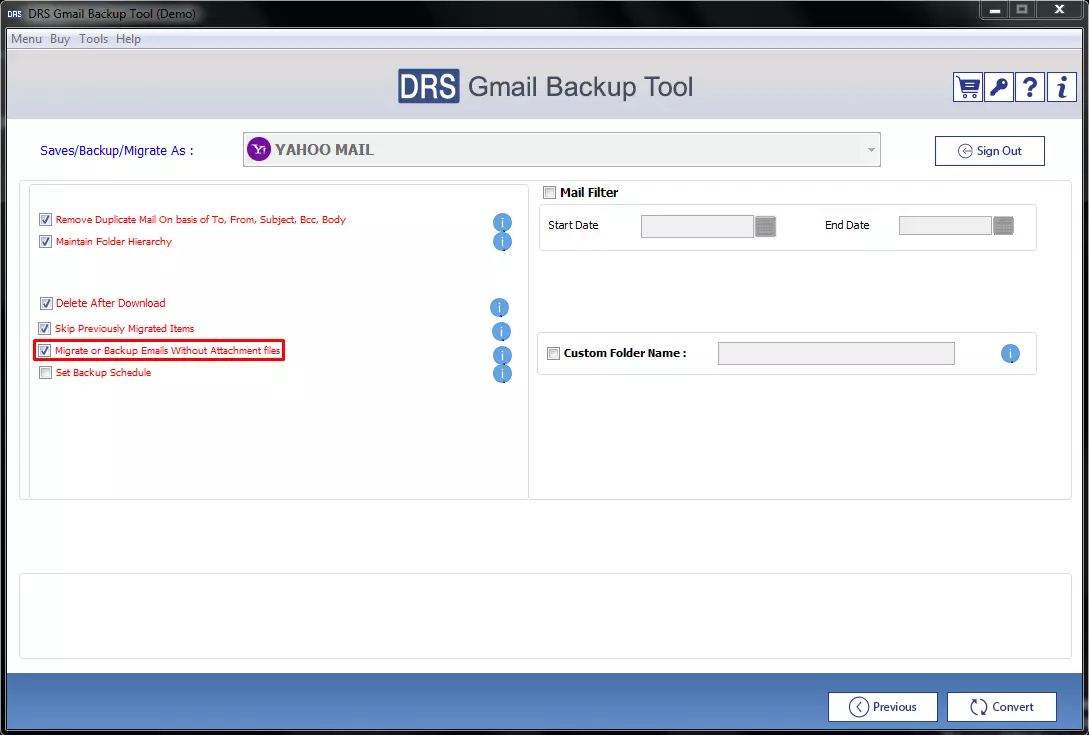
Step 12
The Migrate or Backup Emails without Attachment files feature allows you to leave email attachments while exporting Gmail mailbox data.
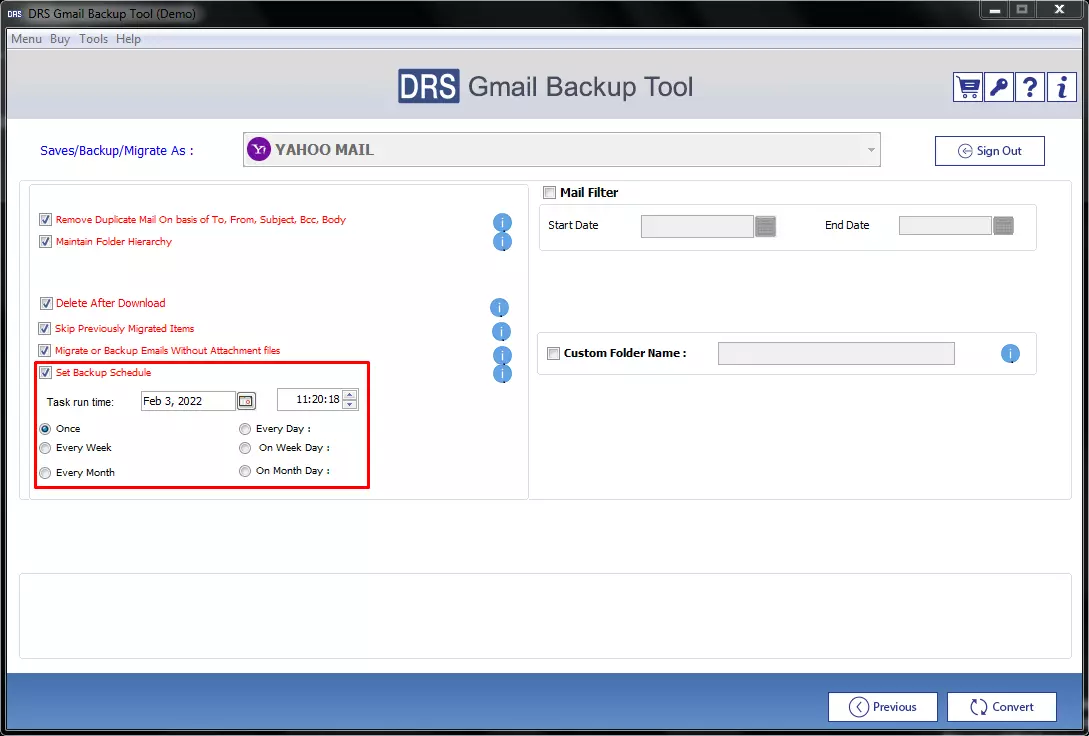
Step 13
After that, tick the Set Backup Schedule option if you want to start the migration at any specific time. After selecting this option, enter a suitable date, time, and frequency to initiate the migration
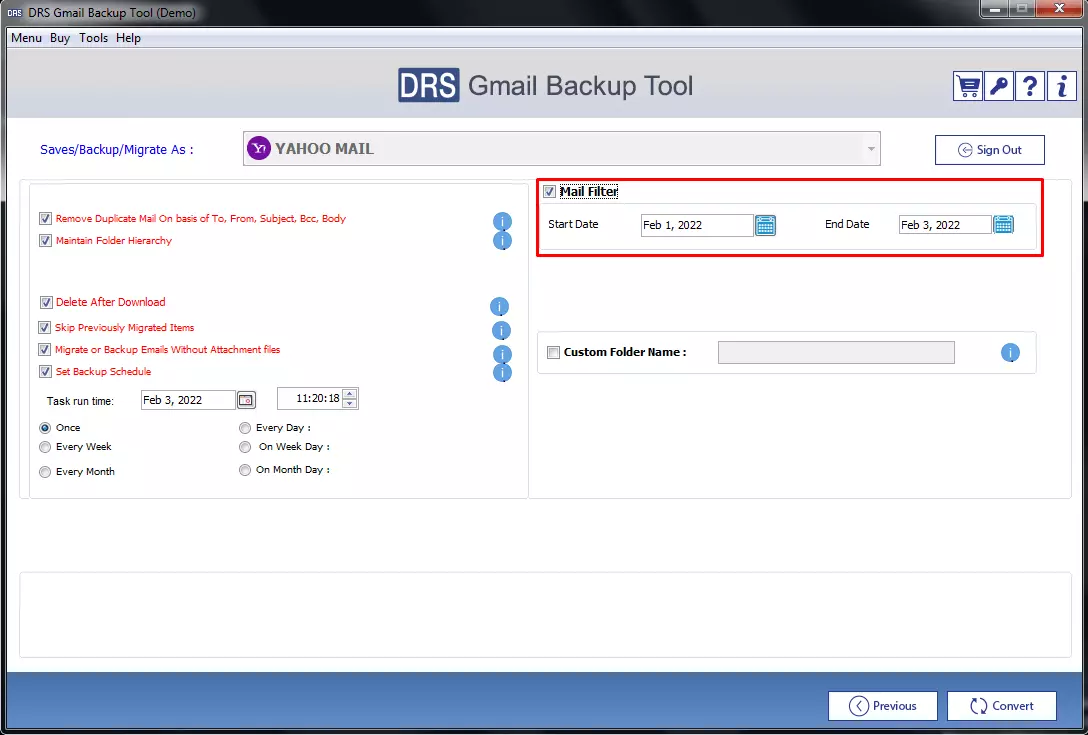
Step 14
The Mail Filter is a date range filtering feature. Using this option, you can export emails of a specific date range to your yahoo mailbox..
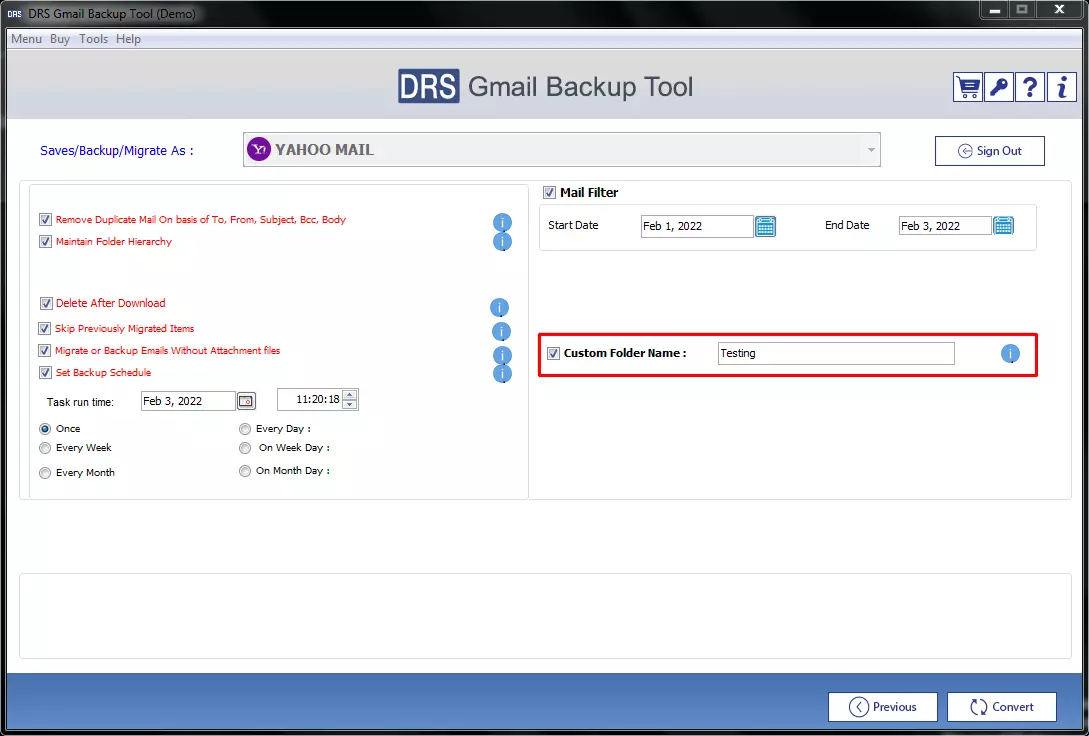
Step 15
Next, tick the Custom Folder Name option and give any desired name to the folder containing the output file.
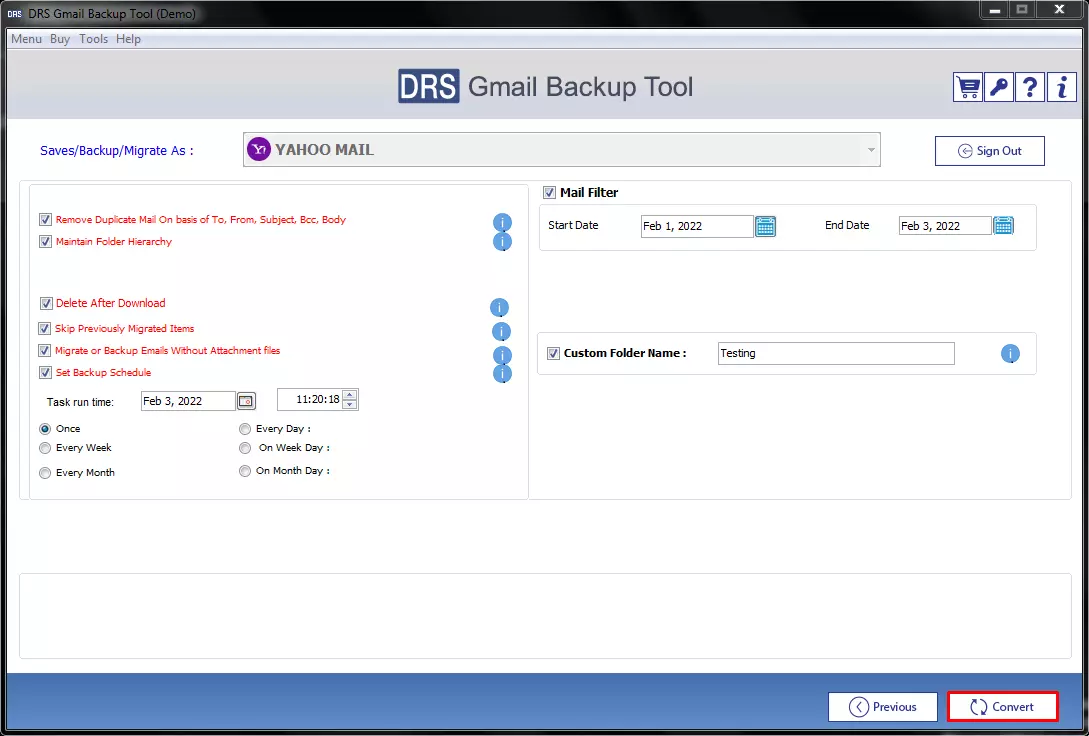
Step 16
At last, click on the Convert button to start the migration.
Step 17
After completing the migration, click on the Download Report button to download a CSV file of the report.
Step 18
If you want to repeat the process for another email account or file format, click the Convert Again button.